Category Archives: Natural Elements

July 11, 2013 Summer Days

Hello,

I feel we have reached the slow days of summer when Mother Nature really does her magic.  I have noticed on my walks changes especially in the trees.  Hickories, pines and oaks all have immature versions of the seeds to come in fall.  Because of all of the rain we have experienced here, I think the apples will be really big this year because the green ones on the trees now are already bigger then gulf balls.  Nature provides me with a visual feast each day.   Sorting
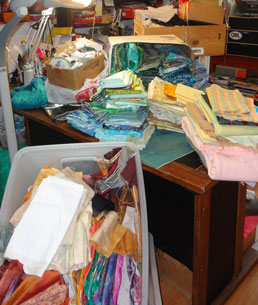
I am getting ready to attend the  Quilting By the Lake conference.  I so look forward to seeing my friends and to getting stimulated by lots of new ideas and thoughts about the art of quilting.  In preparation for that work  I had to do a bit of sorting.  One thing lead to another and I ended up pulling all the fabric out of the closet and refolding and stacking it.  This shot shows the job as it neared completion.   As you can see  I have lots of fabric. This activity not only cleaned up the shelves, and sorted out the material that I need for my projects, but it also made me realize I do not need to purchase anything new.   I hope I can stay to that resolution over the next two weeks while I am there and tempted by the fabrics of the venders.  I am doing two weeks of Independent study this year and I plan to keep working on the Rocks and Canyon series.   I will allow my self to find other ideas as well.   Please be aware that there will not be any posts for the two weeks  of QBL.  Then we plan on a little vacation so this will be the last post until Aug 8.
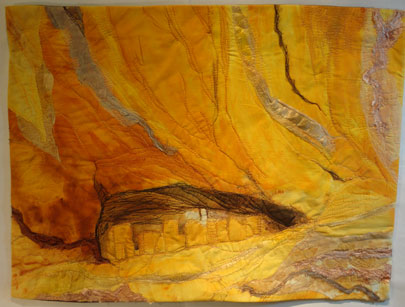
Anastasi Ruins 18" X 24"  $ 110.00
Anastazi Ruins
18″ X 24″
$ 110.00

Progress Report: Anastazi Ruins
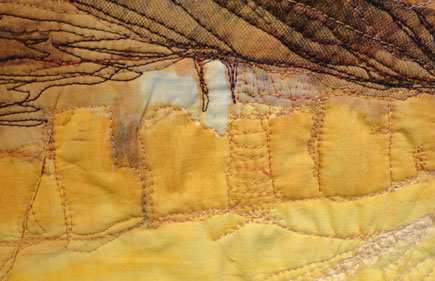
  This work is complete now.    I have really enjoyed putting the silk paper into this work.  It makes the feel of the flow of the rocks really work for me.Anastasi Ruins 3    I liked doing the free motion work to add texture to the surface too.  The other thing I tried here and on the Sunny Crannies quilt was adding torn strips of satin to the  surface. The strips were slender so they folded in on them selves and they flipped over that also added to the textural changes that were created. BJ11Ruins1 - Copy
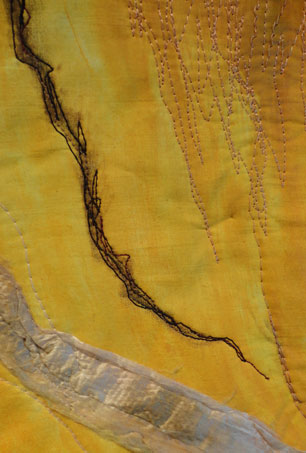
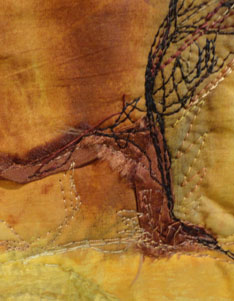
 Anastasi Ruins - Closeup 3I ended up not using the painted unit I posted last week on the ruins.  It was just too much. But I did add nylon net to the top of the cave area to help with the darkness.
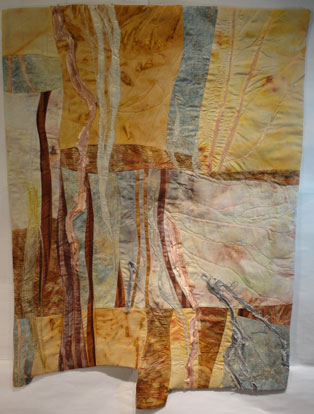


Sunny Crannies  22.5" X 31"  $ 175.00
Sunny Crannies
22.5″ X 31″
$ 175.00

Sunny Crannies

This quilt is a part of the Rock Face series.  I really seem to be fascinated by the surfaces of road cuts and cliffs.  This one came from on of the photos that I took in Idaho a few weeks ago.   Here I went back to the free cut method to put the work together.Sunny  rannies cl3 Rocks do not break in continual strait lines most of the time so the free cut is the only way to get the correct feel.
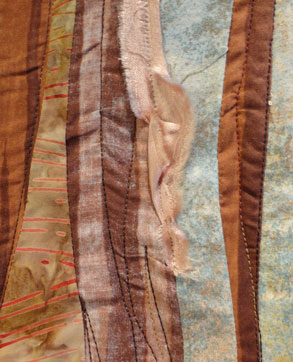
 

This shot shows that  I also turned the brown commercial fabric over and use the “back” side to get another tone to the surface.
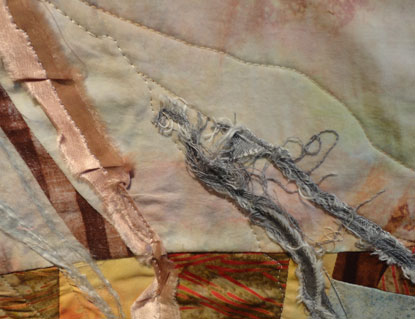
 

Sunny Crannies Cl1  I  used some of the fabric that Marty and I discharged in this quilt along with some slender torn gray jean fabric as well.  I really like this plus the satin surfaces on the work.   Finally I used more of the silk paper here too.  This piece of silk  paper has some glitter and gold added to the silk as well as the color.  I look forward to teaching this technique with the Quilt Exploration Group in September.


sunny cranny cl2


ROUNDS


Rounds  

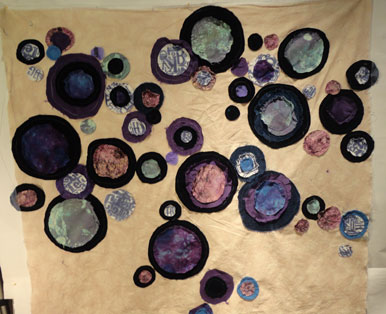
This project is moving along nicely  for me.  It is changing under my finger tips however, but one needs to be open to that as it happens.     All the circles are stitch down now and it has been washed so there is fraying of the shapes.  I plan to slice the top and invert one or more to the slices before I reassemble it.   I also want to add so yarn appliqued to the surface to add more texture.  I will then have to see what the quilt tells me to do.


Thoth fullEric’s Thoth 

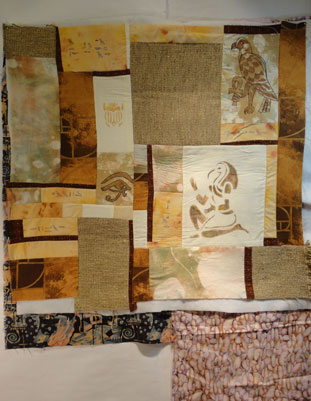
Thoth is the Egyption god of writing.  I intended to complete this quilt for my husbands birthday.  That happens to be today so I will not make it.   But I am sure he will accept it later.  He is an English teacher and worked on his collage publication called ” Thoth” so this seems like a good idea to me.  I made the stencils- Thoth, the Eye or Horis and the Eagle  mouths ago, but never put them together until now.  Thoth3
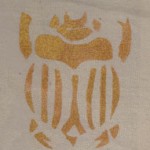
The scarab stencil  is even older.  I added the scarab after the whole top was assembled as I discovered that the area needed an addition.
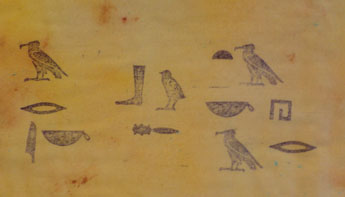
 

Thoth -wordsI enjoyed adding the  Hiroglyphs to this project too although I did them before I assembled the top.  I have had this set of stamps sense I taught school and I used them with the kids.  Here I spelled out ” Eric the Teacher” using the Heiroglyph guild book.


Green Nebula  Green Nebula

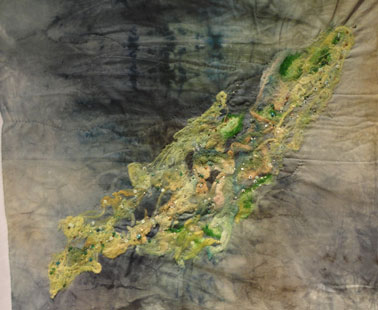
I keep working on the beading work on this quilt.  I am just about ready to do the  quilting now.  About three more evening of watching TV should to the trick to finish the beading step.  Then I will begin the hand quilting.


Blooming BacteriaBlooming Bactorial-Growth - Copy

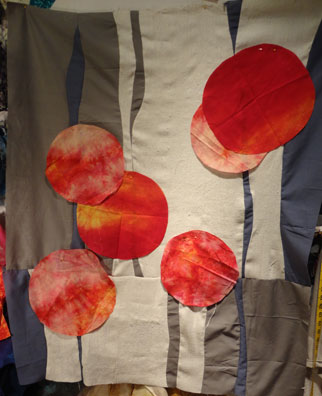
Here again I made my background using the free hand cut method.  I did the cut and flip thing on this background too.  The  red circles are just pinned to the surface now .  When I get the placement exactly were I want it I will satin stitch them down and begin hand work.  I imagine it will be a while before this work reappears again,  as the work I do at QBL will probably capture my attention for a while.   I wanted to have this work  started   because I have made all the “add ons” and I do not want to forget the direction while I am away.


I will look forward to posting  again  Aug 8.

Keep Creating

Carol
 

May 23 2013, Spring Walks

Hello Friends,

I have been out doing my walking in the early morning to make sure I really follow through.  It seems so easy to put it off and then get

Deb'spainting involved in other things.  So I was not walking in the afternoon at all.  Much better to start the day with the walk and it will soon be hot in the afternoons as well.  Anyway it has been a glorious feast for the nose of late.  What with blooming Honeysuckle, Lilac and a beautiful Dog Wood to mention a few I have really enjoyed starting my days with a walk.   I seem to be more aware of the world in the morning as well so I am very glad that I have made this switch.

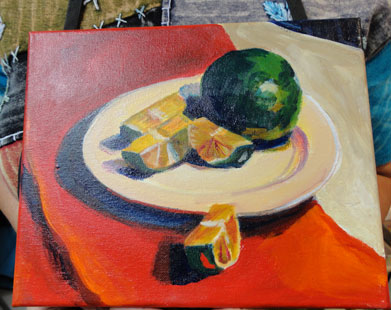
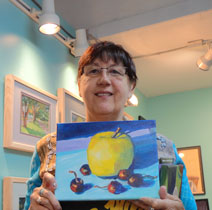
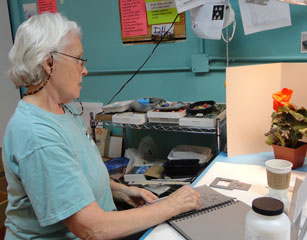
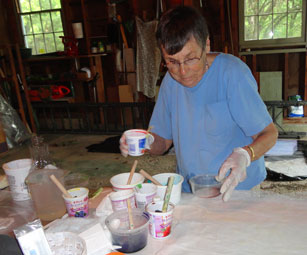
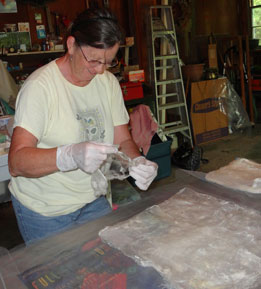
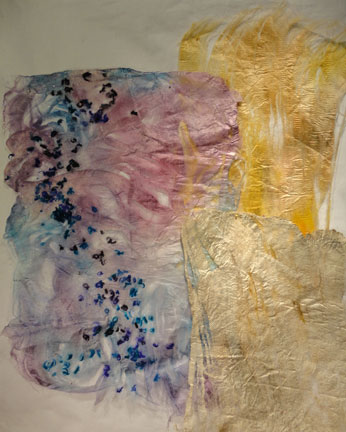
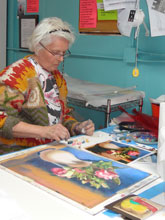
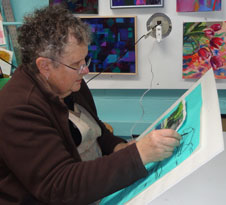
Friday last week I went to the Turquoise Street Studio and meant with some of the gals from the painting class from the weekend before.  Deb had gone back in and did additional work on this painting of limes.  I really think it works. DebplusworkBethThis picture is of a new painting Deb did based on the class work too.  The class effected all of us.  This next images is of Beth doing a value sketch in preparation for a new pastel.   The teacher had suggested using a gray paper sketch book so one only needed to do the tonal work by drawing in black and white.  Beth is doing just that.   I did hand work as I seem to take longer to digest the Value idea into my work. EthelYesterday I went to Ethel’s house to spend a day playing with silk paper.  This photo is of  Ethel mixing dye in preparation  to the silk.Pam Pam was also there and she did some fine silk paper too   It was great fun and I created four different new sheets to use.  I went with an eye to make the paper for a specific task and the results were great.silkpaper

The gold sheet and perhaps the cream one as well  are  destine for one of the canyon painted surfaces I painted last week.   The blue and purple paper I created because I wanted to see if one could add bits of yarn to the surface too.  I  think it will work well in a meadow  idea I have in my head.    It is always so much fun to work with others I always feel like I get so much more from these events then I contribute to them.

Before the Bud  17" X 26"  $110.00
Before the Bud
17″ X 26″
$110.00

Progress Report:  Before The Bud

This quilt is completed now.  I really enjoyed doing all the free motion work here.   The colors really work for me as well.  With this quilt I am changing my policy a bit.  I am adding the price of the work to the image. Berfor the Bud cl After reading a third article were a buyer stated that she did not like having to contact the artist to find out about the price of work I decided to include that info in the image.    Selling my work in not my goal, but I need the space so I will gladly do so.  Besides for me, the act of creating is the most important part of the process.   The Problem solving if you will.

Excavating the Ruins 21.5" X 31" $168.00
Excavating the Ruins
21.5″ X 31″
$168.00

Excavating the Ruins
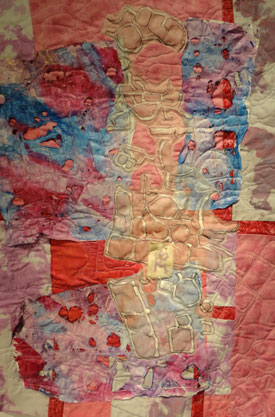
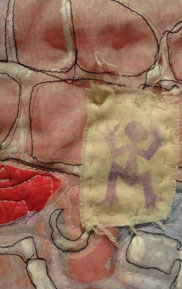
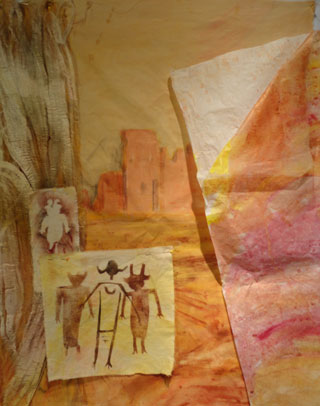
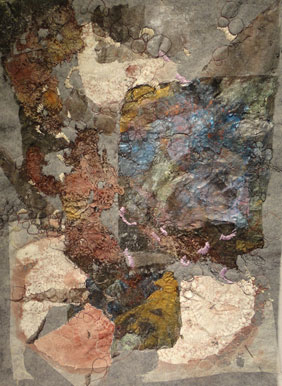
I have enjoyed working on this project due to all the great textures.     I really like all the wholes  here and that contrast adds a lot of interest to my eye.   The map in white organza is of one of the cliff dwellings  in  Canyon de Chelly National Monument.  In looking over it I though it needed a little more punch so I added a little petroglyph   form the canyon for further interest.  Excatating the Ruins Close upI found this little figure very fascinating.

Greek Butterflies 17.5 " X 25" $ 105.00
Greek Butterflies
17.5 ” X 25″
$ 105.00

  Greek Butterflies
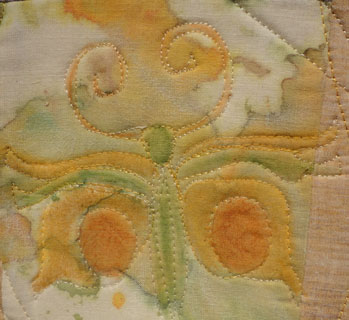
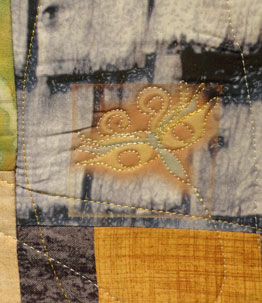
I am very happy with how this quilt finally resolved its self.   The lesson on Value came to play here when I took a second look at the distribution of darks on the week end.  I had to take out  some of the piecing and insert some more dark near the bottom before I was happy with it. Greek Butterflys Close up1   I also realized I need to add something to the light block in the center of the quilt.  So I drew in a butterfly of my own using the photos as direction.   I added color after I had out lined the image. Greek Butterfly close up2  I was concerned with how to quilt this work.  I knew I wanted to out line the butterflies but had no idea beyond that.   I toyed with the idea of making  the rest of the quilting a reflective  of that outline  pattern, but was not sure.   So I then it hung on the wall for several days before I saw a photo of moth trails in Pinterest.  Then I knew that was what the quilting patterns should be.    I find this quilt to be very up lifting and the quilting pattern adds to that idea in my mind.


  MummyCaveRuins  Mummy Cave Ruins
This shot shows a possible layout for the additions that I am planning on adding to this painted top that I started last week.   On the far left is some of the wonderful silk paper that I created yesterday.   In my origional  photo there is a wall of stone that is in the foreground and I wanted to capture that feeling to some what frame the ruins.    Hanging on the right is some painted inner facing that I may add to make the rocks a bit more colorful.  Again I have added the oil stick stencil drawings to this work surface.  I need to do some free motion work on the parts I am sure of before I know what will go where and if the places where they are pinned at the moment is the final location for them.  Make visual decisions – Visually.

Urban Beauty – From the Pavement     I was doing hand work on this at the Turquoise  Street Studio last week.  Urban Beauty From the pavementI am enjoying building up textures on this surface.  The base units are lutador that has been painted with Lumiar  paints and the white is gesso. ( lutador is a type of spun ground cloth that can be found at some hardware stores this time of year)   I then melted it a bit with the heat gun to melt and distort the surface.  I have done free motion drawing and the hand stitching to add to the complexity of the surface.      I am not sure of were the work is leading me so I hang it often an look at the progress to know what I want to do next.  This makes the process very slow, but worth it I think.

new projectNew Work
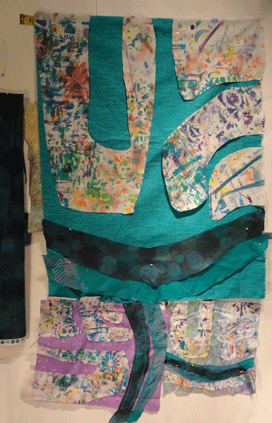
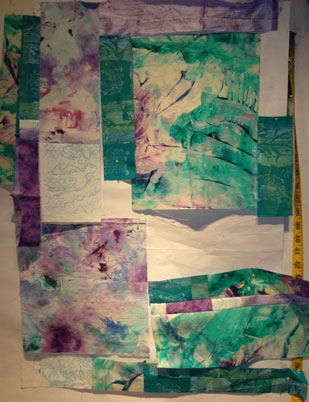
This is an attempt at a new direction.   Sense I seem to keep getting hit over the head with this Values idea( even read about it in a book this week) – I  thought I better pay attention.  So I designed a  block ( Check the light blue section in the lower right) .  I  tried to keep light med and dark in the same area- and did three different size variations on the block – small ( lower write) a little bigger ( lower left- this one is also turned 45 degrees) and large( look at the turquoise section)  This is all new territory for me when it comes to designing and I am not sure it will or does work at all.  But I want to stay sharp and open to new “roads” so I will keep playing- the challenge is the thing.

Enjoy the wonders of the season.

Hugs

Carol
 

April 25, 2013 Spring Memories

Hello friends,

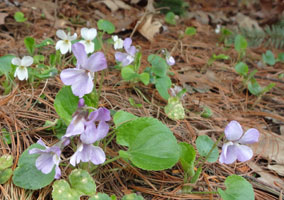
When violets appear I know spring is really here.  My mother always put violets on my Birthday Cake when I was growing up.  I celebrated this week.

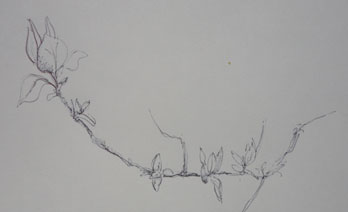
Here is the same branch as last week.   The leaves are two and three times as big as before.   Mother Nature sure moves things along this time of year.

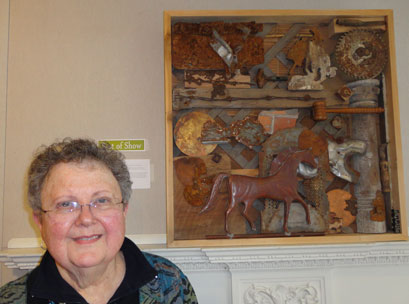
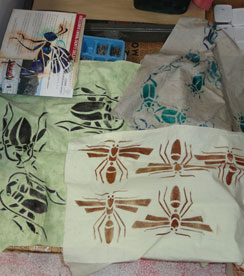
This week has been a very full one.  I started out by going to the opening of the Recycle Show at the Art Center in Rome NY last Thursday evening.  I am so delighted to report that my friend Barbara won “Best of Show” for her piece.  She even mentioned me when she accepted the award as I had contributed some of the stuff she included.  Our mutual interest in Rust helps.   Last Friday I went off to the Turquoise Street Studio and played along with the gals.  Both are pushing them selves for new work for two different shows that are coming along in the next few weeks.  Beth was finishing up work and Barbara was starting a new work.  They both work from personal Photo graphics, starting by  first drawing in Charcoal and then adding the color on top.   I printed some of my insects stencils in preparation for the workshop I will be directing  on Friday.   I like to do all the processes again before I teach them.  I learned that I want to encourage my students tomorrow- to work toward openings that are under three inches wide.  The back  wings of the crickets were challenging to fill with the oil sticks and I do want the students to be successful without difficulty.

Rain Run
21 ” X 31″

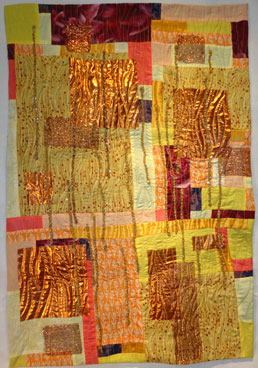
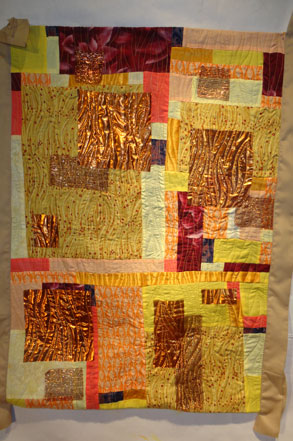
Progress Report: Rain Run ( formerly Golden Rain)   I changed the title of this work because as I stitched the wrapped pipe cleaners to the surface, I felt that the idea of rain running down the window was not  represented with the title of golden rain.     I like the way the “drops” like they are moving.  But it is really hard to keep this quilt flat as the wire has a memory and every time you lift or shift the surface it does not go back to flat without pressure.   The copper ribbon really reflects the light like the setting sun was doing on the window the day I noticed how rain ran down the glass.   It is a great memory and I am glad to have captured it with this work.

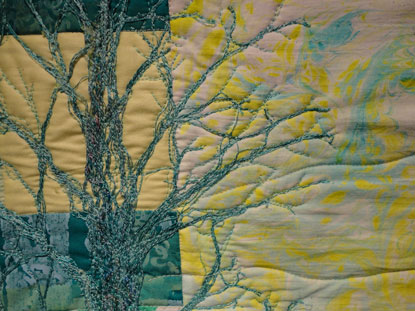
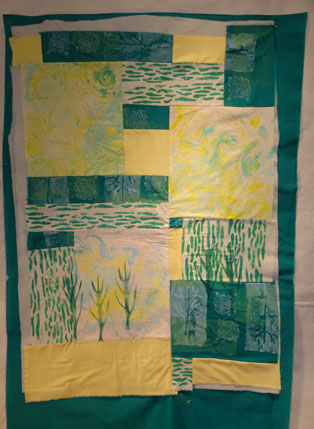
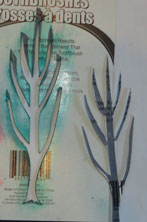
Before The Buds     This quilt has gone through some major changes sense last week.  First of all I made a stencil with this quilt in mind.   I drew it on the back of a piece of handy cardboard as I was not in the studio.

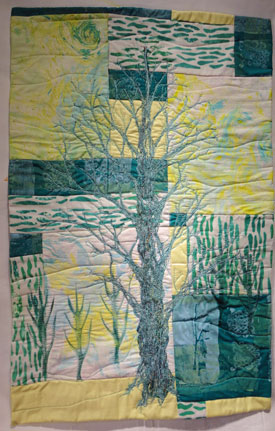
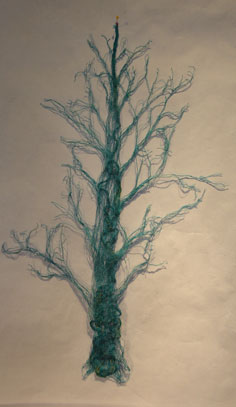
I did the drawing with a marker and kept the positive of the cut as well as the portion I used.  My thinking was that I could use it for a stencil too and just add the growth around it.  I stenciled five trees on the surface  of the quilt .  Then I got our some “Solvy” a corn starch material that is a water soluble stabilizer, and drew a tree with a permanent marker on the Solvy.  Then I  drew the tree with the sewing machine and lots of thread.   When I was happy with the appearance a I washed out the stabilizer and had my  thread tree.    I will use the  machine on free motion to attach the tread tree to the surface.  I did the the majority of the drawing on the stabilizer because all this thread work on the surface of the quilt would cause a lot of distortion of the fabric.  This way I can quilt and add the tree to the surface and stand a chance of the final product being flat.     I have not done any of this “drawing” in a long time and it felt good to use this technique again.   I am sorry that the shadow makes the picture look a bit fuzzy, but feel it will look fine on the quilt.


Brass Bits

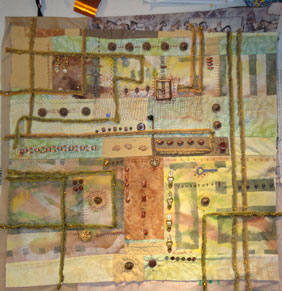
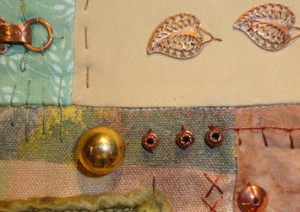
  I have been working away on the hand appliqueing of the brass units on this quilt for several weeks.  I feel that part of the process is now complete.  So I trimmed it and placed it on a backing fabric.  The yarn is pinned on the surface and that will get machine stitched down and become a part of the quilting on this work.  I will have to see how much additional quilting the piece needs to be stable after that point.   It was a personal challenge to add all of the brass pieces that Sharron sent me on the surface of this quilt.  I enjoyed another chance to do some fancy hand stitches on a piece as well.

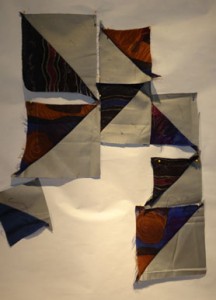
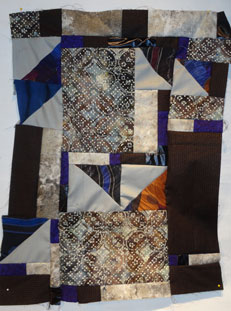
DMC Challenge – Dawn’s fabric.    This was only a bunch of triangles pinned to the wall last week.  I decided that I could use the challenge fabric with it and make the idea work.  It is OK and because the challenge is meant to be an exercise as much as anything I am satisfied with it.  After talking with Marty about the challenge we agreed not to complete the projects before we got together.  It makes transport in the suit case a lot easier as I will be flying out to meet them.    Now I need to go back and see if I can save the other two parts of this challenge.

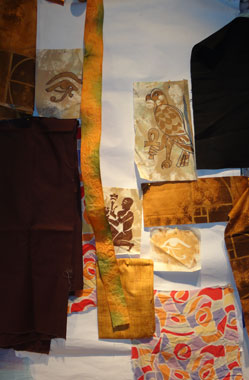
New Work    I am auditioning these fabric pieces for the possible next  Egyptian quilt.  At the moment I think it needs a new ” star” stencil fabric to do the trick.  So I will think on that and keep you posted as to the dynamics.     I guess all this prep for the stencil class is really pushing me forward.

Keep Creating Friends

Hugs

Carol
 

April18, 2013 Natural Changes
Dear Friends,

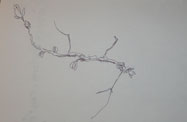
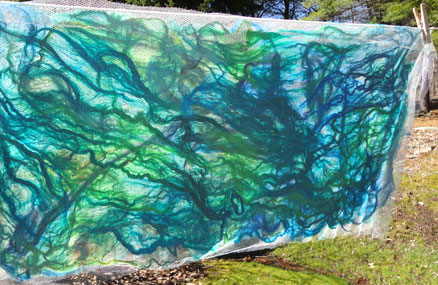
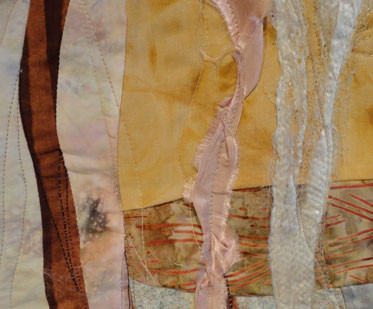
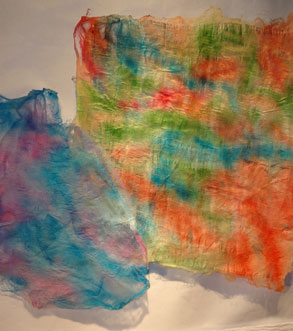
It really feels like spring today.  This was the third day this week when I ate my lunch out on the patio  and enjoyed the out of doors.  One of my favorite sketchbook assignments that I did with my eight graders was what I called ” Noting Natural Changes”  and I started it this week with the drawing on the left.  I when out into the sun shine and selected a branch and tried to draw it life sized in my sketch book this morning.  I will follow up next week and draw the same branch- again life sized  and in so doing note the changes a week makes for growth at this time of year.   My students always were suprised by the change a week can make at this time of year and I feel like paying attention to that myself.      This week has been as busy as they all seem to be.  I went off to visit with my friend Ethel again yesterday and we had great fun making silk paper.  Silk paper is created from silk threads that have not been spun.  They come in great long hanks that one gently pulls apart and lays down on nylon netting.  Three  layers of thread in alternating directions  is the usual lay out. then a second piece of nylon netting is placed on top.  The whole thing is gently soaked with water and then a mixture of fabric medium and water is applied to first one side and then the other side  of the sandwich.   After the sandwich is all dry  the nylon netting is carefully pealed from both sides and ironed.  The top image shows the pre-dyed silk drying on the line and it is still encased in the nylon netting.  Pictured on the left are two others we did in the morning with the netting removed.  The blue and purple piece is made of what are called silk hankies- a group of squared off silk layers that can be pulled apart as apposed to a hank of silk.   We dyed both of these two pieces before we added the water and fabric medium to them.   We had such a good time that we are going to play at this another day next mouth.  I already have an idea of things I want to try next time.

Progress Report:  Spot On

Spot On
22″ X 34.5″


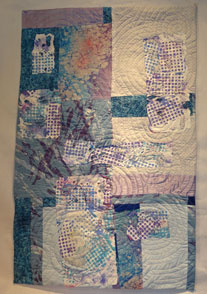
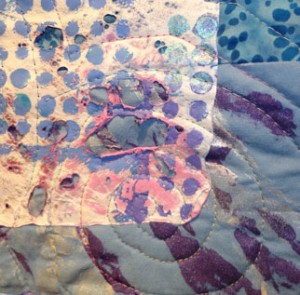
This quilt is done now.  It is one more of my piece that grew out of  my ” Use the old materials” push.  The marbleized fabric in the upper left and the center bottom are both old materials.   The light blue with the natural shapes in purple and white near the center left are from an experiment that I tried last fall.  I was attempting to do shobori with paint instead of dye.  This piece is the most successful section.    The tyvek is painted on both sides and I did  that last winter when I first started going to the Turquoise Studio.   The pink color  is painted on the back side of the tyvek.   I have used tyvek several times before and not been to  happy with the results.  But this time I quilted it before I applied the heat.  I also waited until I could go out of doors and I wore my respirator while I did this process.   I like how the heat gun distressed the tyvek and  how much the stitching controlled the distorting too.

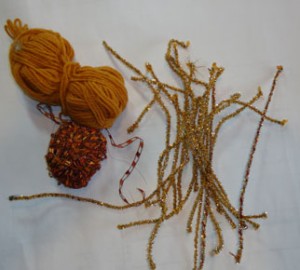
Golden Rain.    This quilt is all quilted now and ready for the embellishment.  That is the part that will add the rain running down the surface.    I wrapped gold pipe cleaners with two different yards.

They will become the rain when I hand stitch them to the surface.   I still need to tack the facings on both the left and right sides as well.  The copper ribbon really shows up the quilting patterns and adds to the flow motion down the quilt that I was looking for.

Slicing Through:   This quilt is moving along although very slowly.  After Sue Ellen’s tutorial on how to make those little cuts and sew them in I feel I am successful with that part of the process.   Now to work out the design part.    This work has gotten away from me as far as size is concerned- the rule says 18″ X 24″- and this is bigger than that already….. I am not sure how to go forward, so it is fermenting under white paper and two other starts, on the pin wall.

About to Bud:   This piece is basted and ready for quilting.   It too has some marbleized fabric in it, ( Use the Old Materials)although this is a newer experiment then  Spot On.   It also has some of my foam stamp work in the dark turquoise fabric.    The off rounded long forms are from a commercial stamp and come from my play day where I was trying to use every stencil I had in my note book that I had never tried before.     After letting this work hang on the wall over night I decided it needed  to have a machine drawn/quilted bare tree added on top of it.   I will do some sketches before I stat that part of the project.

Silver Slivers:  I have had these silk triangles for several years. ( More Use the Old Material )  On Monday when it was so rainy and gray I pulled them out and added the gray to them at the end of the day.   Now there irregular shapes means that I can not keep the full silk shapes and make traditional connections.  So the following morning I though I might insert silver slivers between the units and in so doing  sort of square them up.      If and how that works remains to be seen,but I do like a challenge and this is a good one.    It may also help when it comes to doing Dawn’s fabric form the DMC   challenge because the colors are the same.

New Work:     This one remains to be named and completed. True to my solution when I am frustrated I start something new-  all this wonderful hand dyed/ printing fabric  in a discarded pile on the cutting table …. put it together.    Only time will tell if it becomes anything.  I go off on these little seaming sprints some times- knowing that it can always  become a part of a Scarp Happy if nothing else….   But is spring and anything is possible.

Keep Creating

Carol