Hello Friends,
I have been out doing my walking in the early morning to make sure I really follow through. It seems so easy to put it off and then get
 involved in other things. So I was not walking in the afternoon at all. Much better to start the day with the walk and it will soon be hot in the afternoons as well. Anyway it has been a glorious feast for the nose of late. What with blooming Honeysuckle, Lilac and a beautiful Dog Wood to mention a few I have really enjoyed starting my days with a walk. I seem to be more aware of the world in the morning as well so I am very glad that I have made this switch.
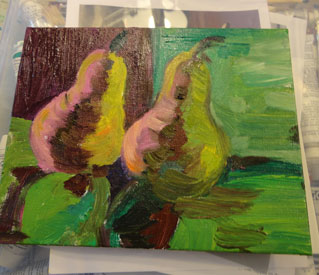
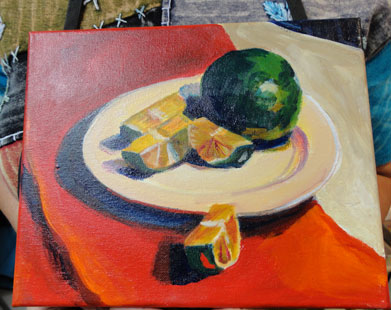
Friday last week I went to the Turquoise Street Studio and meant with some of the gals from the painting class from the weekend before. Deb had gone back in and did additional work on this painting of limes. I really think it works. 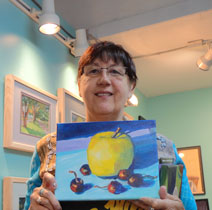
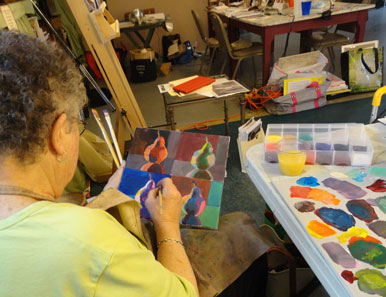
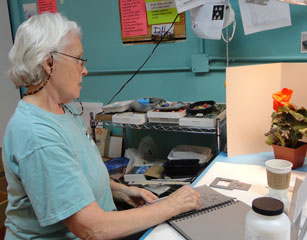 This picture is of a new painting Deb did based on the class work too. The class effected all of us. This next images is of Beth doing a value sketch in preparation for a new pastel. The teacher had suggested using a gray paper sketch book so one only needed to do the tonal work by drawing in black and white. Beth is doing just that. I did hand work as I seem to take longer to digest the Value idea into my work.
 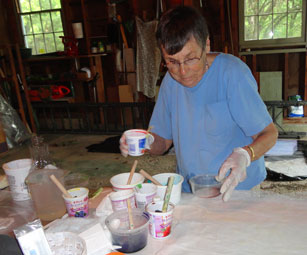 Yesterday I went to Ethel’s house to spend a day playing with silk paper. This photo is of Ethel mixing dye in preparation to the silk.
 Pam was also there and she did some fine silk paper too It was great fun and I created four different new sheets to use. I went with an eye to make the paper for a specific task and the results were great.
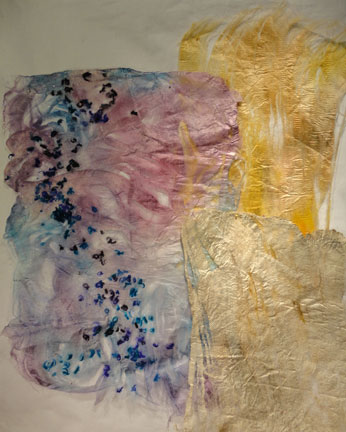
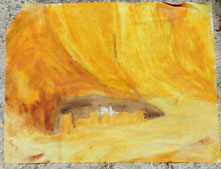
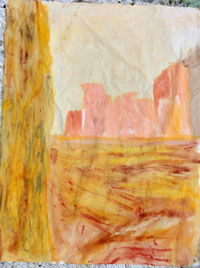
The gold sheet and perhaps the cream one as well are destine for one of the canyon painted surfaces I painted last week. The blue and purple paper I created because I wanted to see if one could add bits of yarn to the surface too. I think it will work well in a meadow idea I have in my head. It is always so much fun to work with others I always feel like I get so much more from these events then I contribute to them.
17″ X 26″
$110.00
Progress Report: Before The Bud
This quilt is completed now. I really enjoyed doing all the free motion work here. The colors really work for me as well. With this quilt I am changing my policy a bit. I am adding the price of the work to the image. 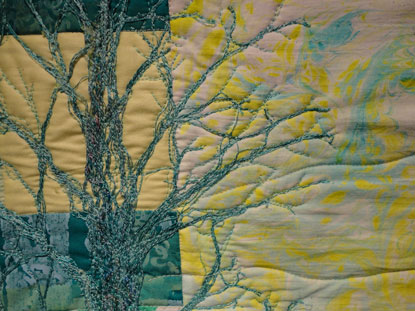 After reading a third article were a buyer stated that she did not like having to contact the artist to find out about the price of work I decided to include that info in the image. Selling my work in not my goal, but I need the space so I will gladly do so. Besides for me, the act of creating is the most important part of the process. The Problem solving if you will.
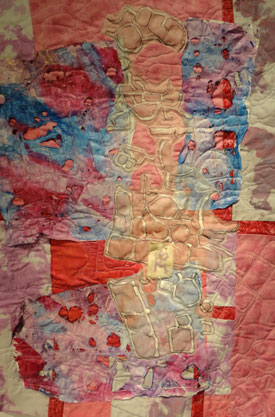
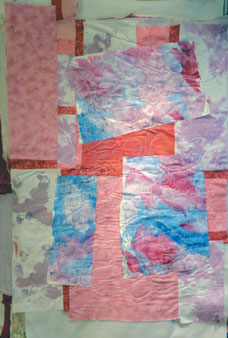
21.5″ X 31″
$168.00
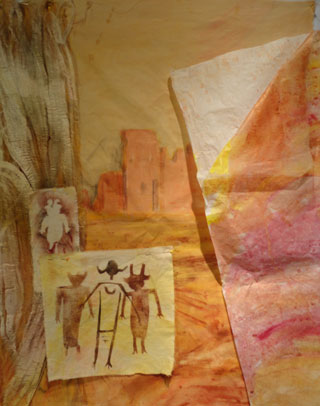
Excavating the Ruins
I have enjoyed working on this project due to all the great textures. I really like all the wholes here and that contrast adds a lot of interest to my eye. The map in white organza is of one of the cliff dwellings in Canyon de Chelly National Monument. In looking over it I though it needed a little more punch so I added a little petroglyph form the canyon for further interest. 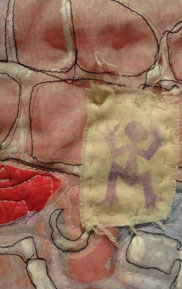 I found this little figure very fascinating.
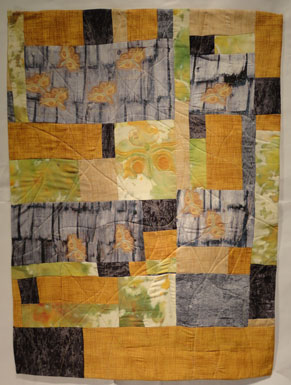
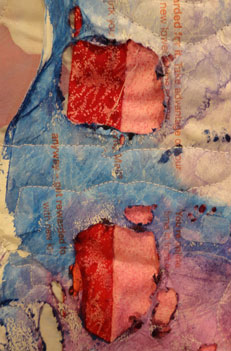
17.5 ” X 25″
$ 105.00
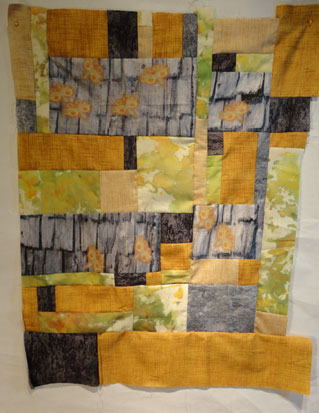
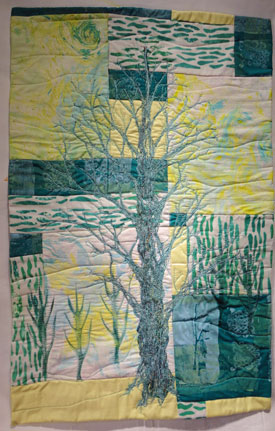
Greek Butterflies
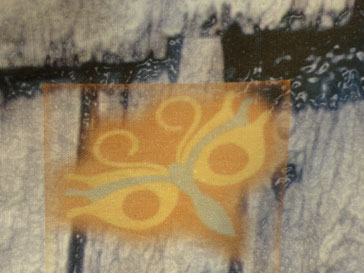
I am very happy with how this quilt finally resolved its self. The lesson on Value came to play here when I took a second look at the distribution of darks on the week end. I had to take out some of the piecing and insert some more dark near the bottom before I was happy with it. 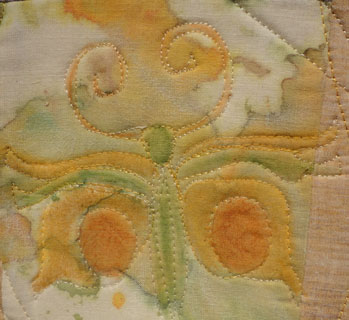 I also realized I need to add something to the light block in the center of the quilt. So I drew in a butterfly of my own using the photos as direction. I added color after I had out lined the image.
 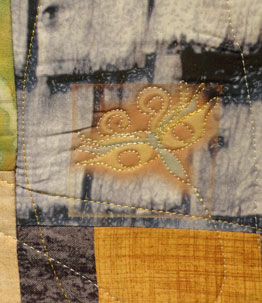 I was concerned with how to quilt this work. I knew I wanted to out line the butterflies but had no idea beyond that. I toyed with the idea of making the rest of the quilting a reflective of that outline pattern, but was not sure. So I then it hung on the wall for several days before I saw a photo of moth trails in Pinterest. Then I knew that was what the quilting patterns should be. I find this quilt to be very up lifting and the quilting pattern adds to that idea in my mind.
 Mummy Cave Ruins
This shot shows a possible layout for the additions that I am planning on adding to this painted top that I started last week. On the far left is some of the wonderful silk paper that I created yesterday. In my origional photo there is a wall of stone that is in the foreground and I wanted to capture that feeling to some what frame the ruins. Hanging on the right is some painted inner facing that I may add to make the rocks a bit more colorful. Again I have added the oil stick stencil drawings to this work surface. I need to do some free motion work on the parts I am sure of before I know what will go where and if the places where they are pinned at the moment is the final location for them. Make visual decisions – Visually.
Urban Beauty – From the Pavement I was doing hand work on this at the Turquoise Street Studio last week. 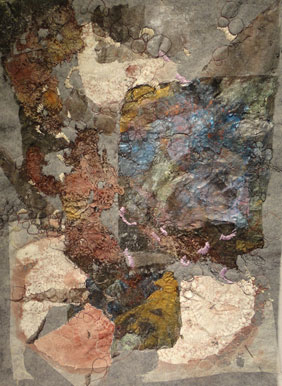 I am enjoying building up textures on this surface. The base units are lutador that has been painted with Lumiar paints and the white is gesso. ( lutador is a type of spun ground cloth that can be found at some hardware stores this time of year) I then melted it a bit with the heat gun to melt and distort the surface. I have done free motion drawing and the hand stitching to add to the complexity of the surface. I am not sure of were the work is leading me so I hang it often an look at the progress to know what I want to do next. This makes the process very slow, but worth it I think.
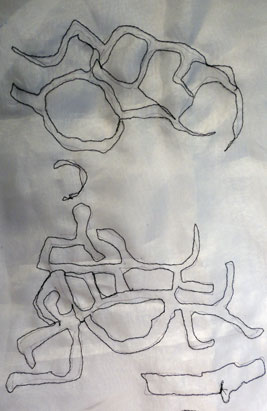
 New Work
This is an attempt at a new direction. Sense I seem to keep getting hit over the head with this Values idea( even read about it in a book this week) – I thought I better pay attention. So I designed a block ( Check the light blue section in the lower right) . I tried to keep light med and dark in the same area- and did three different size variations on the block – small ( lower write) a little bigger ( lower left- this one is also turned 45 degrees) and large( look at the turquoise section) This is all new territory for me when it comes to designing and I am not sure it will or does work at all. But I want to stay sharp and open to new “roads” so I will keep playing- the challenge is the thing.
Enjoy the wonders of the season.
Hugs
Carol