Hello,
I have had a mixed week. I spent Friday morning last week helping my friend Nancy and her Grand Daughter Jaelyn do a little stencil work. They were making a back pack and Jaelyn wanted her name on the flap. We had a pleaset time stenciling and as soon as she was finished, Jaelyn pulled out the feather weigh and was ready to get back to assembly.
The upsetting thing this 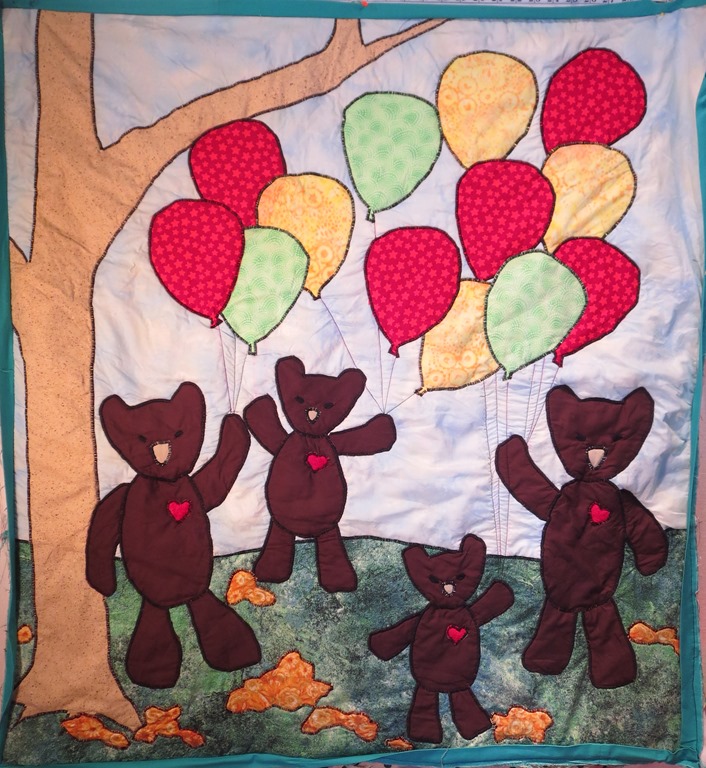 week was a gift project. I was making a baby quilt for a friends grandchild and I was nearly done. I only had to add the strings for the balloons that the bears were holding and I would be complete. I thought I really wanted to the strings to be strait so I pulled out a marker and drew the lines on to follow. I was excited as I could see the end of the surface work for this project.
 I did not take time to test the marker and that was my down fall. When it came time to wash out the marks I found that I had picked up the wrong tool and the marks will not come out. I have tried several of the ways various folks have suggested from the inner
 net, but no success. The quilt is ruined as a gift of course. The pens do look similar, but that is an excuse. I can go and purchase a gift, but some how that will not be the same. I have no one to blame but myself for my haste. I am disappointed with myself. I am certain I will not make that mistake again.
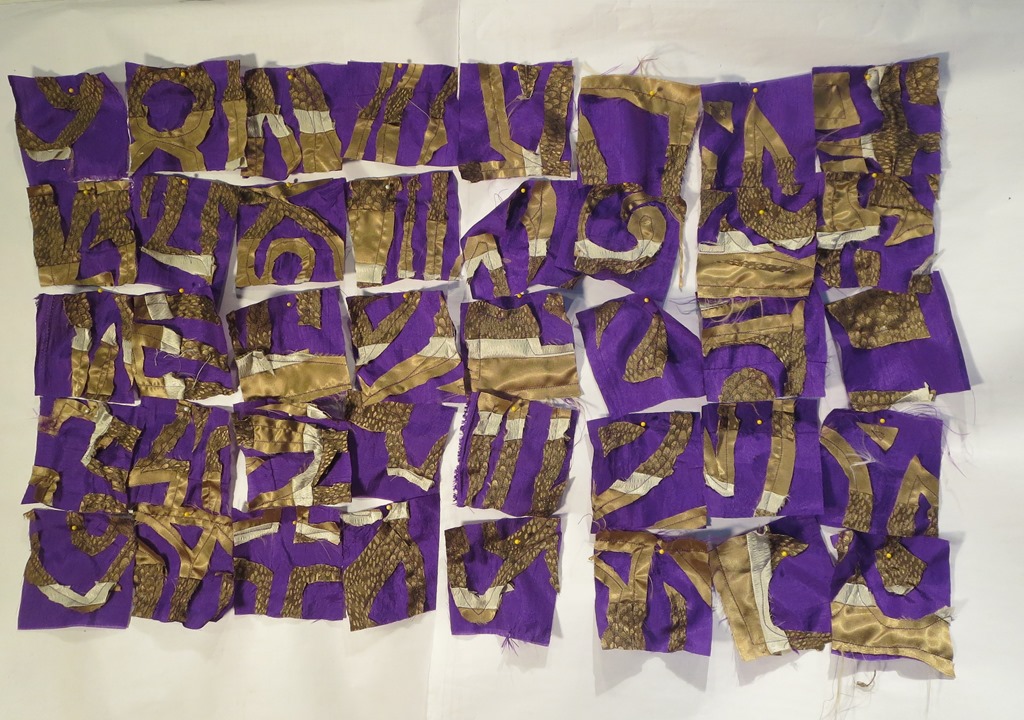
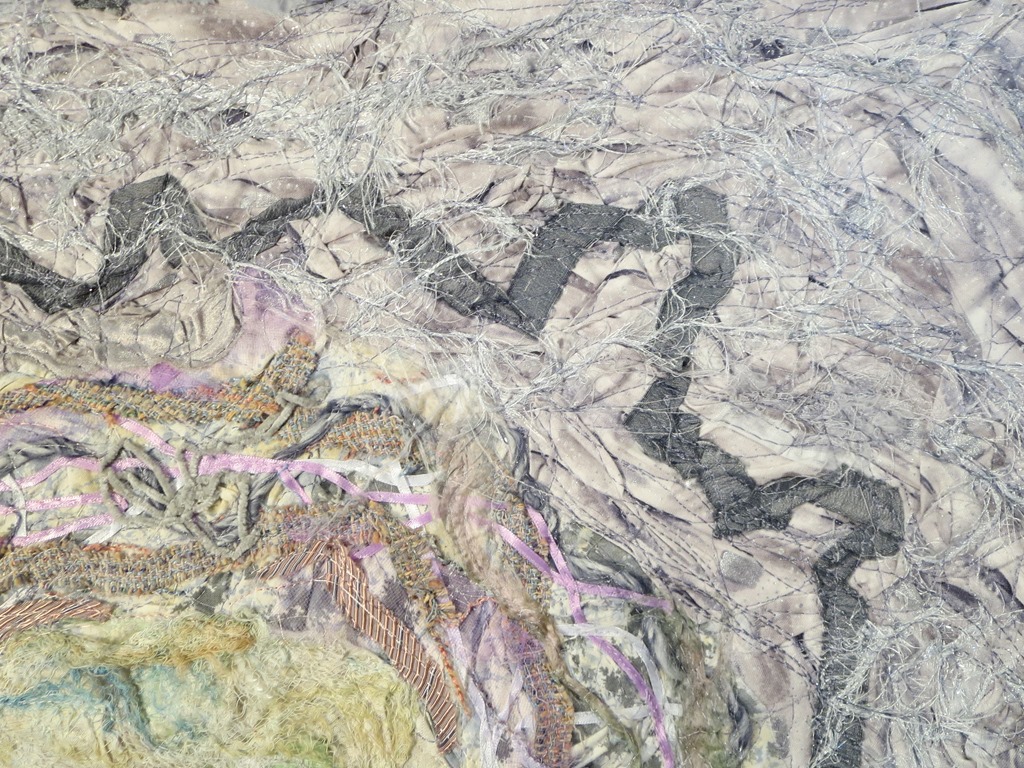
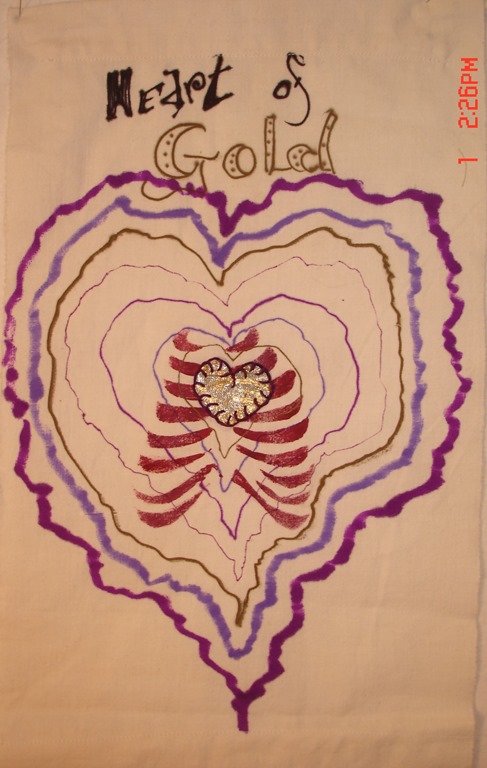
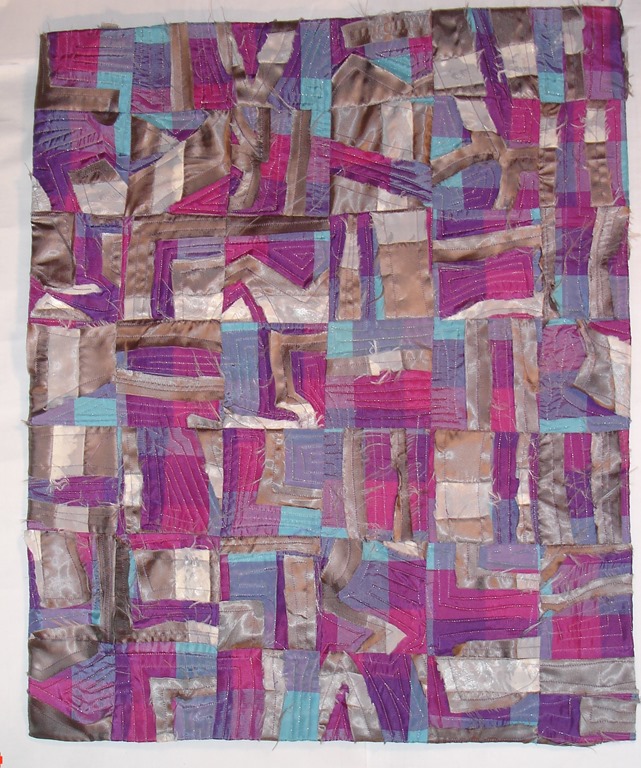
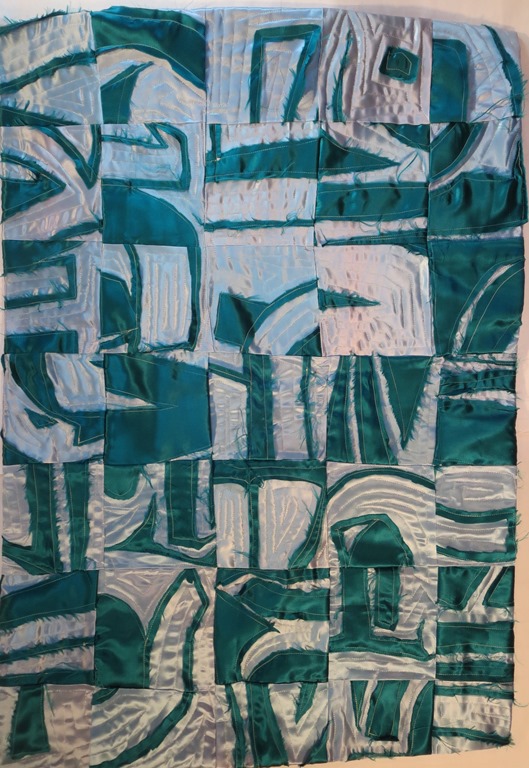
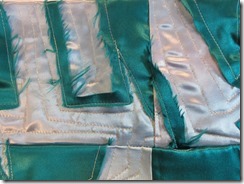
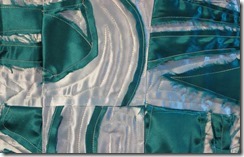
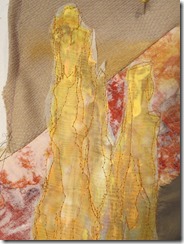
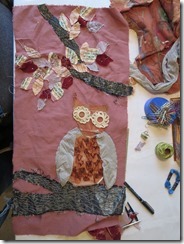
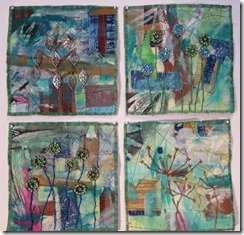
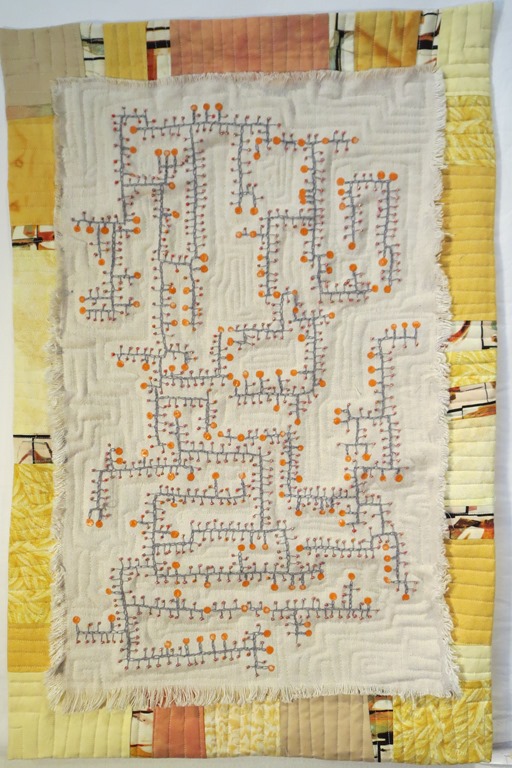
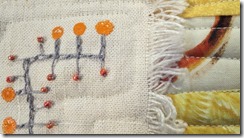
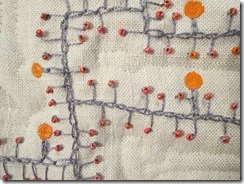
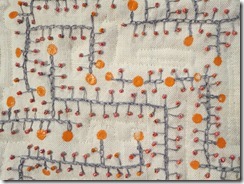
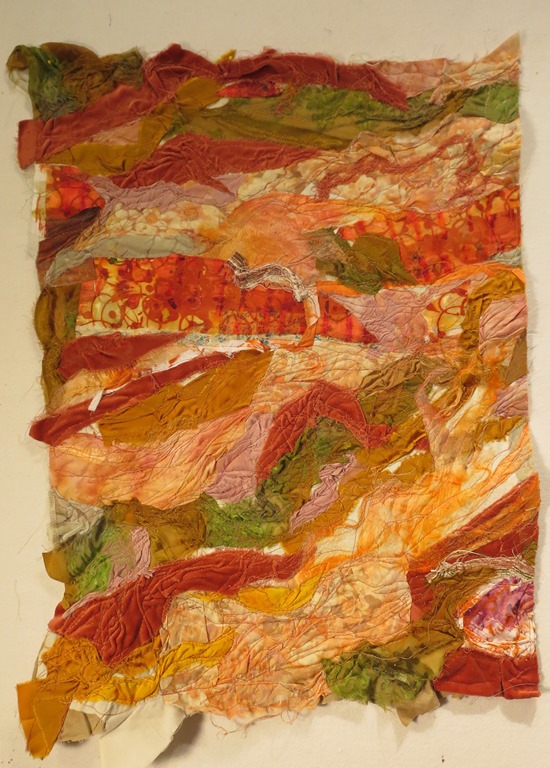
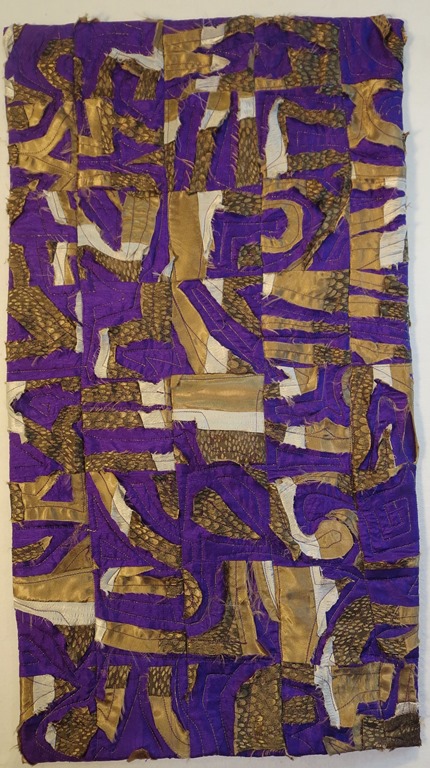 Progress Report: Name Game III- Patti This quilt is 14” X 26” . I am so enjoying this process
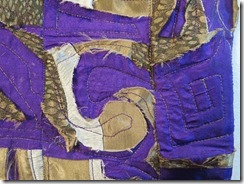 as it really challenges my design skills when it comes to putting the blocks together. One change in direction can
  change the whole movement of the work. I like all the texture of the raw edges too as they seem to add a different type of movement to the final work. There is also the challenge of using letters as a starting point because the shapes of letters involve strait lines and curves in ways I do not think of
 drawing usually. This shot is of the work before I cut it into pieces. I am dreaming of a new challenge using more then one name. This could add to the spice of the project.
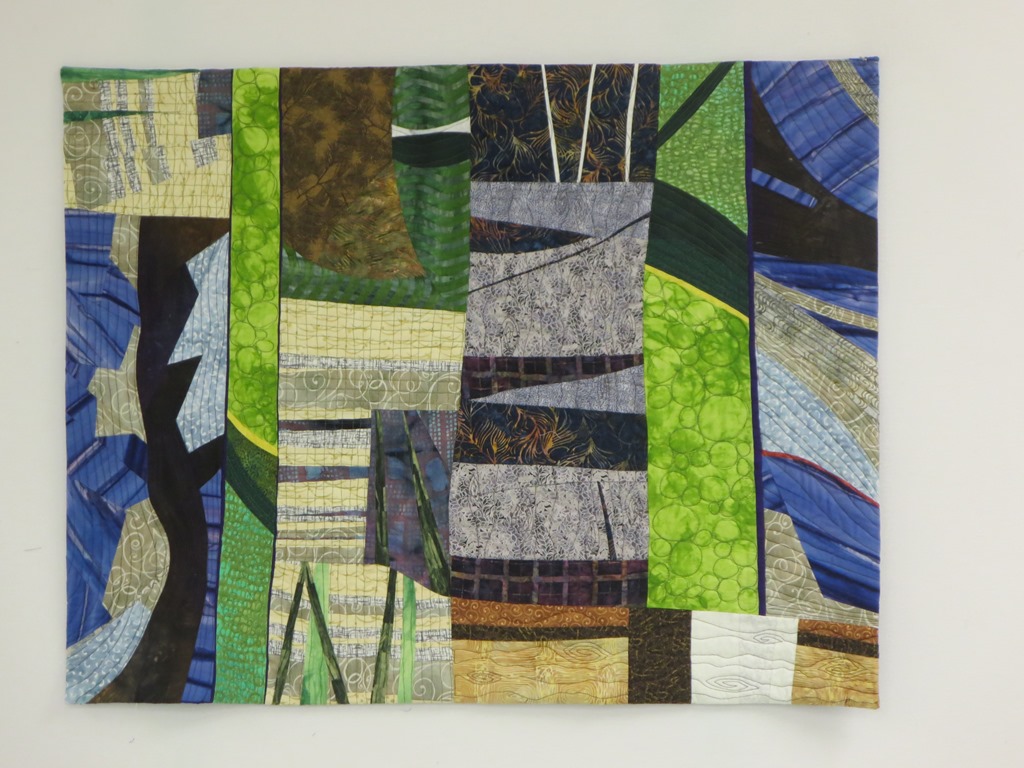
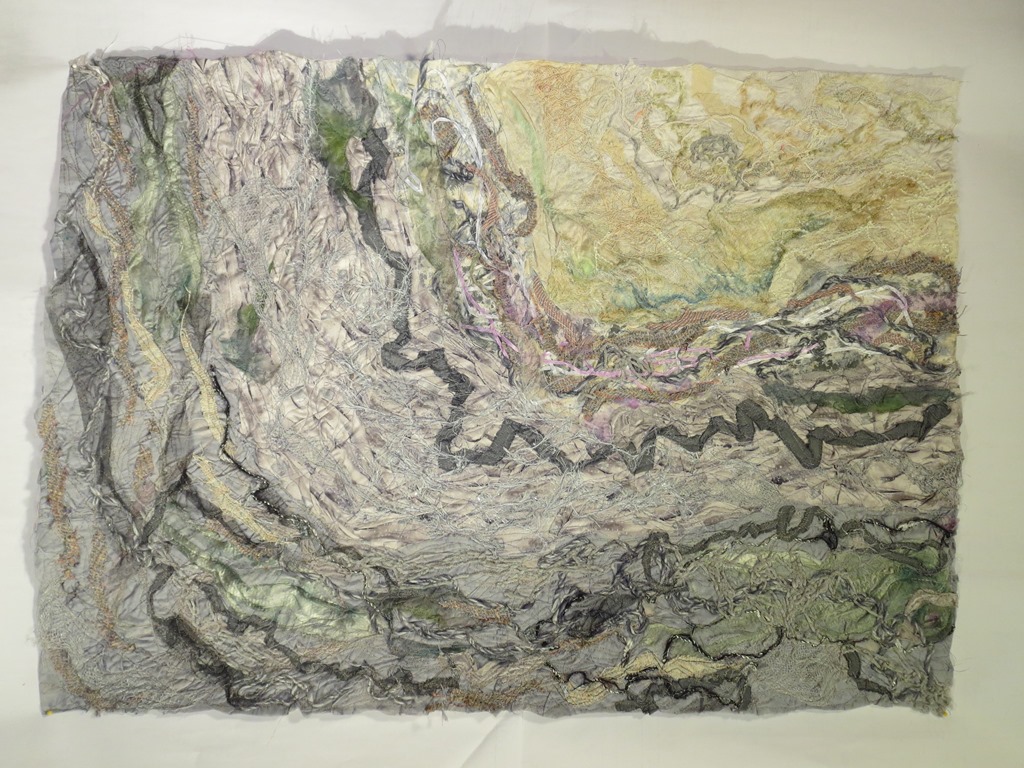
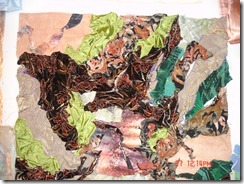
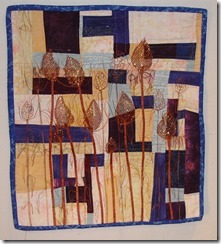
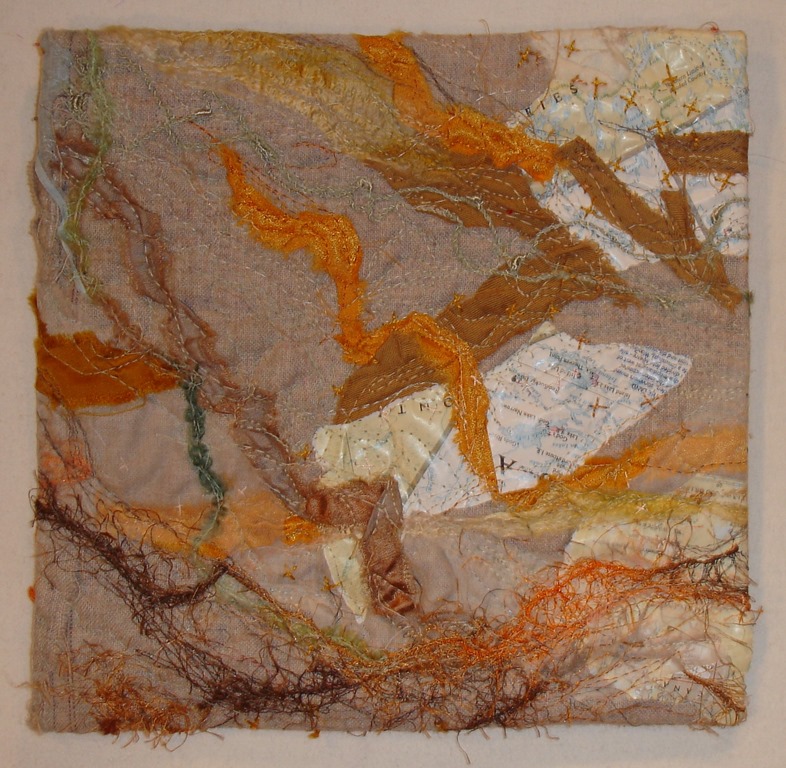
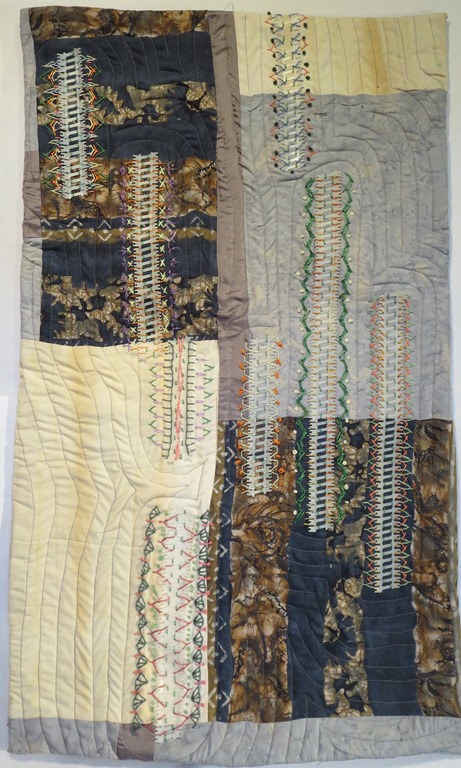
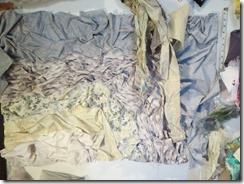
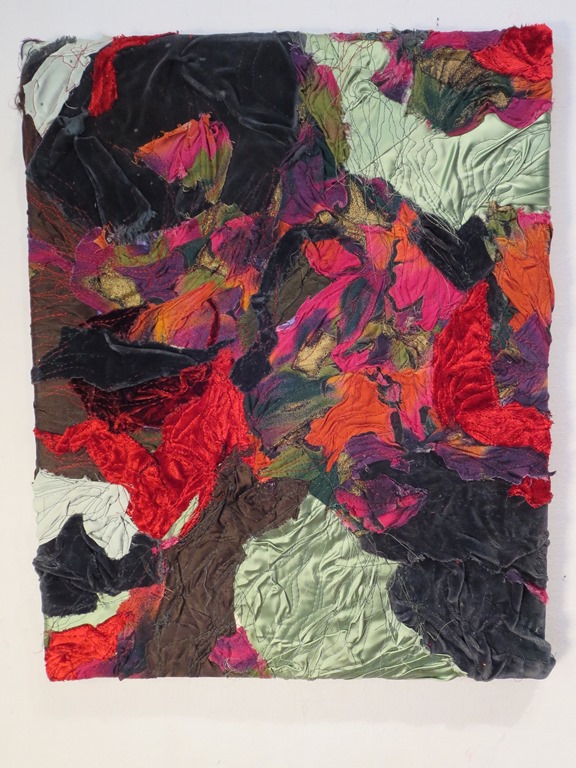
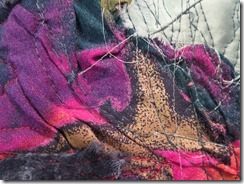
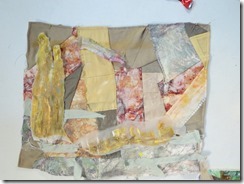
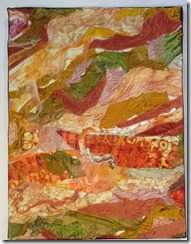
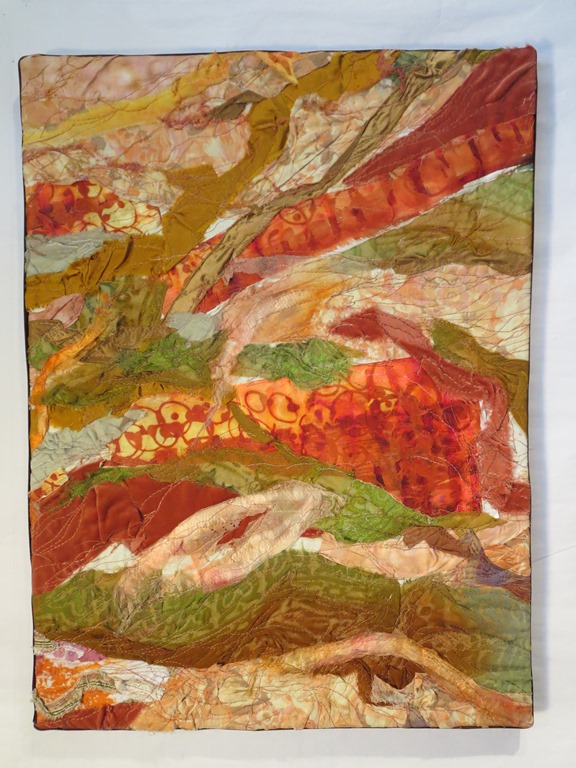
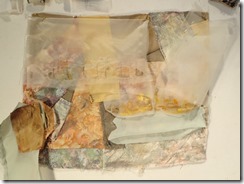
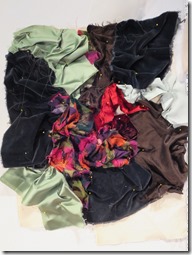
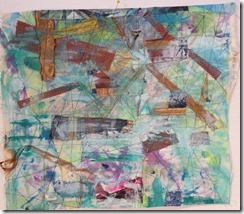
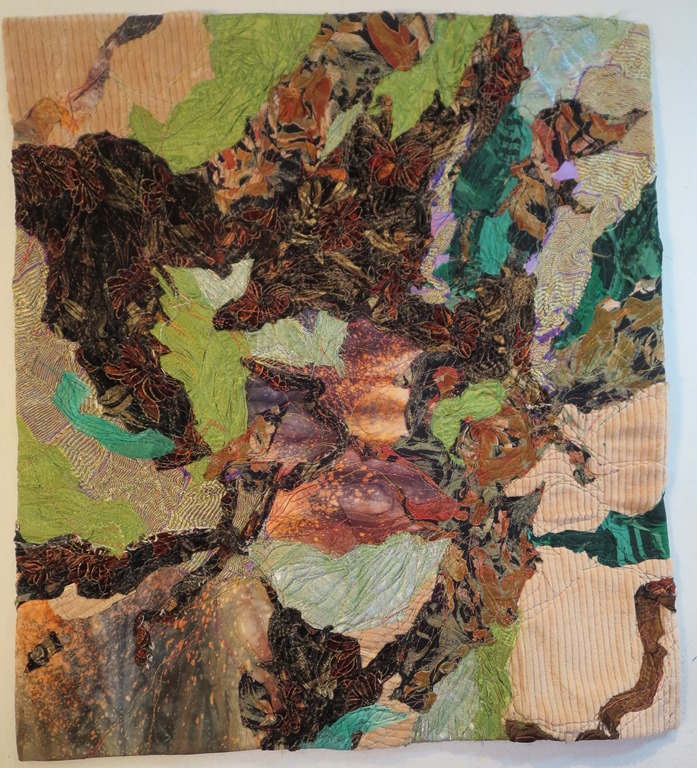 Vernal Equinox This work is 22” X 25”. I call this building process fabric collage. I used lots of fabric textures in this work.
  There are velvets, valures, satins, cottons, corduroys, and brocades here. The
  wading and folding adds its own texture to the end product too. I was trying to fill the surface with visual interest and I feel it was successful.
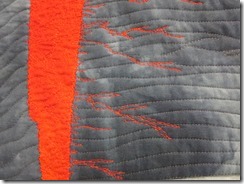
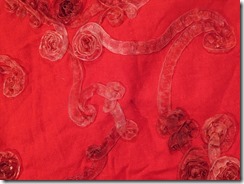
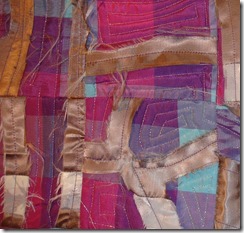
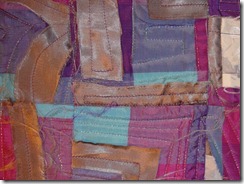
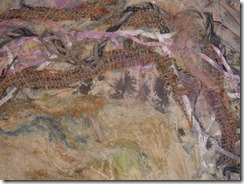
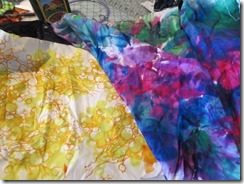
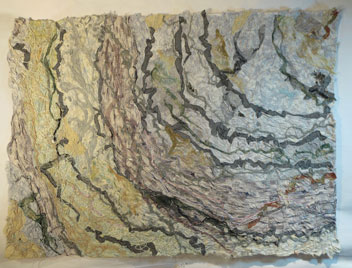
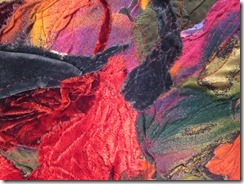
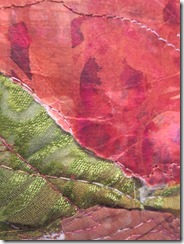
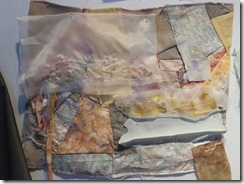
Running Red I am to the quilting stage of this project so I am only showing a detail this week. I used the pattern on the red silk as my inspiration for that quilting pattern. As it is turning out the double knit on the old table cloth( on the left here) has some woven patterns in it that are similar to the swirls of the silk pattern.
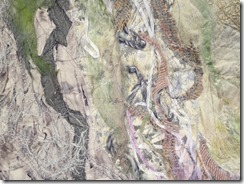
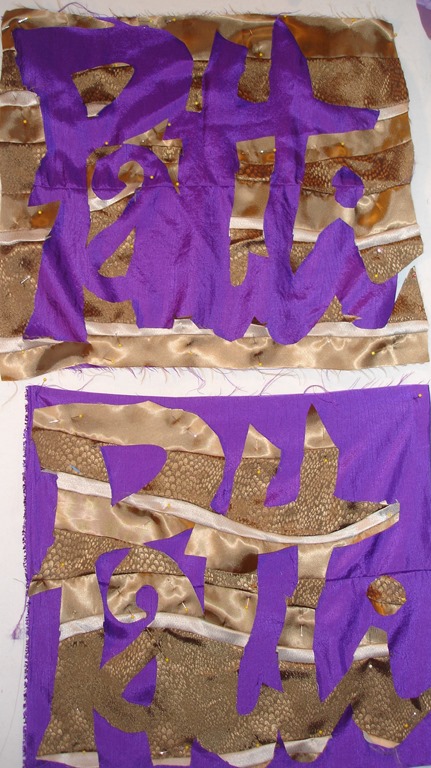
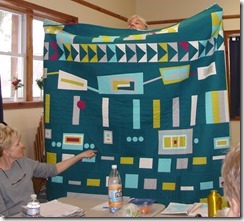
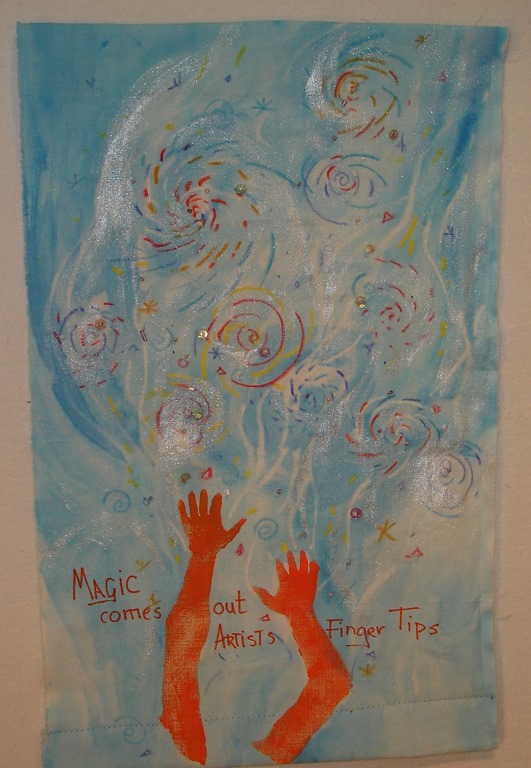
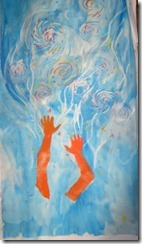
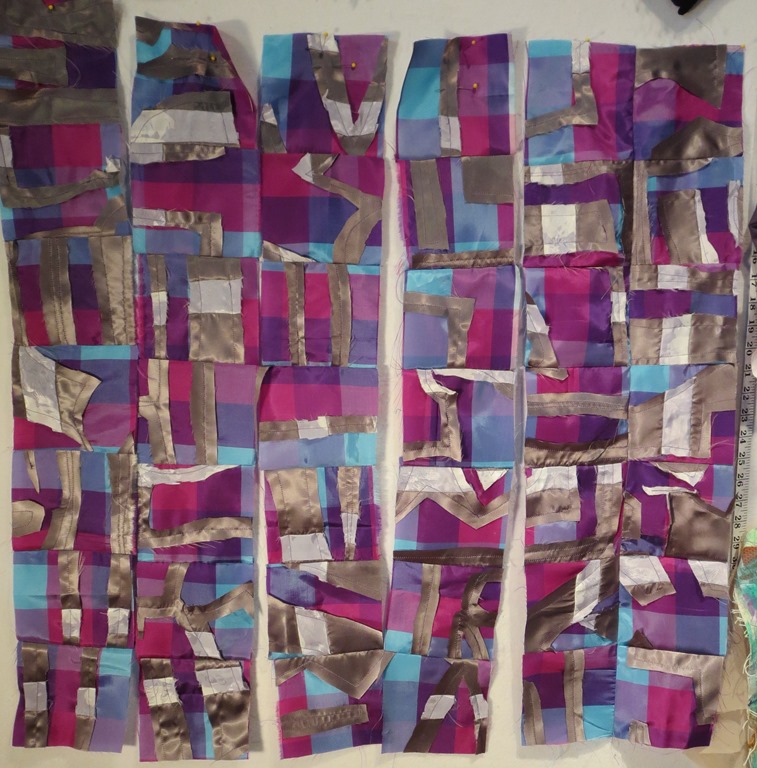
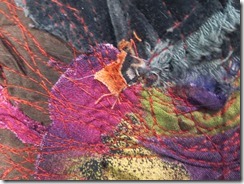
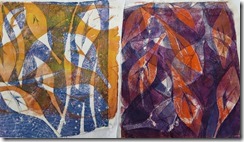
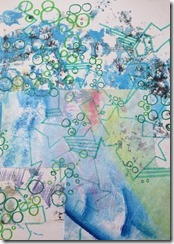
 Make Visible is the title I have chosen for this new work. I spent and afternoon with Susan last summer trying out all her mark making
  tools and in doing that I wrote lots of different quotes. I had pulled out a bunch of fabric last week and this piece seemed to go with one of the collections. This shot shows how I star the assembly of this type of quilt. I lay out were I want the big blocks and then I begin to fill in the spaces around them to create the top using 2.5 ” and 1″ strips.
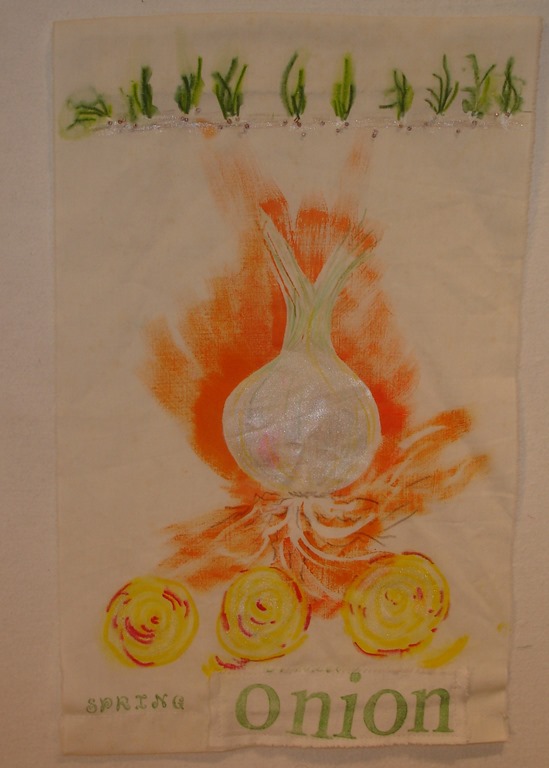
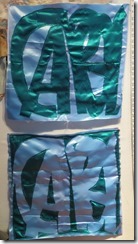
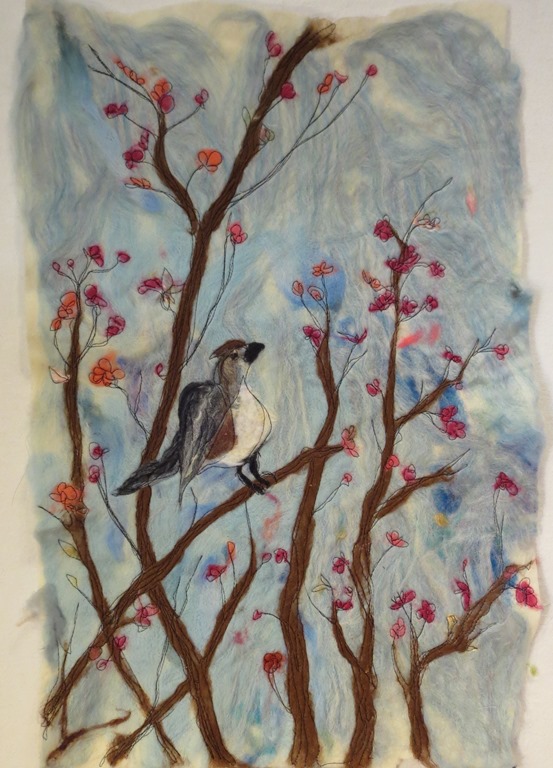
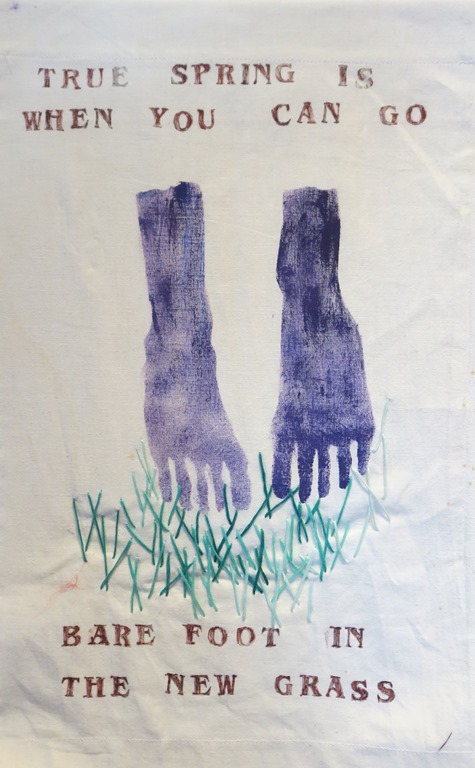 Flag- Spring Grass I got a call from Susan this week. She too is struggling with this flag challenge that we created. We agreed that for both of us, starting with the central image or center of interest first- is not the way either of us works. I am not comfortable filling in around the graphics we are both working with. But I will persist as that is how growth takes place. I only finished this one this week. I am still struggling with the text as a part of this challenge too.
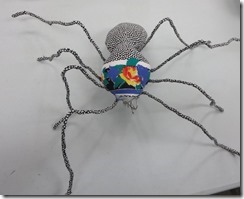
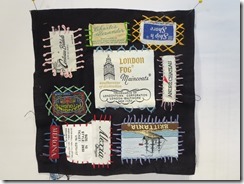
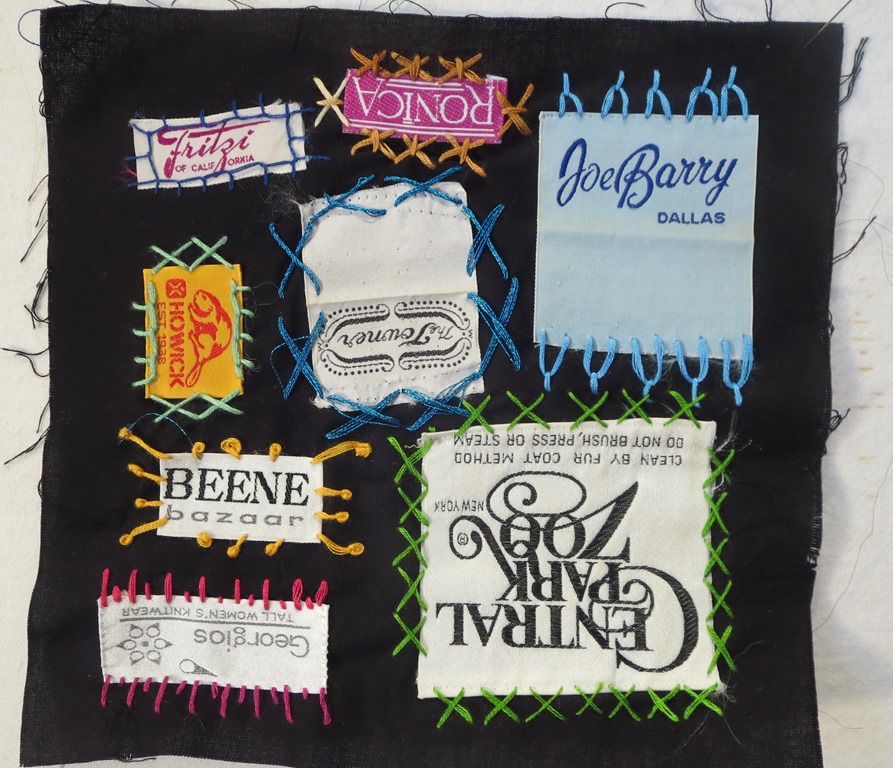
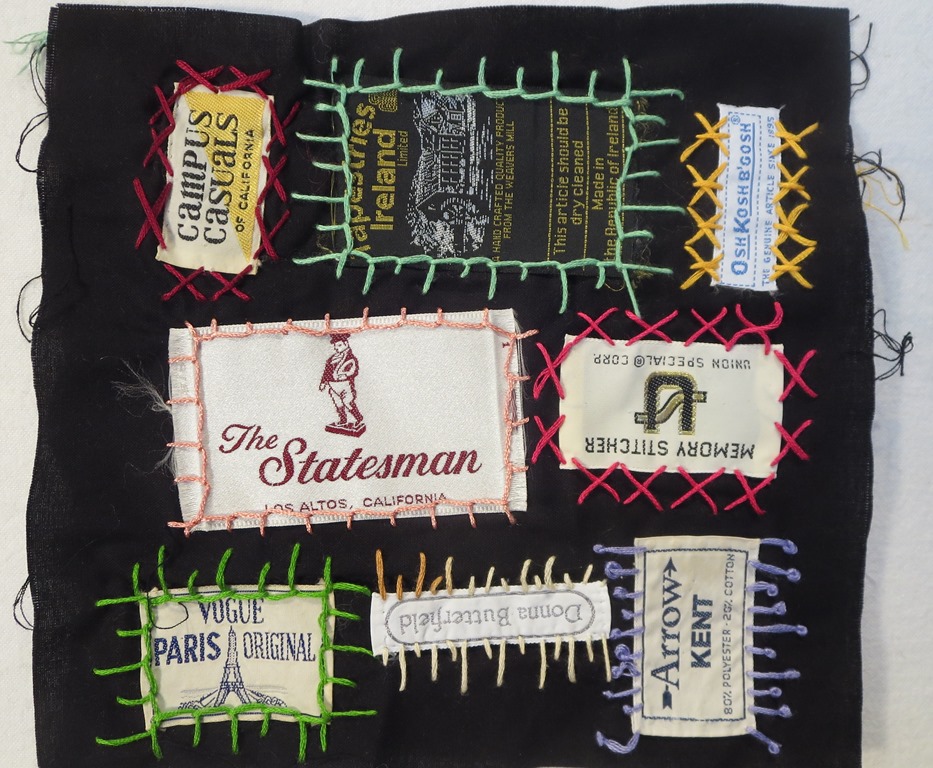
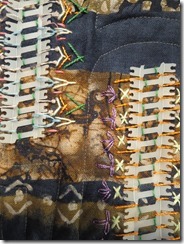
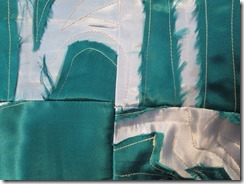
Label Block The beat goes on with this project.
Keep Creating
Carol