 Hello,
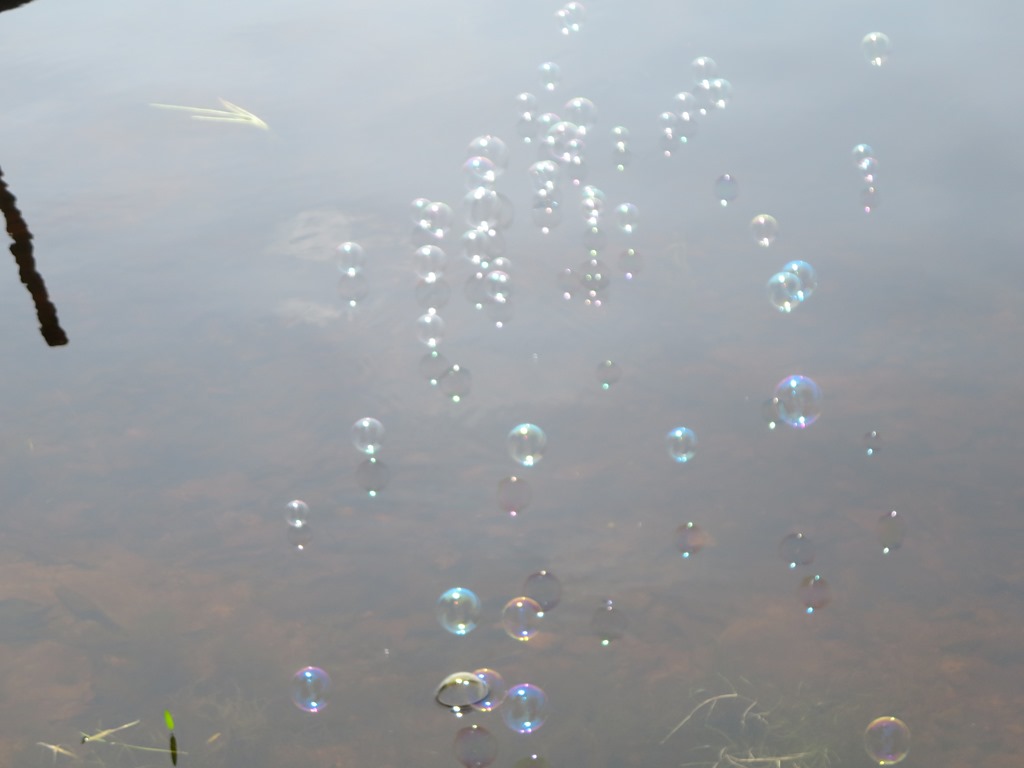
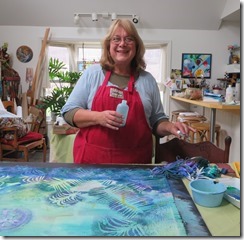
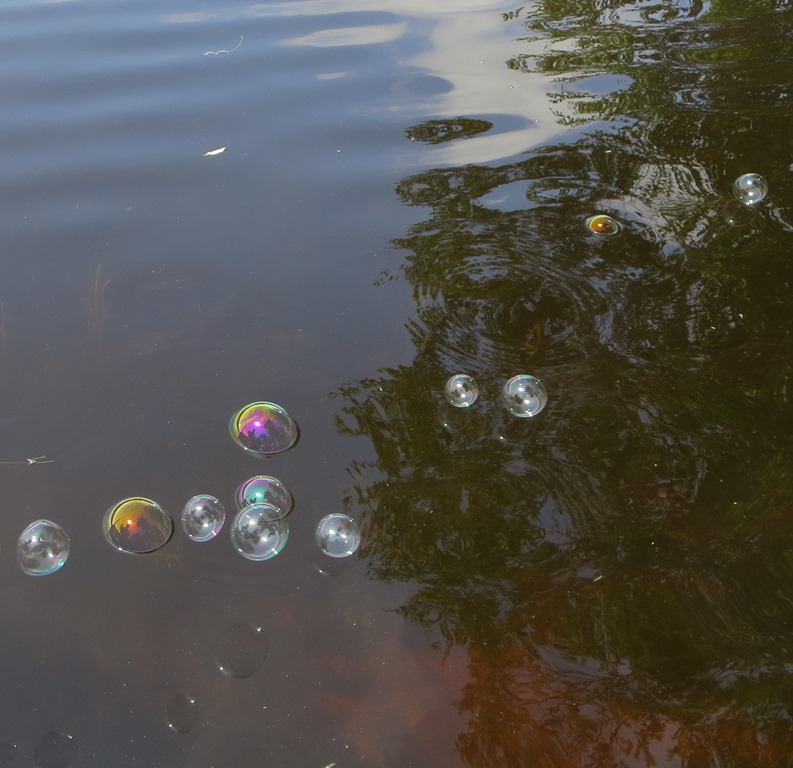
Its summer here and I am enjoying the weather. I spent a day on the lake with my art friends and enjoyed myself toughly. As the pictures shows we played with bubbles and it was great fun. I especially like how the bubbles still floating in the air are lightly reflated in the water.
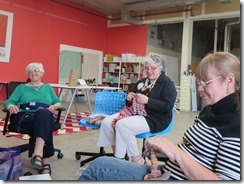
The first Tuesday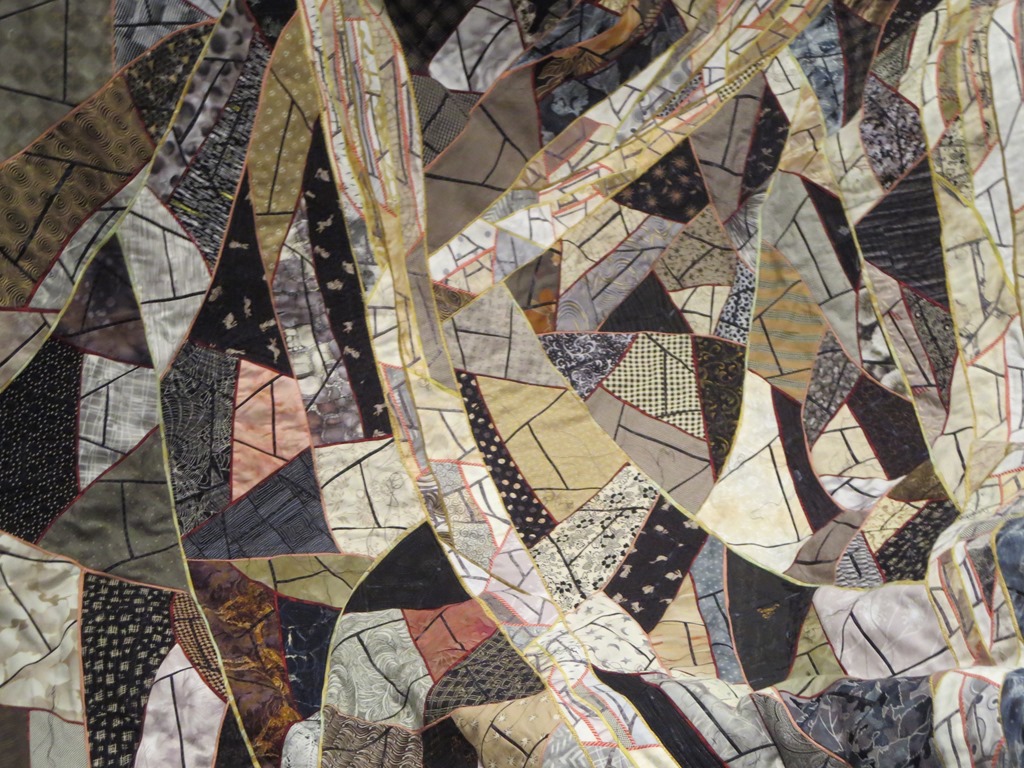 of the month was this week so I had meetings. First I went to the QuEGs meeting. Linda is making great progress and quilting on her quilt. She will be teaching this construction method at her quilt guild next month.
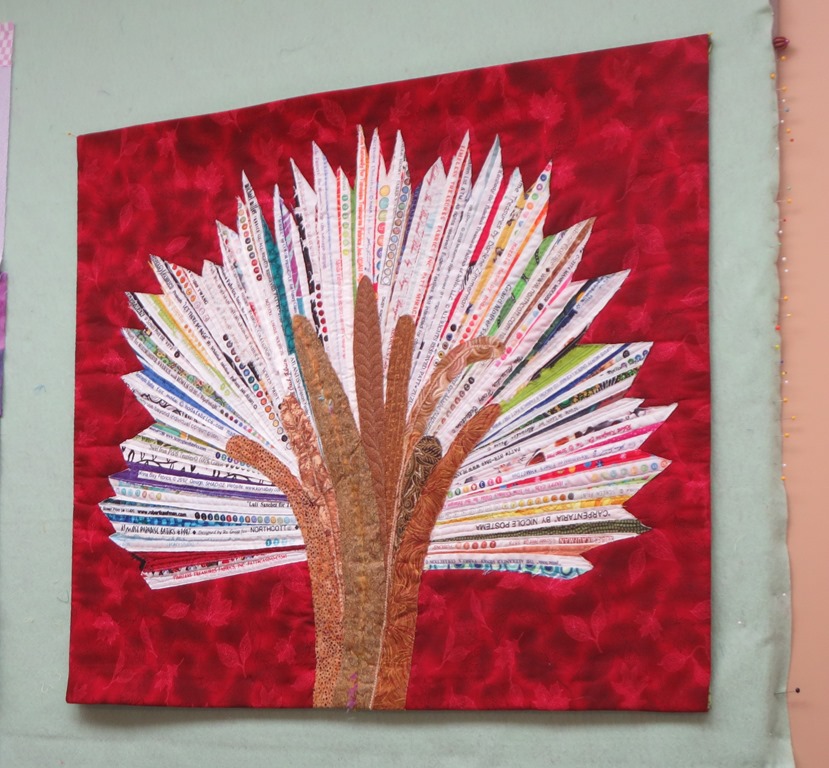
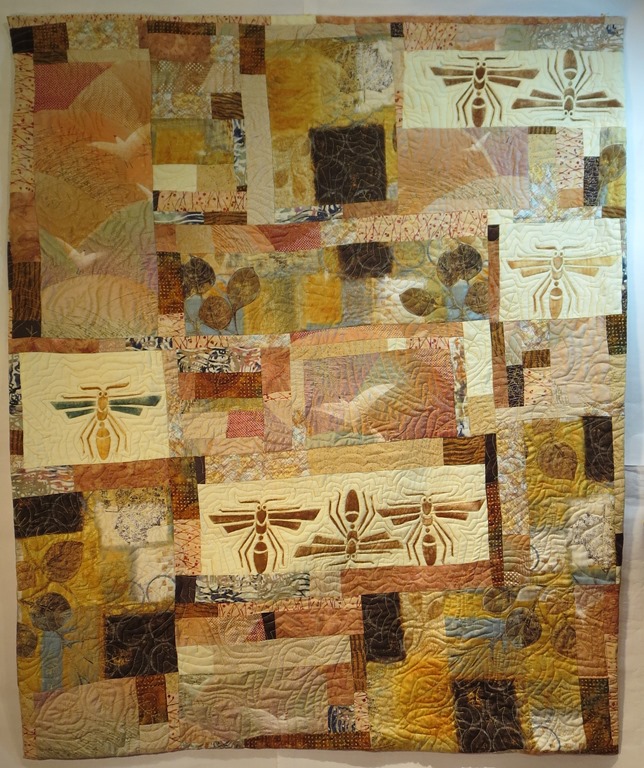
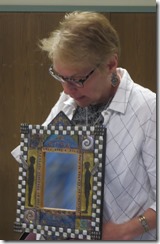
  Barb was on a completion of work push last month and she showed us four works. I like this one with all its texture.
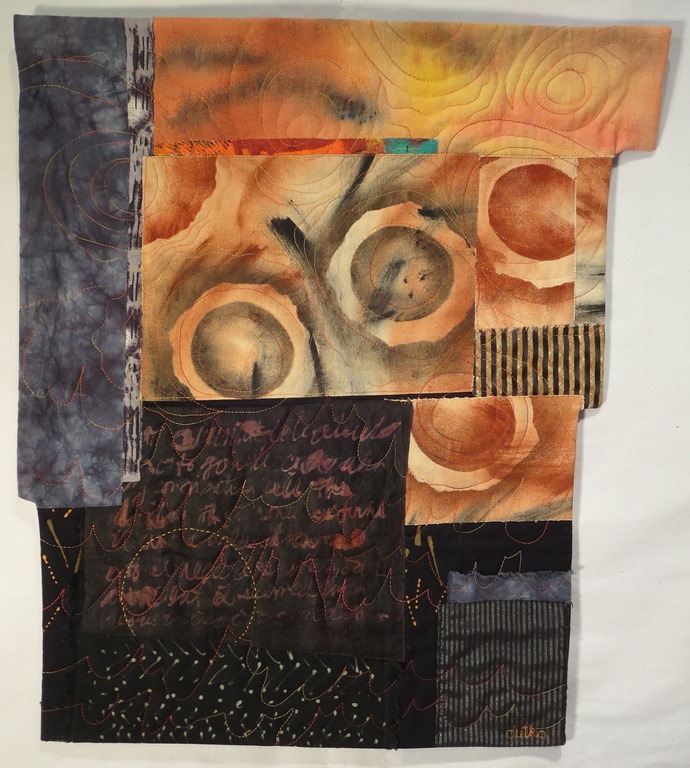
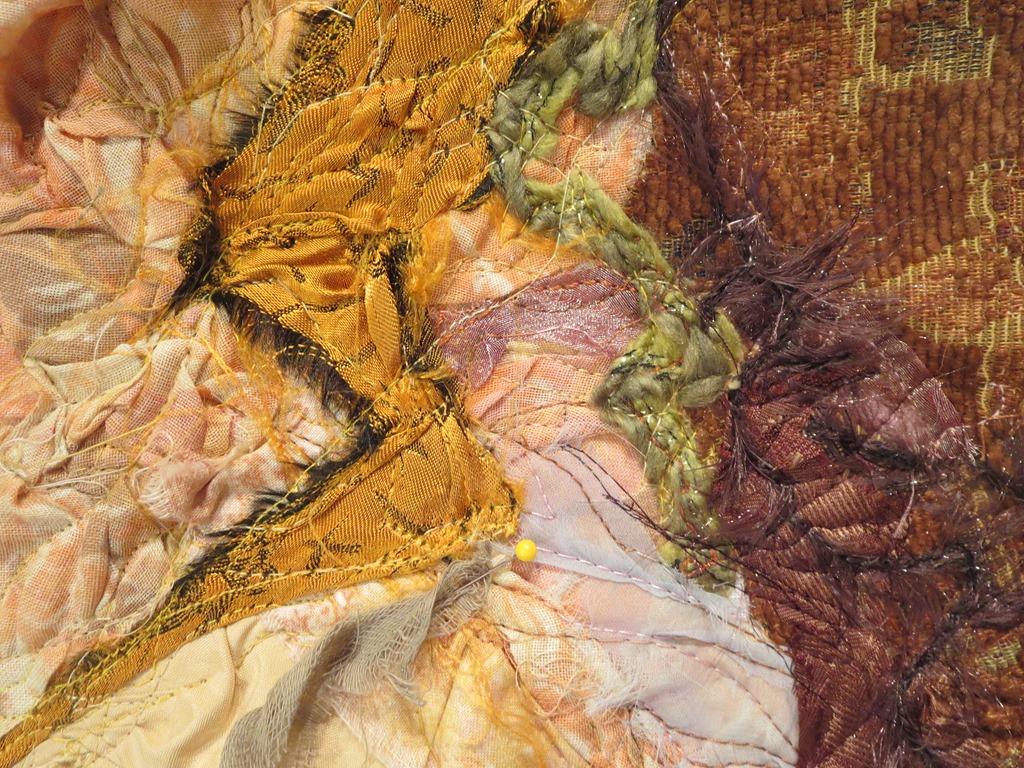
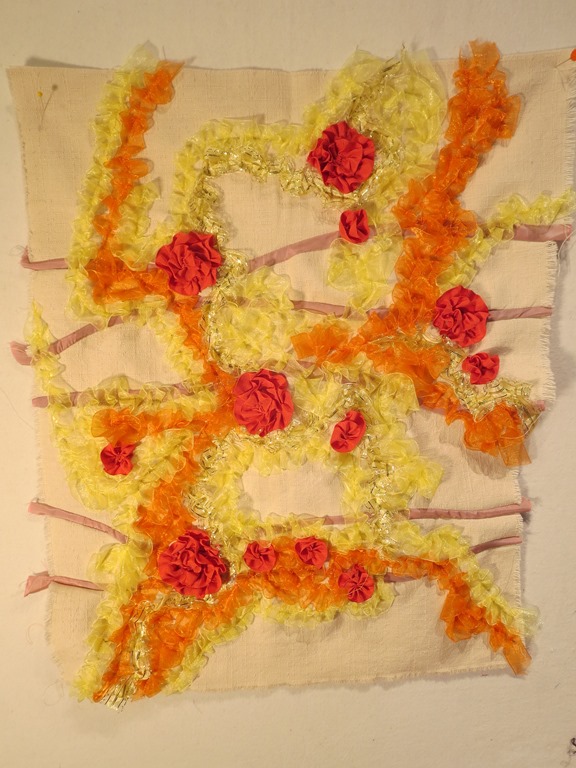
 Liz did a shop hop and got into the Row by Row game along with the shop license plate thing. She will be busy at the machine for a while now.
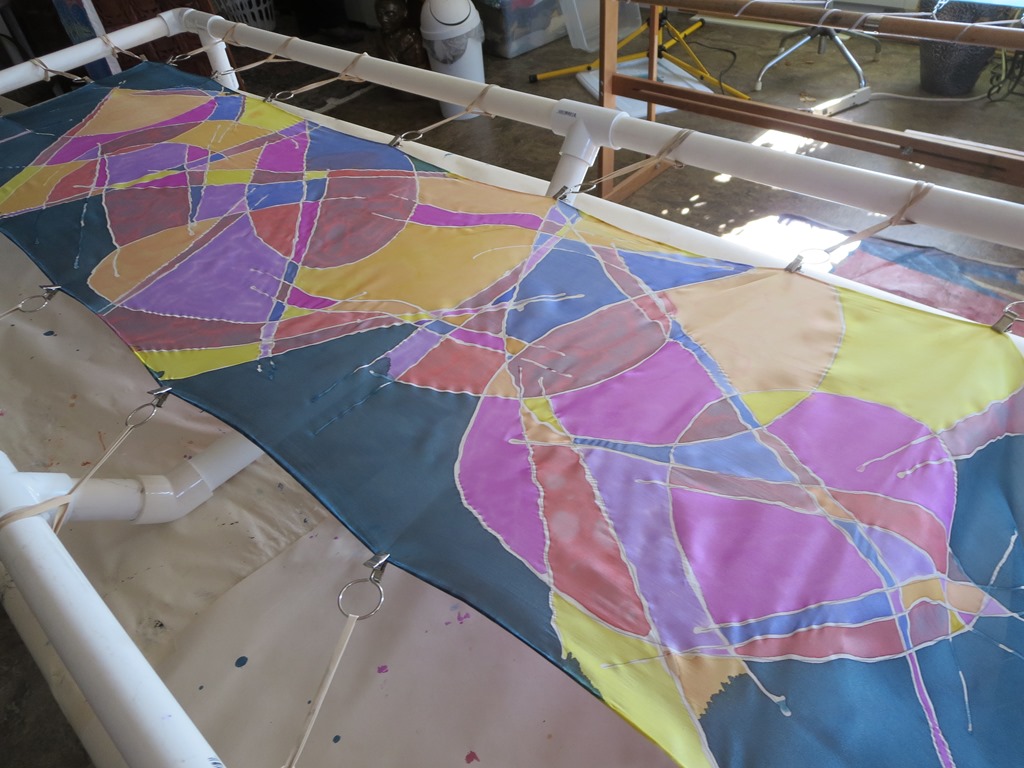
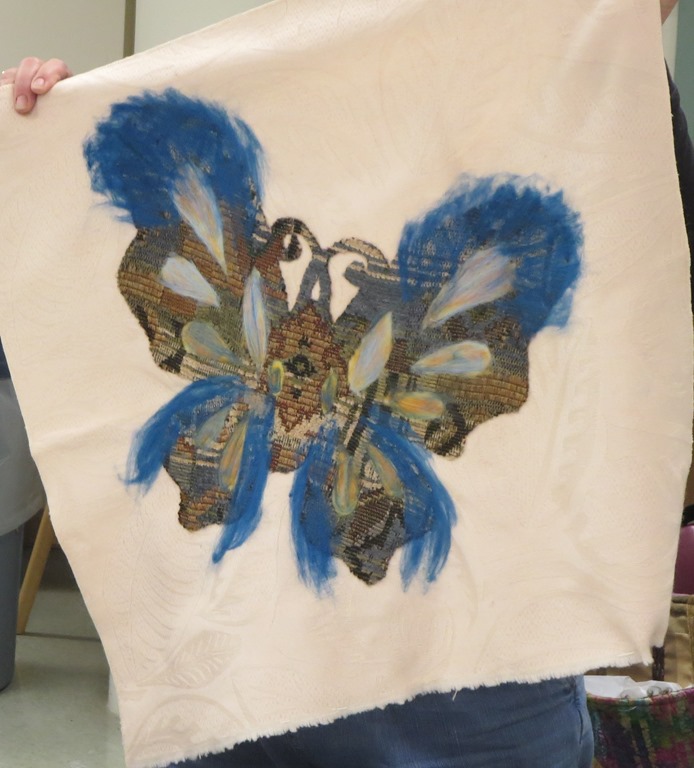
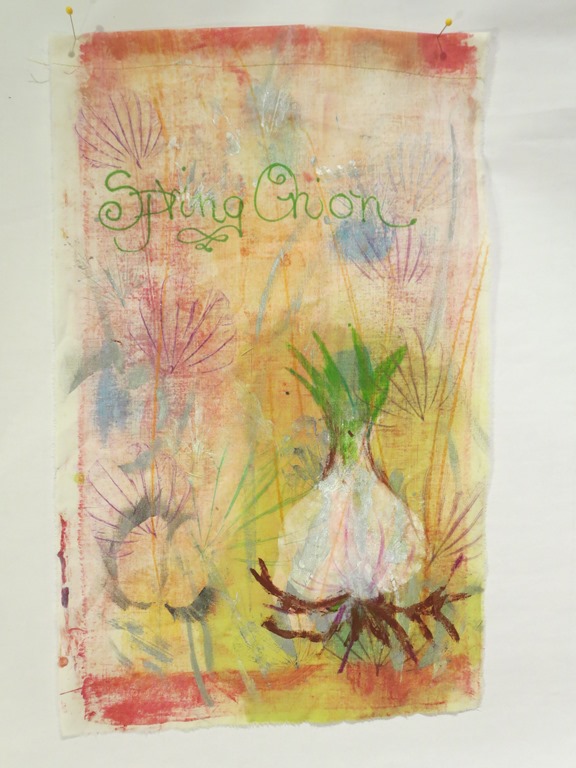
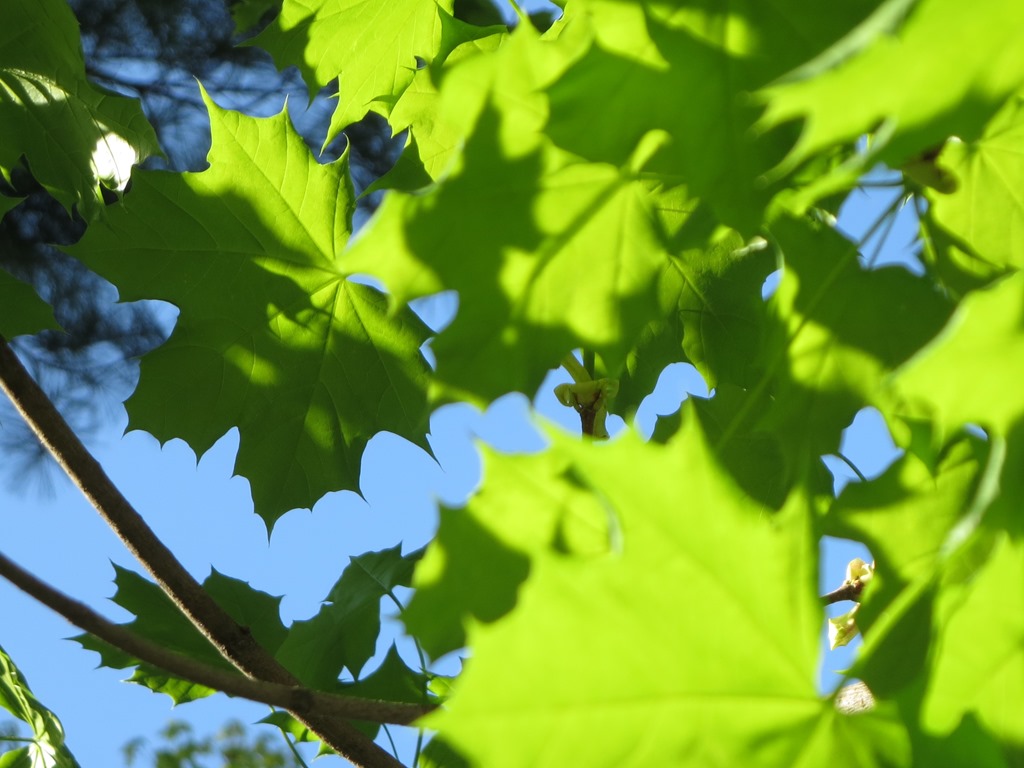
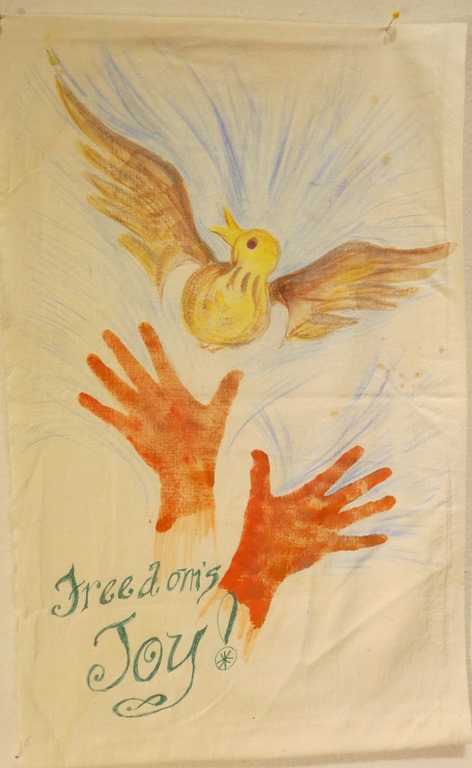
Then I went off to the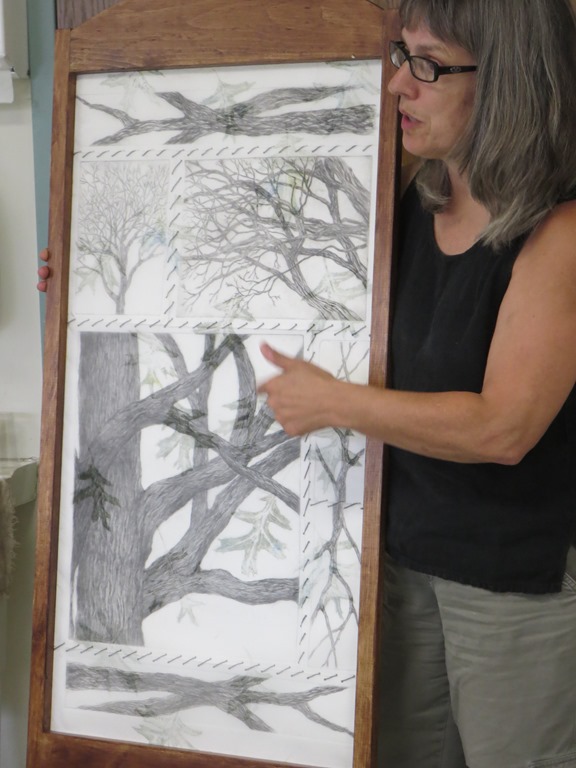 Diva meeting. Sharon got things started with her wonderful hand printed screen. There is a layer of organza on top with light green leaves printed on it too.
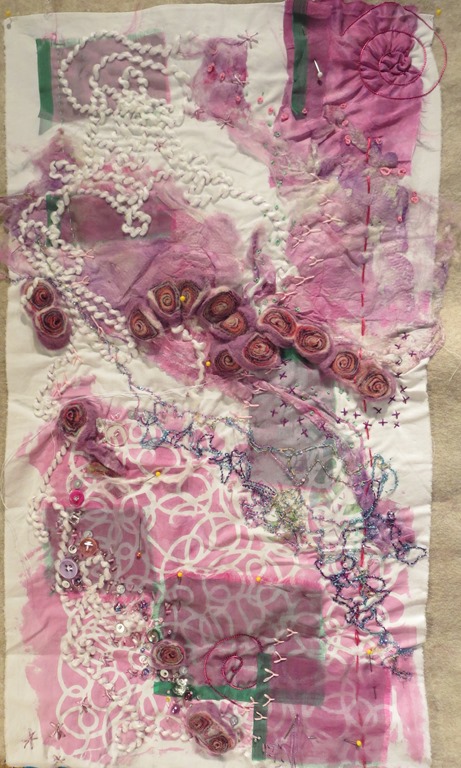
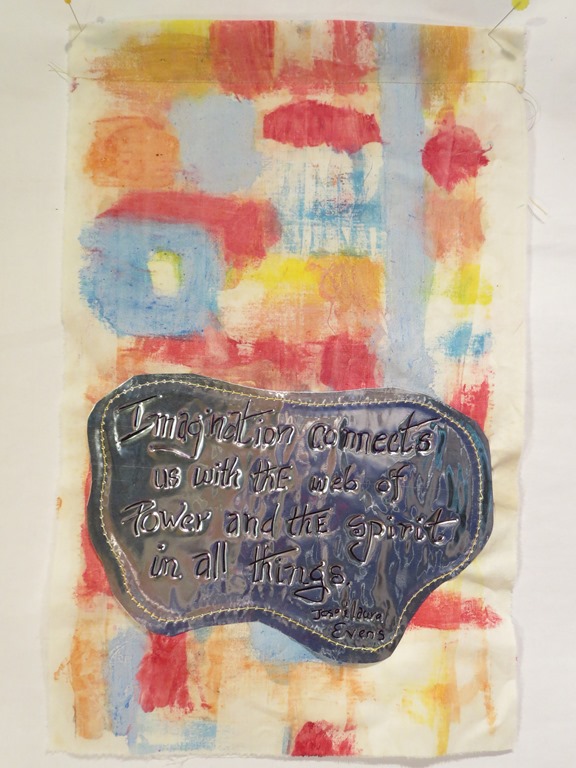
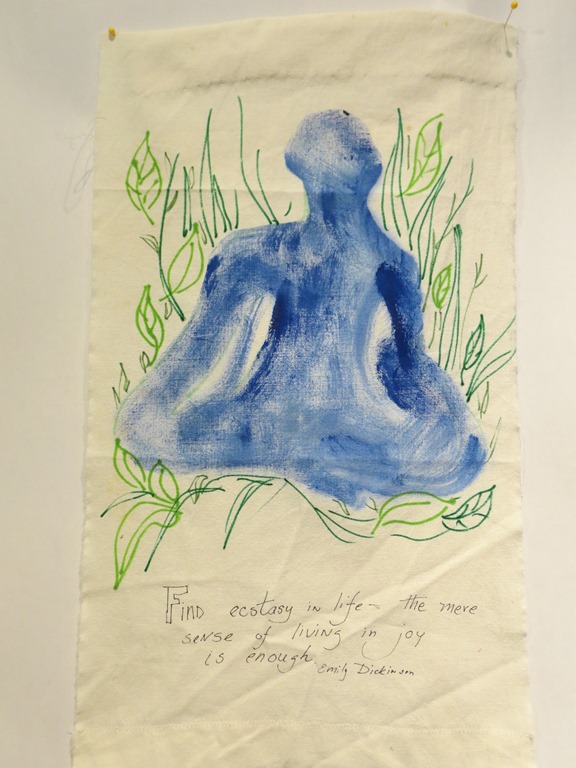
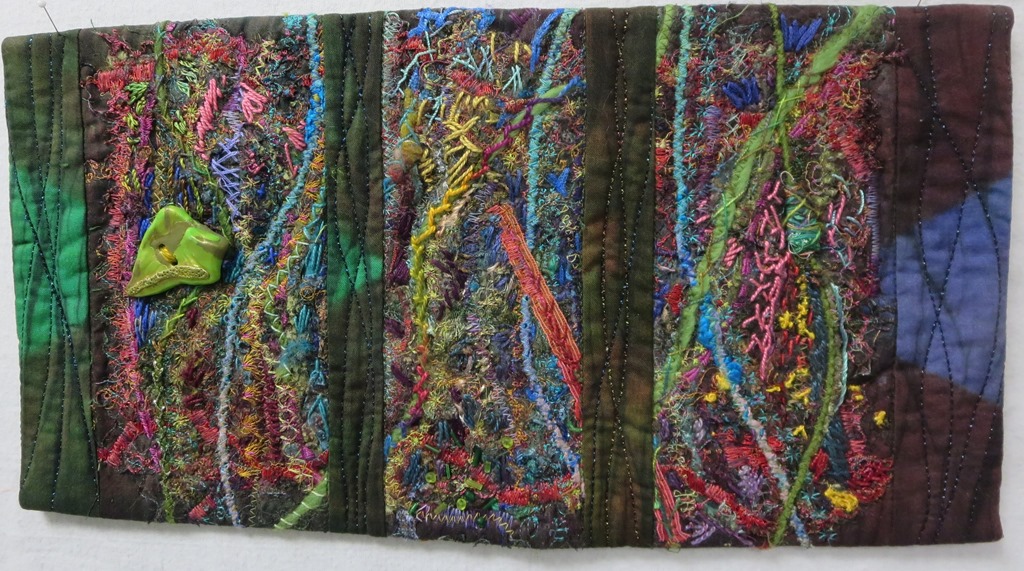 Lori was also on a finish up mission this month. She completed three of her little works. This one features a hand made button o the left. I love how she builds up so many layers of stitching in her work.
Susan 
 is looking and then working on old work with a new eye. The dolls were started long ago and the wood cuts were as well. It is always a challenge to return to unfinished business after time. Her life style of living six months in Florida and six months in New York means she does this all the time. Quite a challenge in its self.
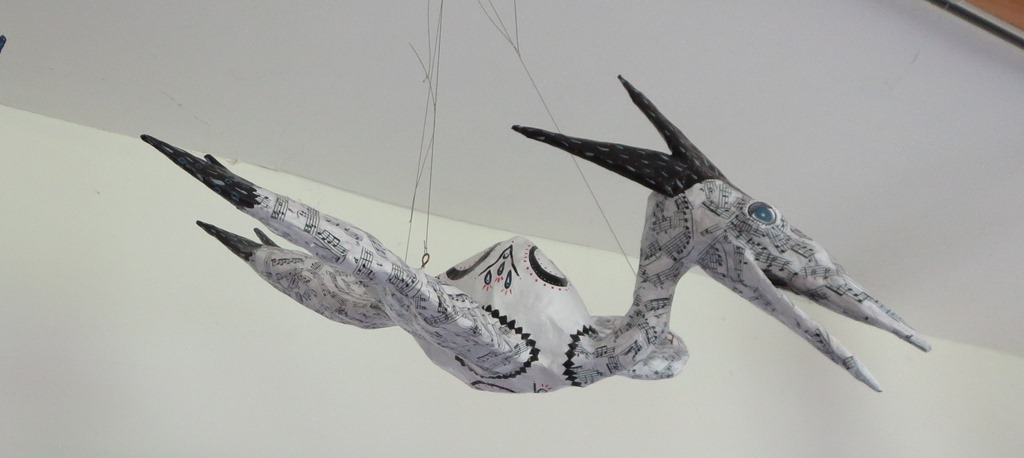
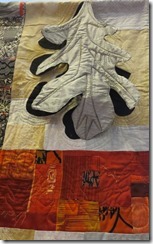
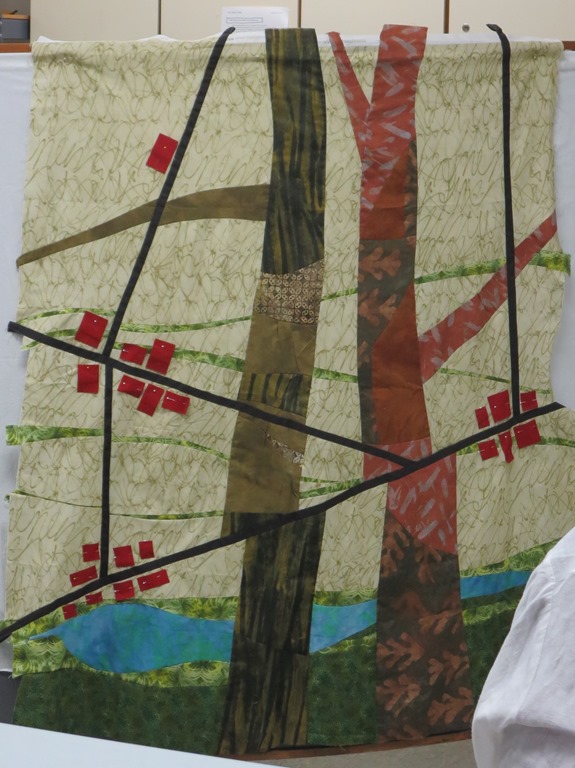 Anne is doing a powerful job with this work on grasslands and concrete. I love how the roads add to the broken feeling of the trees.
Alice is working of getting ready for
the Art Trail. I like this happy little fox work the best this time.
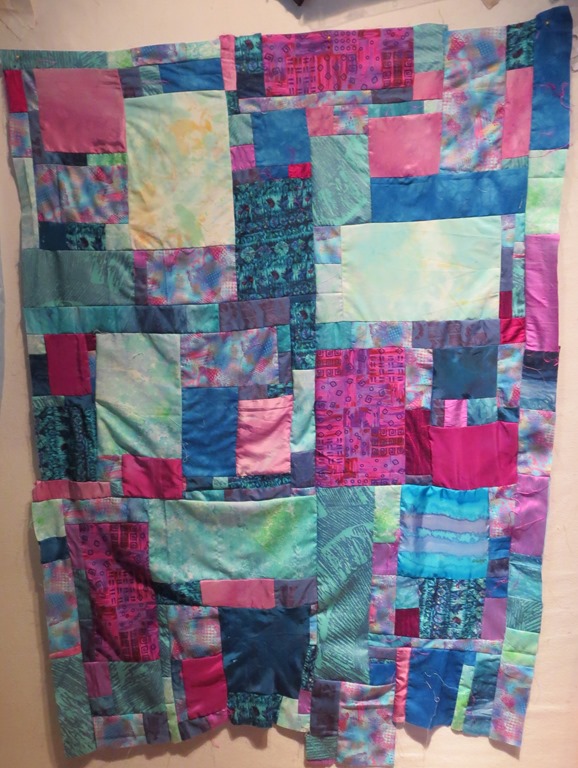
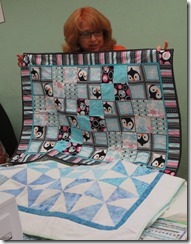
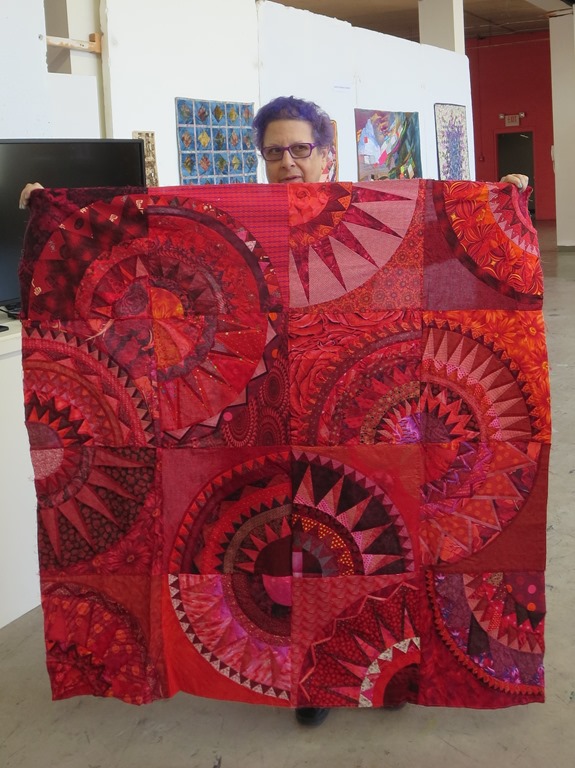
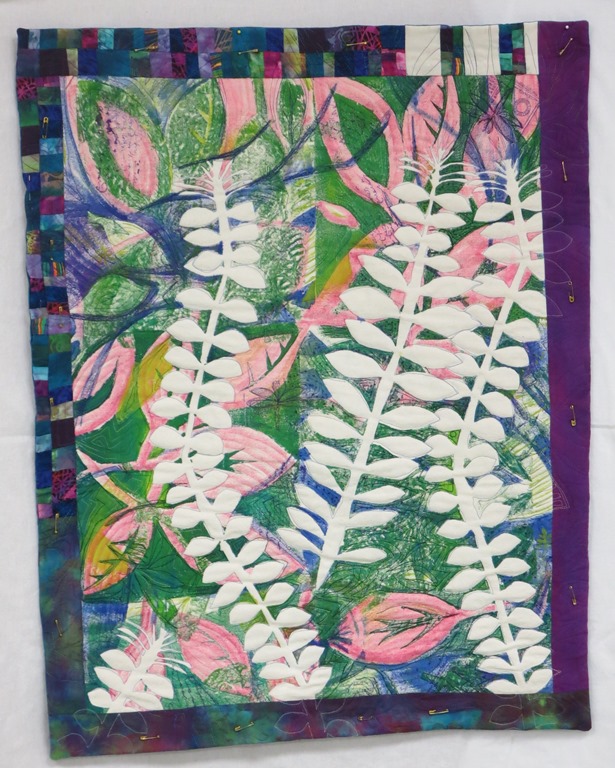
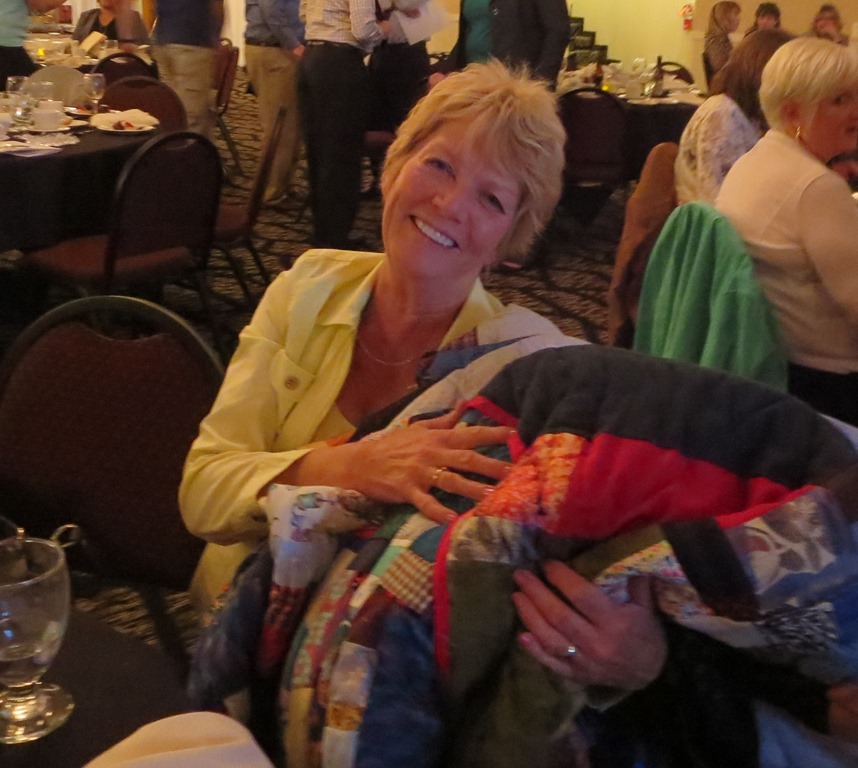
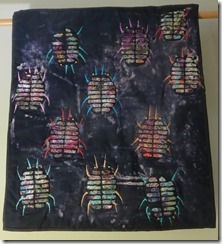
We had three visitors from the PEEPs group at this meeting. They 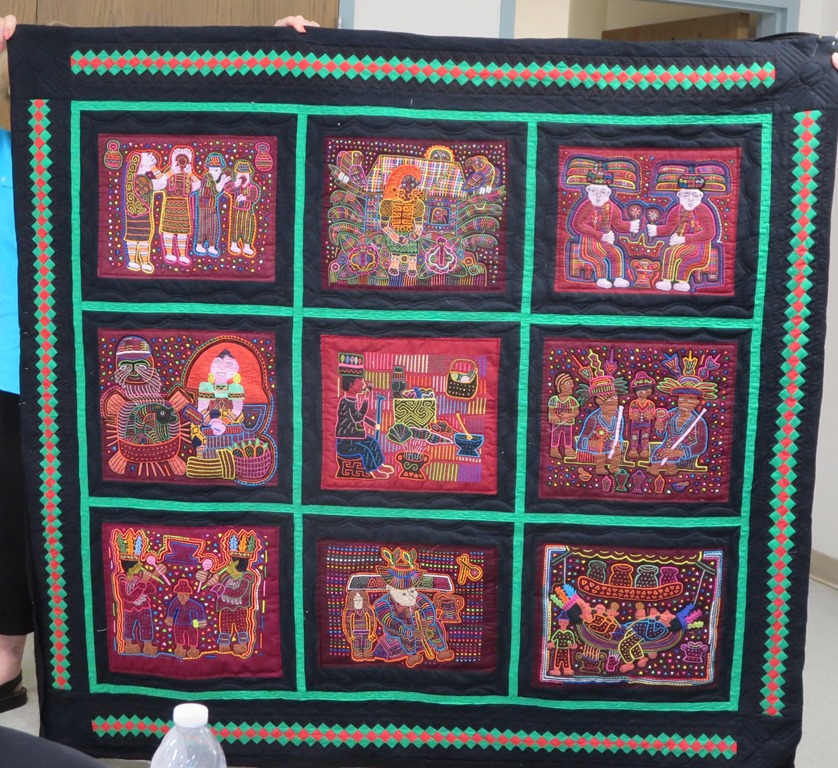 kindly showed us their work too. Perscilla is working on this great quilt using some of the Mola’s she has collected over the years. I really like how she put space between each panel and the red and green patchwork boarder is a strong addition too.
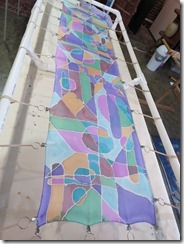
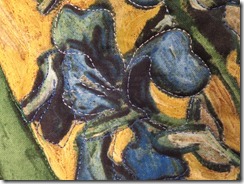
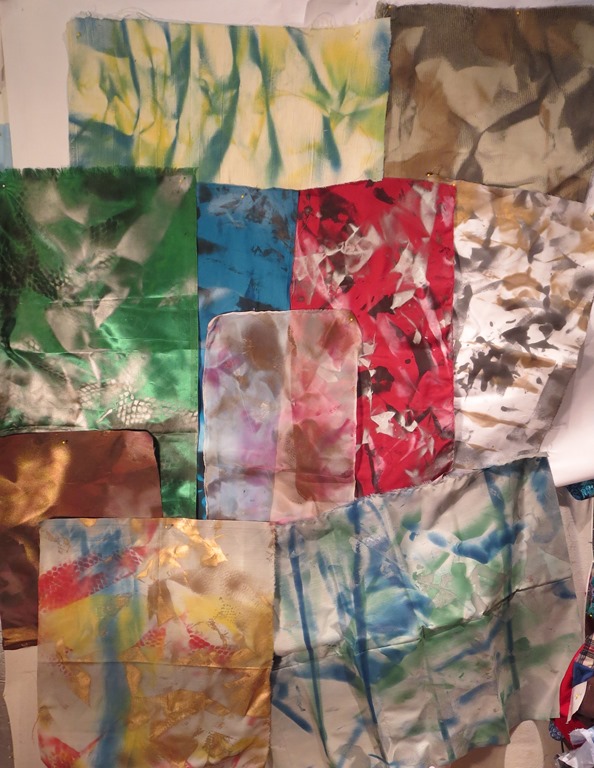
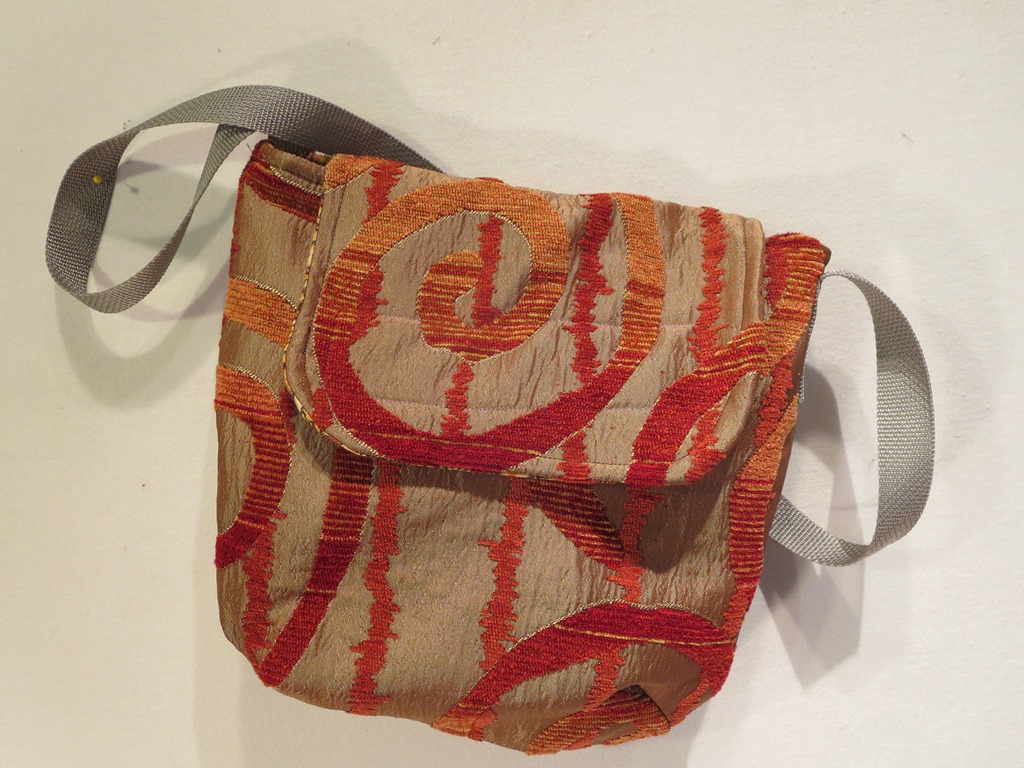
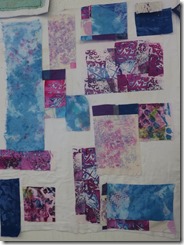
Jean dyed all the fabric 
used in this piece. I admire how she used the blue and orange together.
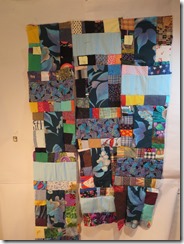
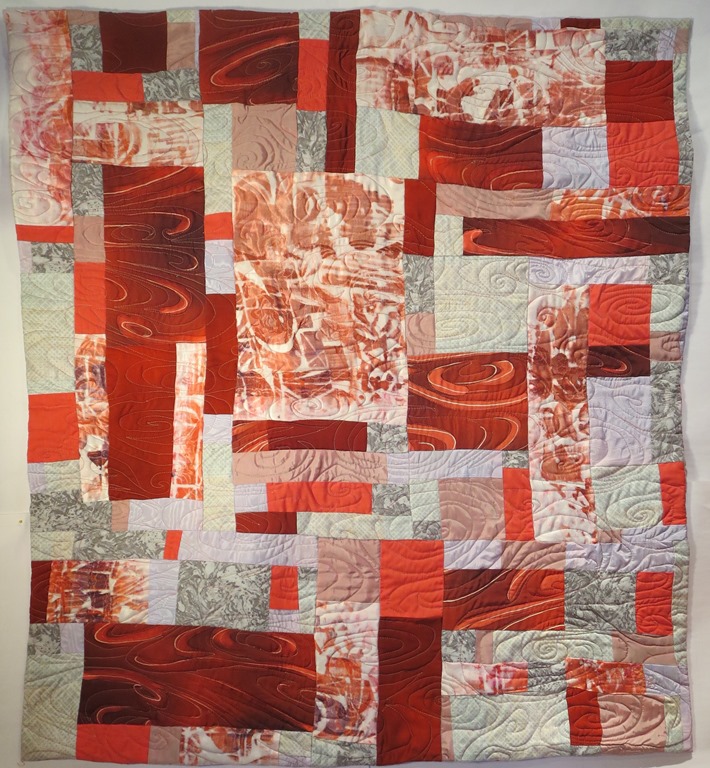
 Marcia explained her personal challenge for this quilt. I like how she created great depth with all her own hand dyed fabric.
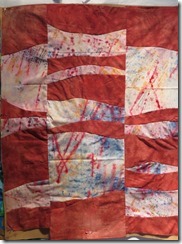
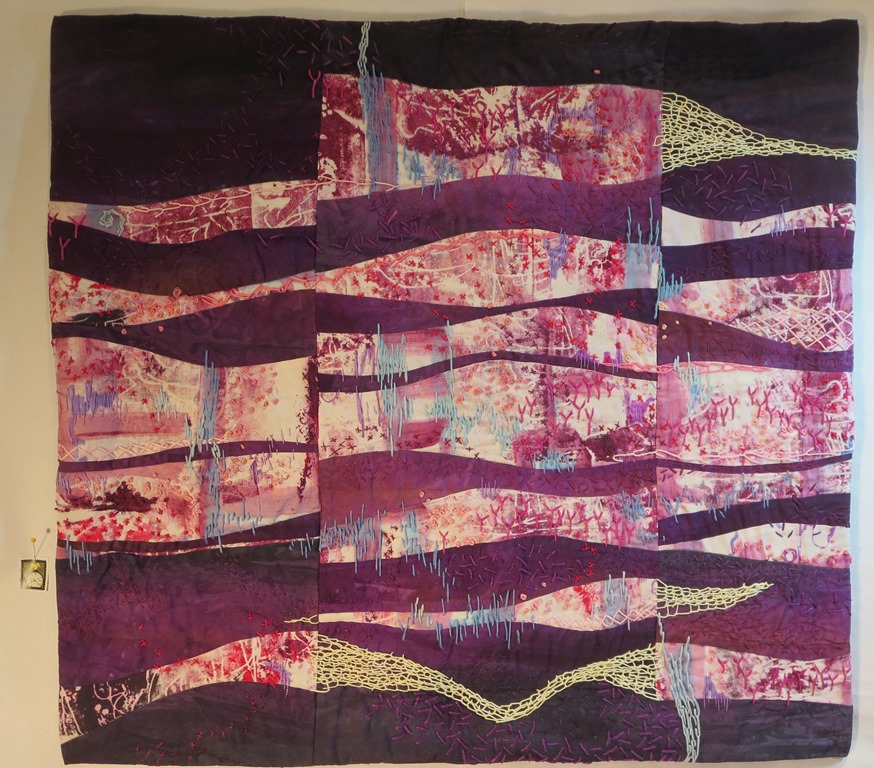
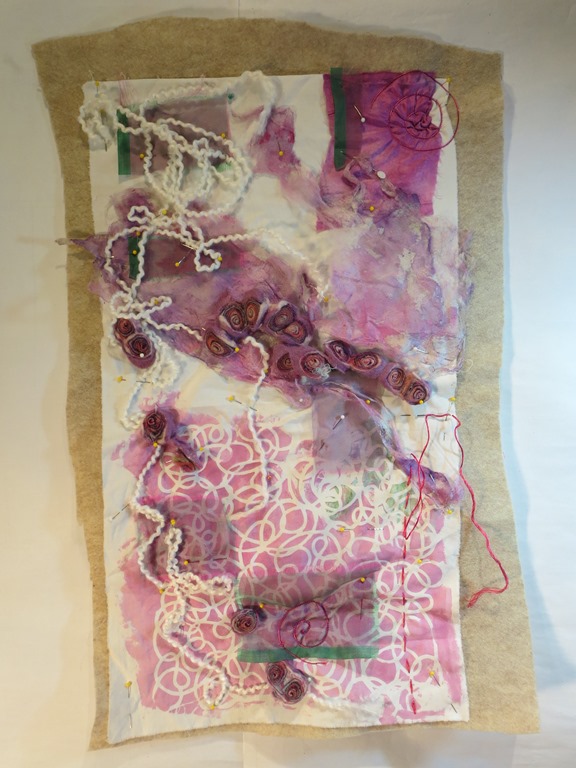
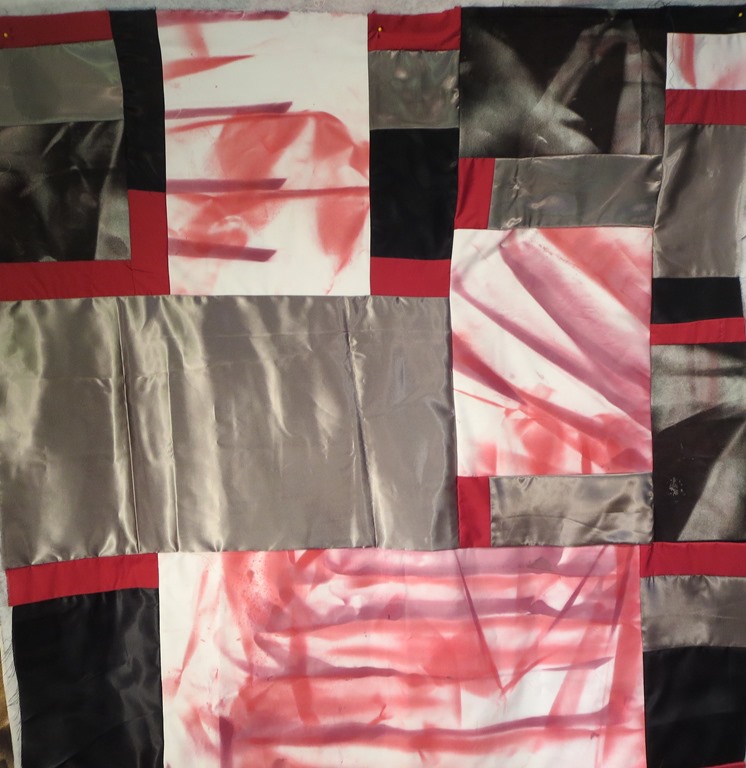
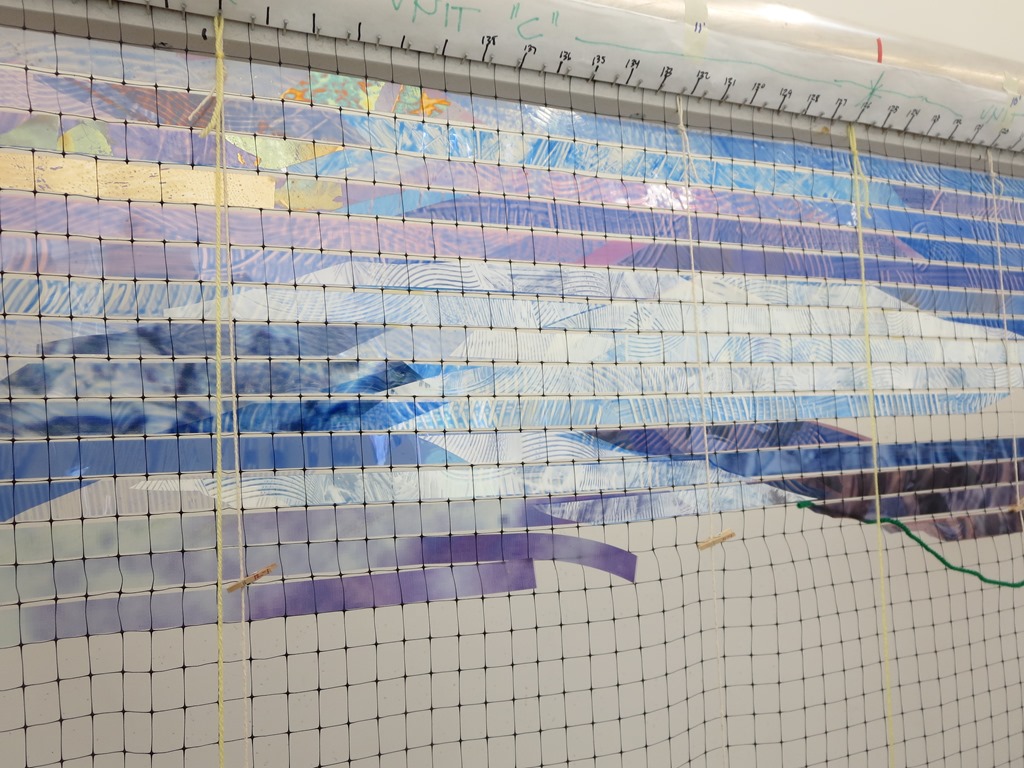
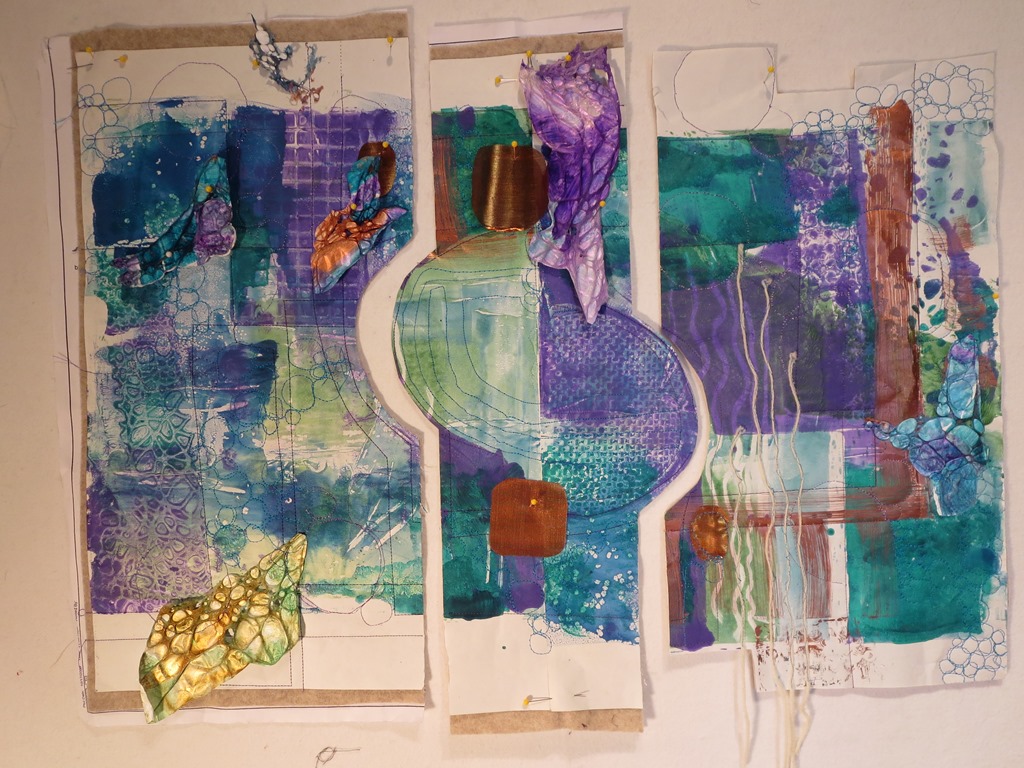
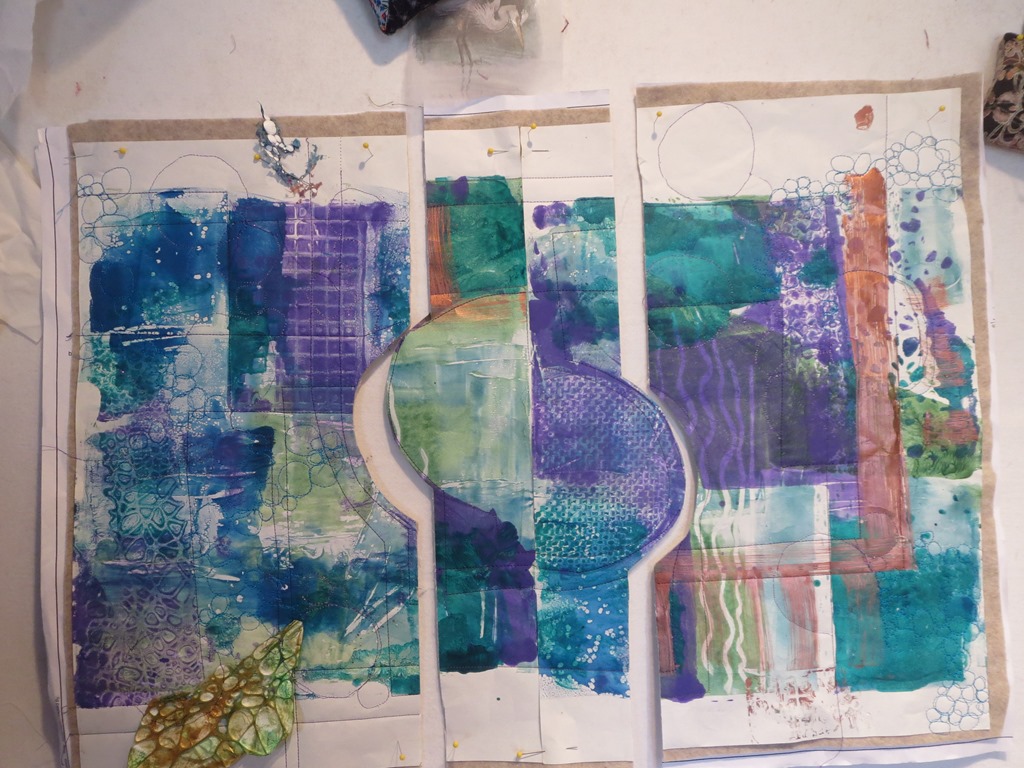
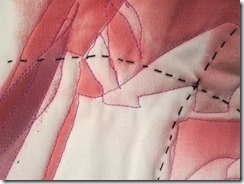
Progress Report: Relinquished 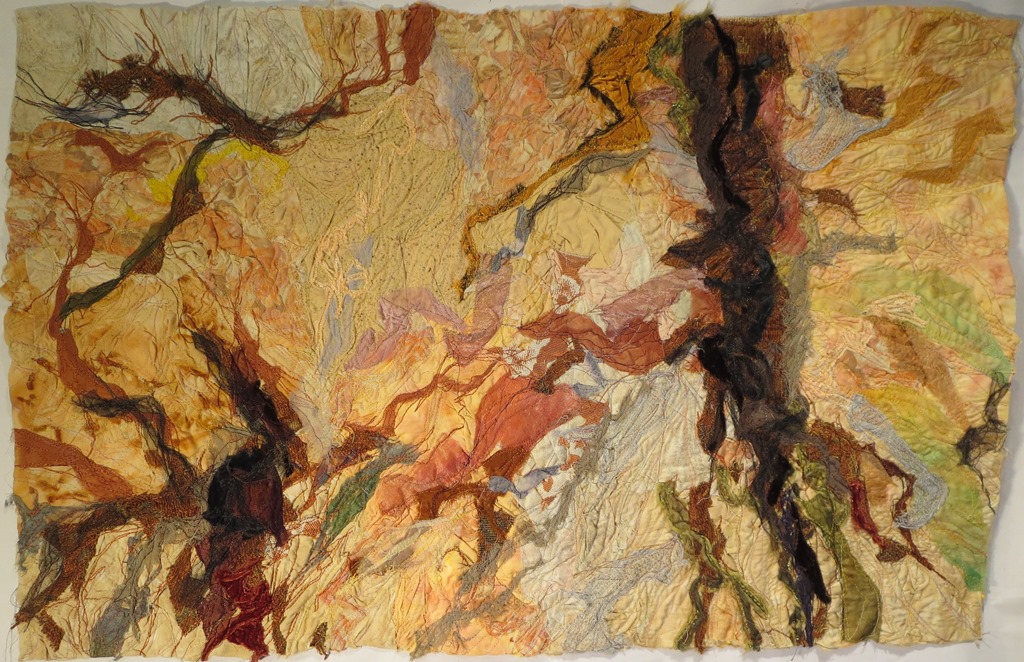 Region After the Diva meeting I felt I had to change the title of this work. Formerly it was called By the Shore. This new title helps give more of a feel for the location. I really enjoyed working on this project. Some areas must have eight or nine layers of fabric work

with lots of stitches on the surface. I so wanted the long vertical to be dark- but not black. Building that area was a great challenge to me. There are a wide variety of fabrics and yarns in this work: Silk paper, silk organza, velvet, wool,  valor, yarn, netting, upholstery fabric, rust dyed cotton and burlap. If it was the write color –I used it. Some areas took up to six hours to complete.
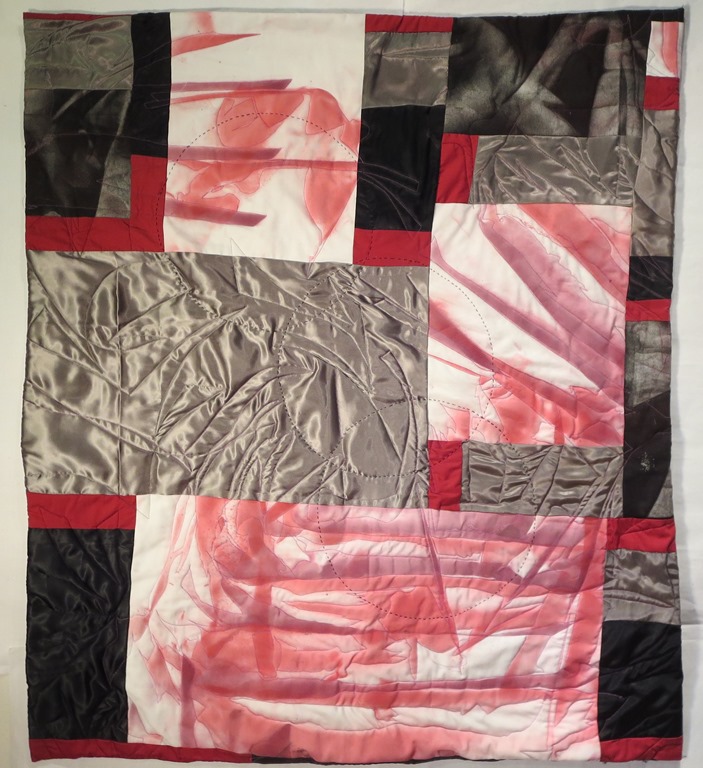
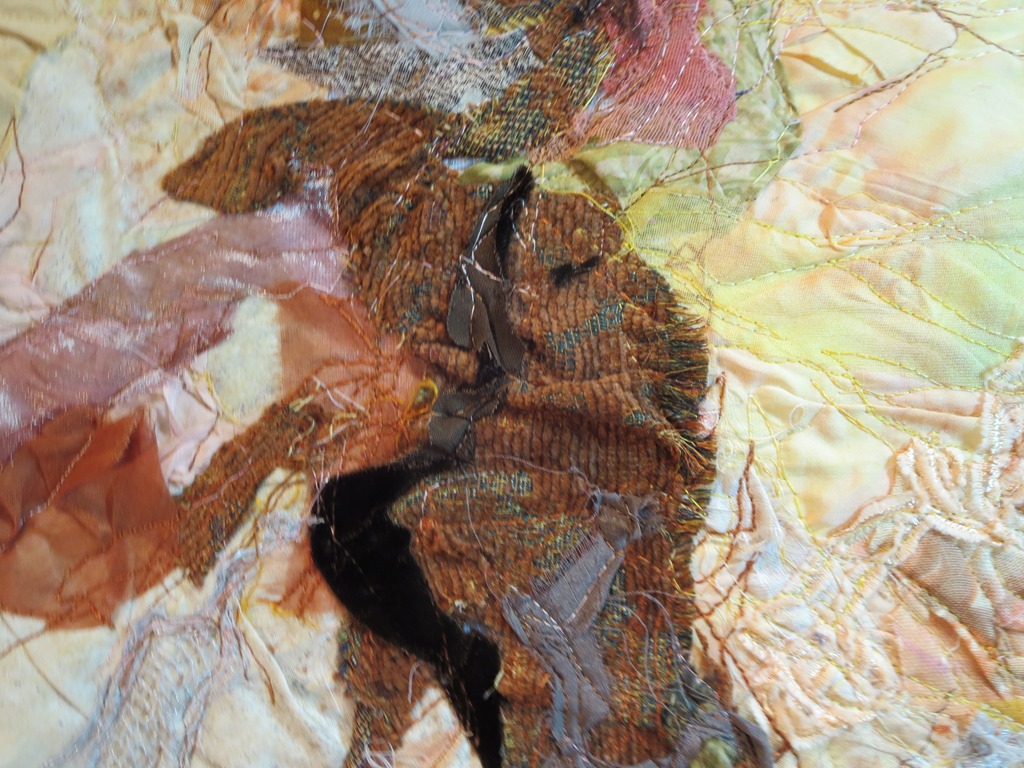
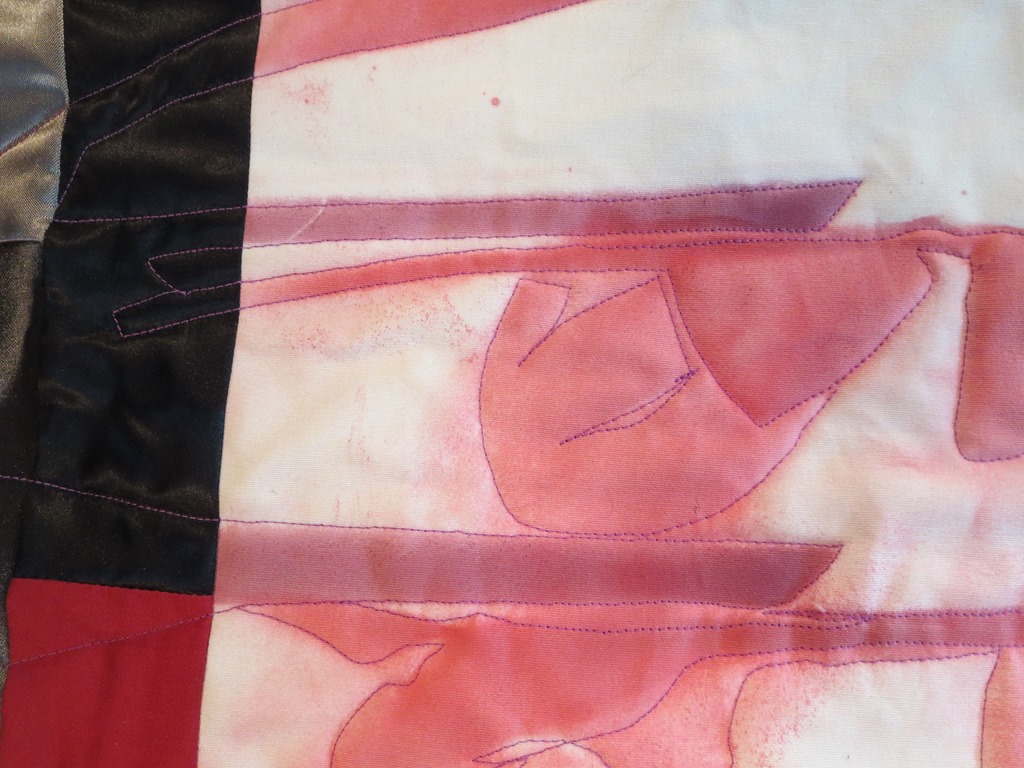
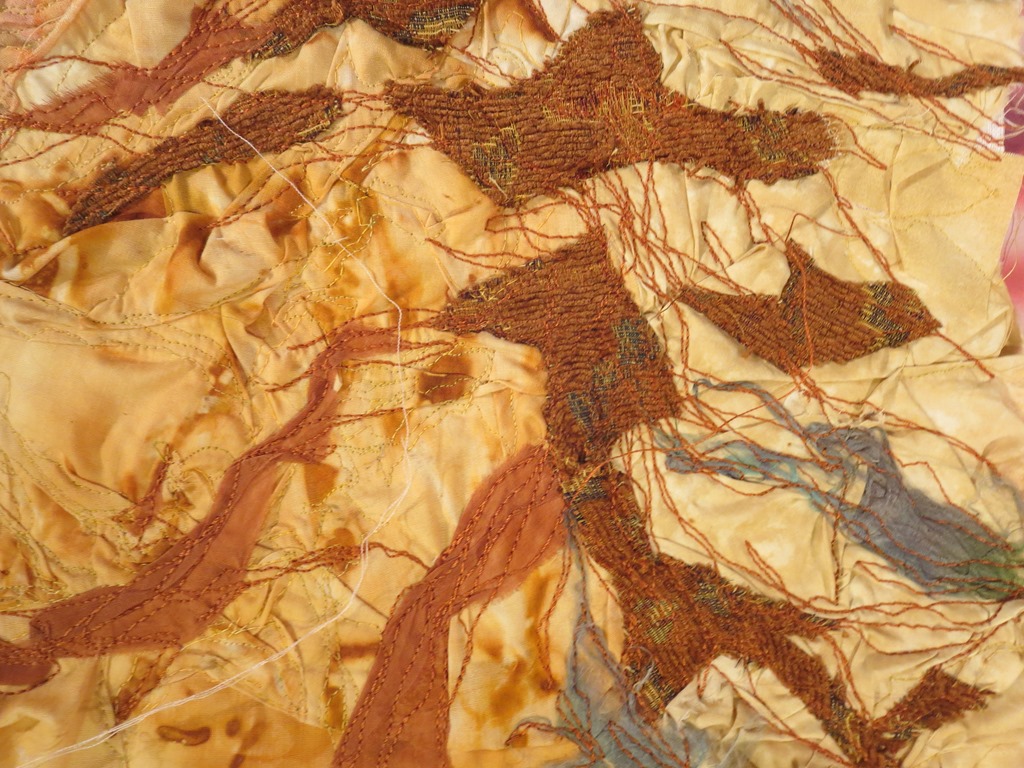
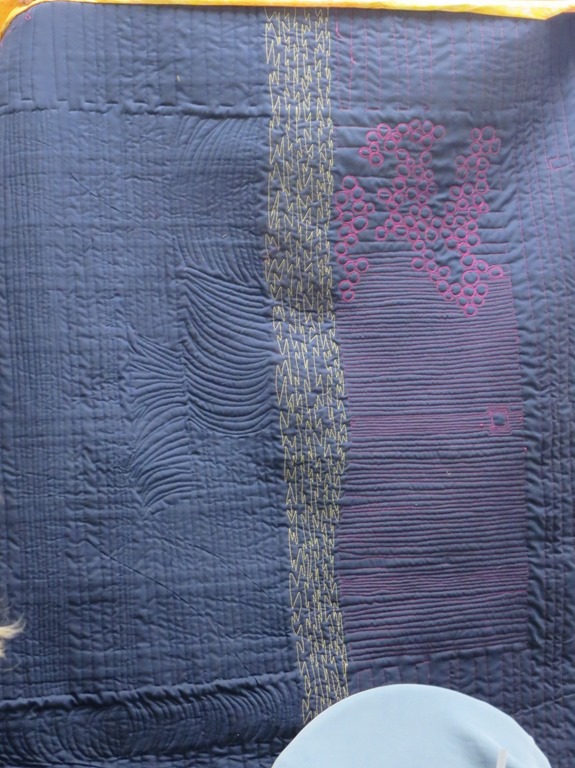
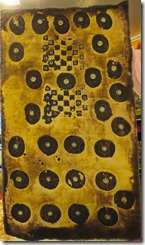
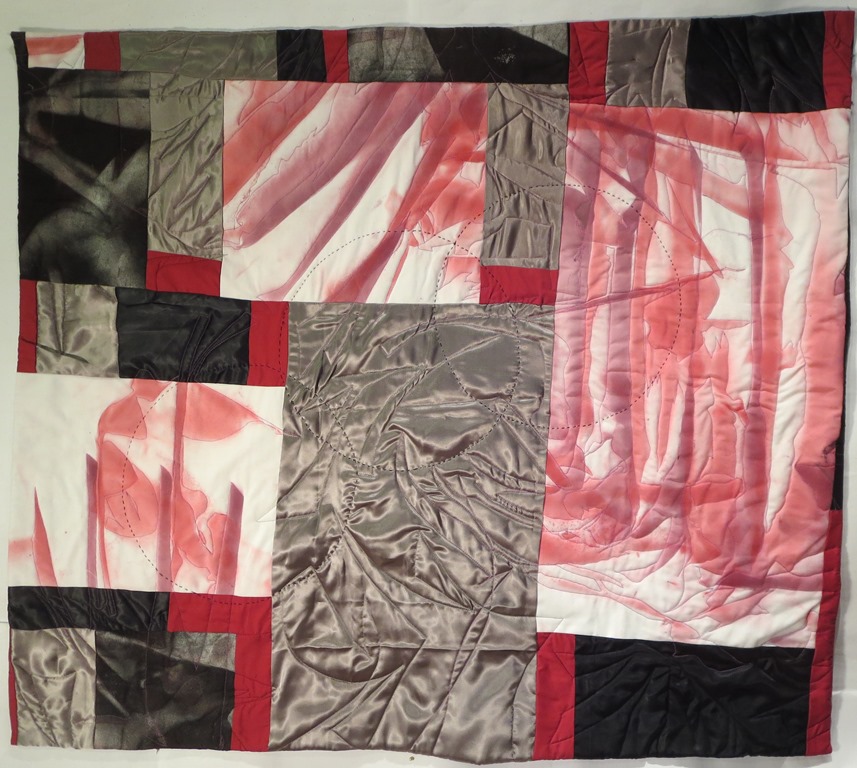 Working in a Man’s World Not until I took this to the QuEGs meeting did I see how a turn of 90 degrees could save this work. I was just about ready to call it a lost cause when some one suggested I rotate it.
 The difference was amazing. This only reinforces how important having a support group is to me.
The hand work also adds to the work.
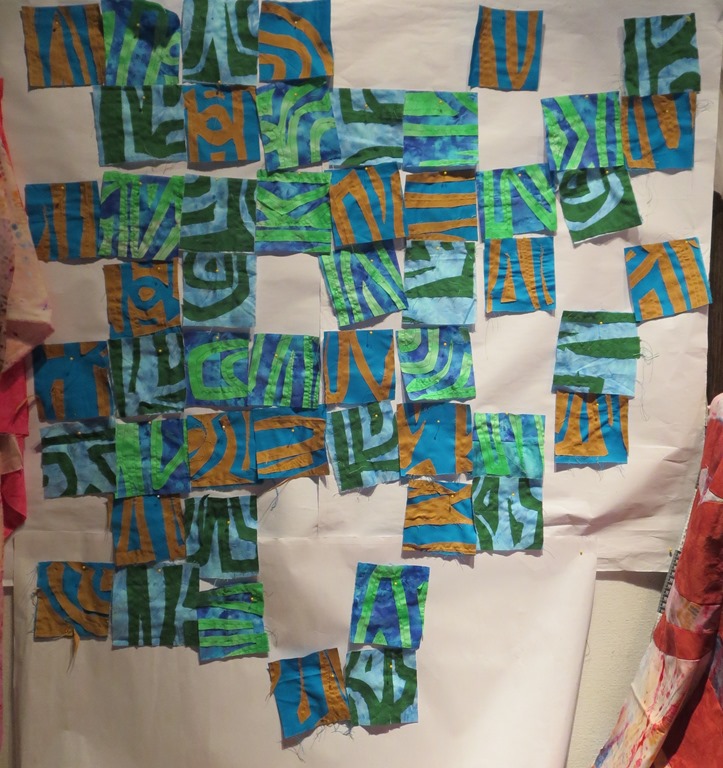
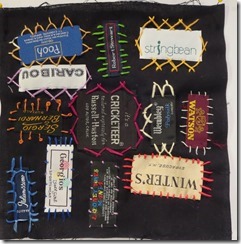
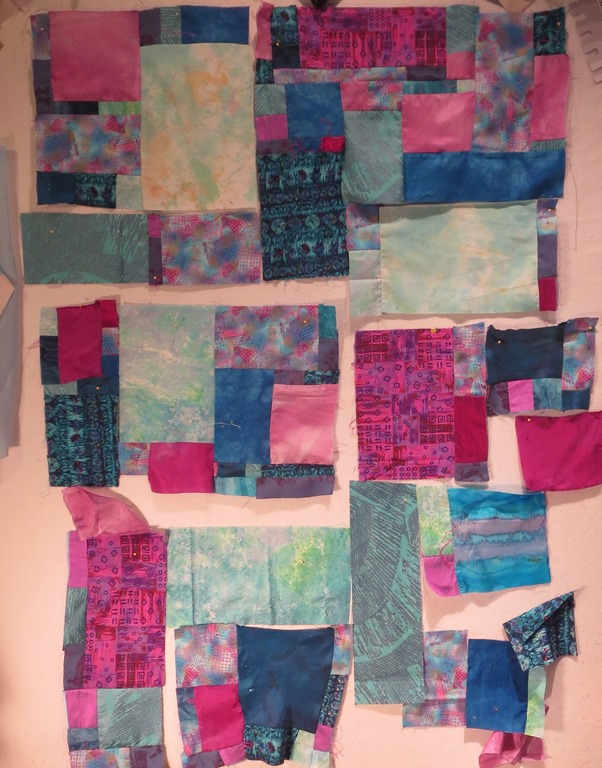
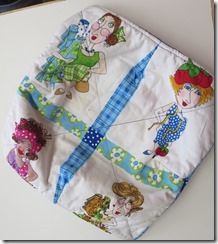
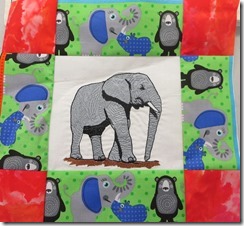
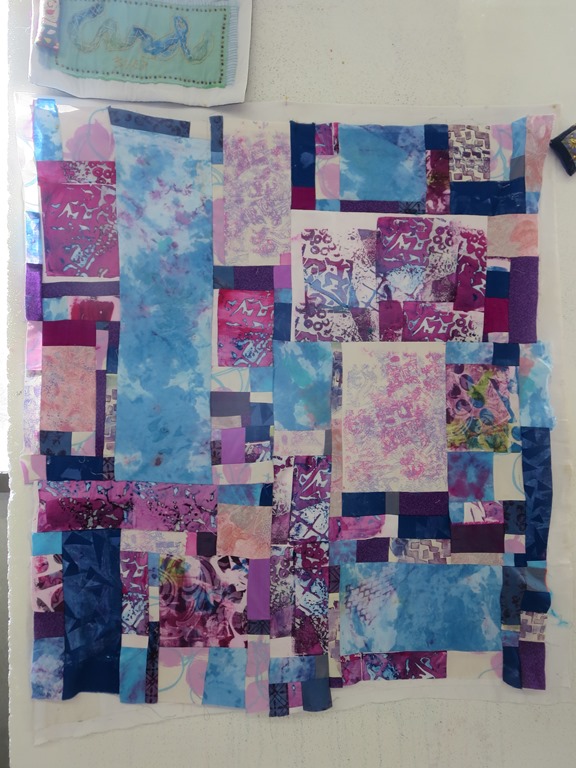
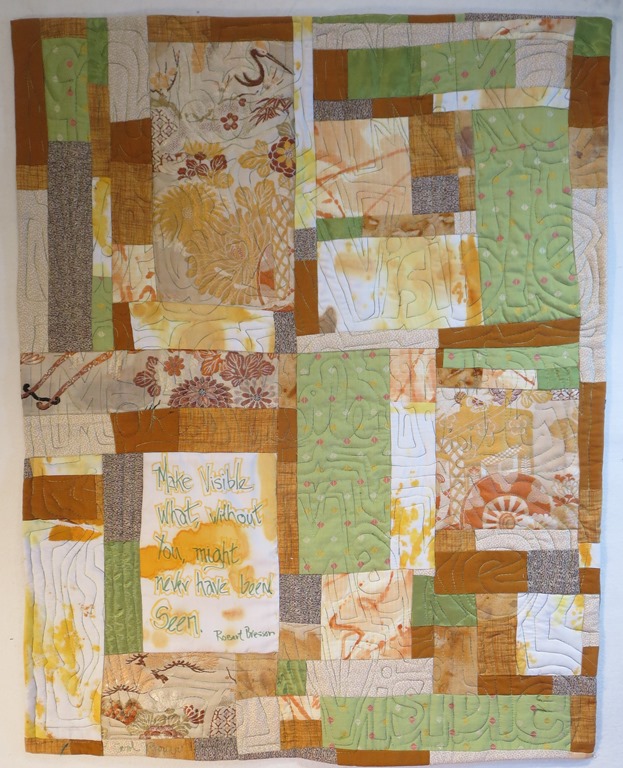
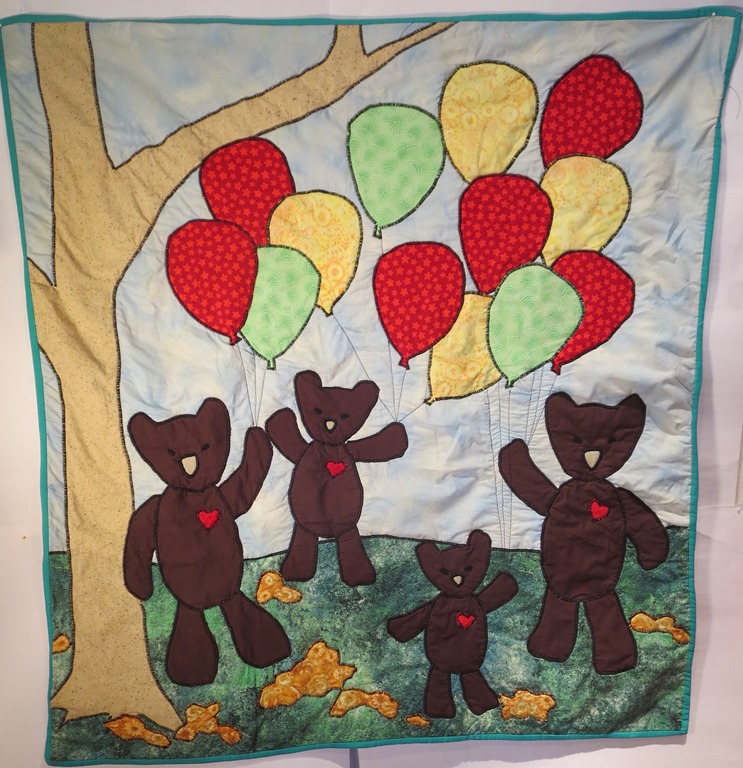
 Name Game IV- Three Grandsons This quilt also got finished this week. Each of the boys is done in a different color. It makes for a nice overall movement.
 I like too, how some of the lines meet across the seam lines.
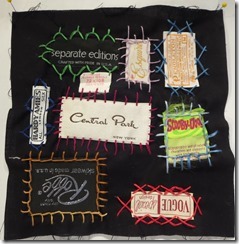
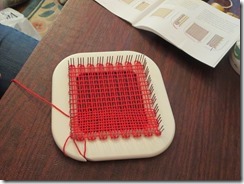
Label Block This block is number 15 in the series. My pile is building ever so slowly.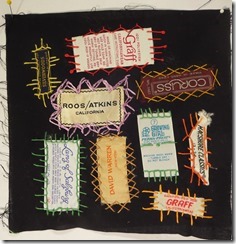
Keep enjoying summer and Creating too.
Hugs
Carol