Category Archives: Hand work

Active Summer


Sharon workHello,

Summer seems to bring lots of movement for me.  I went to a studio sale on Friday last week.  What a bargain for me- fabric at $3.00 a yard- how could I go wrong?  I helped empty the tables.   Then stopped at Sharon’s studio before I went home.  These are two of her River Grasses series.  They are bot sold.   I am happy for her.     I also spent a day this week packing up four quilts to ship off to the opening show at the Pink House Gallery in Saranack Lake.     My friend Cris Winter kindly asked me to participate.   There will be a second opening in Aug and I will be sure to attend that one.

Then I Blue Notesmade a trip down to see my friend Ethel and pick up two of her quilts for the Quilting By the Lake show.  This quilt is titled ”Blue Notes”.      I always love the way Ethel builds such a complex surface with such a limited pallet.011  Fun too to have it in my studio for a few days for close and repeated study.   I will be helping hang the Quilting  By the Lake show tomorrow.

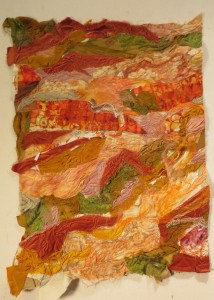
Something BigProgress Report:  Something Big     This work in nearly finished.   I used the felted jelly roll cuts from one of our play days at Blue Moon Studio  on this one.   I have put so much time into the hand work on this project that I did not finish a Label Block this week.


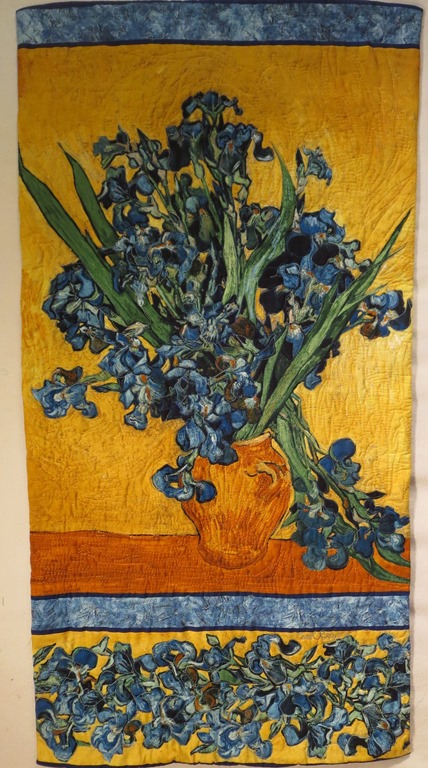
IrisesVan Goth’s Iris’s    This is the full finished panel that I purchased in Maine.     I know who will get this work in the fall.

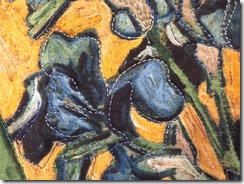
015  This close up shows how my practice with the free motion work paid off.

Butterfly Days  This work has been pieced for a long time.  It has spent most of that time under other works.  Then one night last week just as I was falling asleep- I realized that I could add Butterfly Dayssomething on top to make the quilt work.  I had noticed several butterflies on my walk that day and so that is what I added.  They are cut from ground cloth( the  stuff one puts down under stones so weeds will not grow up from below).   I think now I will add some paint to the surface of the ground cloth before I stitch it down.

I am off to Quilting By the Lake for the next two weeks so there will not be any posts until  Aug 6th.

Enjoy the summer

Keep Crating

Carol

More on Lines

Summer flowersHello-

I just had to post these flowers today.  I love both the color and the contrast in textures.        I have not been very good about

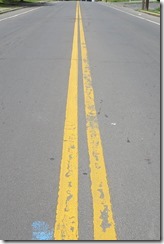
Street linesconcentrating on lines as I intended to be this year.  But I took a renewed look this week.     I was caught by the lines on the street and thought the are indeed one type of line- strait.  They are a lines of direction and ones of illusion.  They create a feeling of depth on a flat surface and lead the eye back in space.    Most art is an illusion and a  bit of magic.  I say magic  because  if one looks at the materials ( paint, pastels, fabrics and yarns) that an  artists starts with-it is nothing but magic when one looks at the end result.

Encounters 26" X 25"
Encounters
26″ X 25″

Progress Report:  Encounters This is my newest completed hand embellished work.  I put a postage stamp on the lower left to help with scale.  It is a standard size- but I am not happy with it.  So I will keep looking for an item to add along the side to help give the viewer a clue as to the size of the piece.

104 - CopyThis work has more of the fabric form the discharge screen printing class in it.  The  dark fabric is a Judy Roberts piece form her monthly mailing.   It came in January and I just knew I had to use it with the white material.   I think they play well together. 105 - Copy106 - CopyI have enjoyed doing the various stitches on the surface of this piece.  I only did machine work as stitch in the ditch on some of the seams  to hold it together. 107 - Copy

  By the ShoreBy the shore


I am ready to start to build up the dark sections of this work.  I want it to feel deep – not just black so I am going slowly.     I like all the textures too

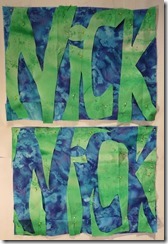
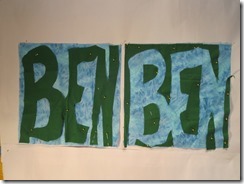
Name Game- Three Grand Sons    This is the next one in the series. Stage one here with Nick and Ben.  Both positive and negative shapes are shown here.

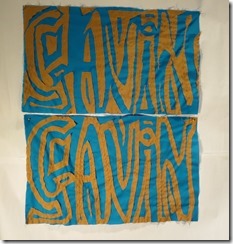
090091094 Gavin shows the second cut of the fabric.   It is already getting difficult to read the name.   I will slice all three  of the names into 4.5″ blocks and shuffle them next and put them all together for the top of this quilt.

New Work  New workThis top is all put together now.  It seems quite weak to me so I will have to do some wild machine work on top to  pull it into a work of some interest.


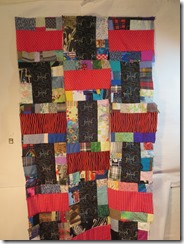
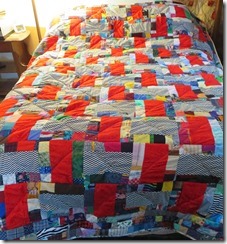
Scrap Happy 108  Sense I sold one more of my Scrap Happies to Beth  and there is a wedding for  Barb’s son coming up I started more work on these types of quilts.  The one with the red and black centers  is all setScrap II in rows. This shot is only three rows.

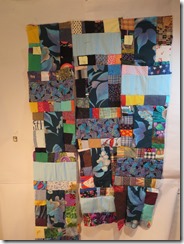
This second with three shades of blue as it’s centers   is not as far along When the rows are all assembled .  I will make scarp backs for the two of them.   They are always fun.


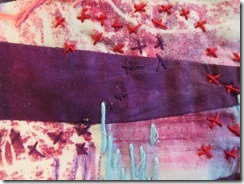
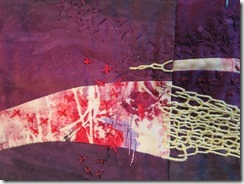
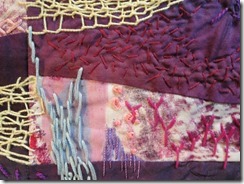
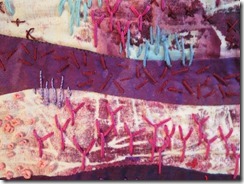
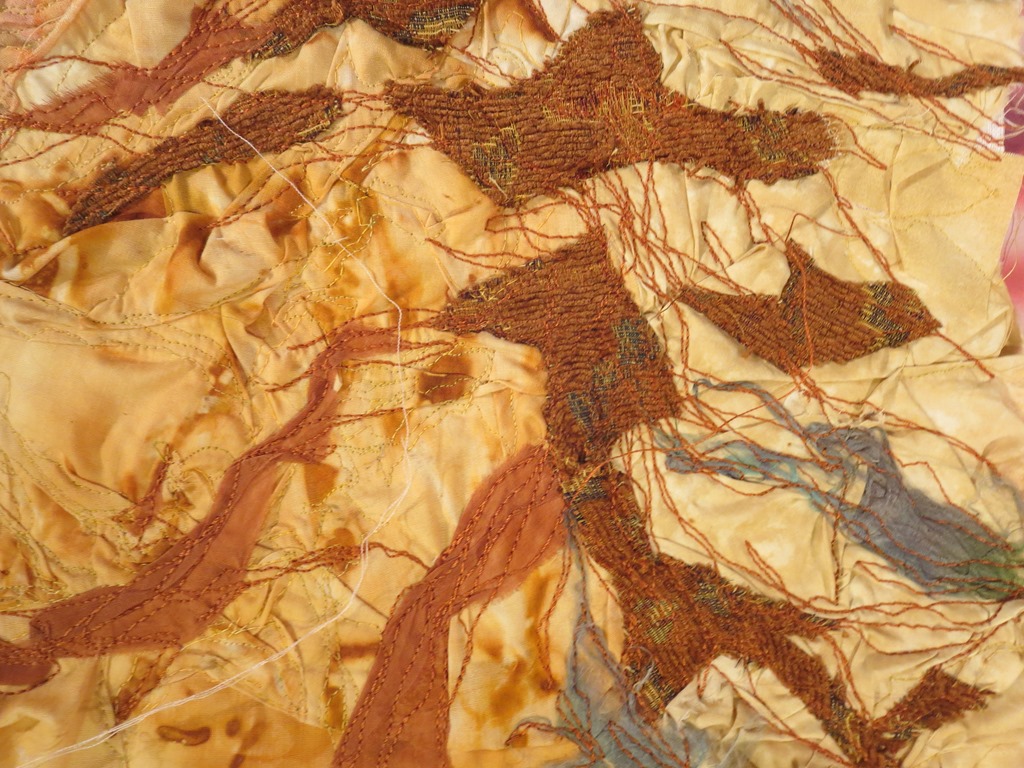
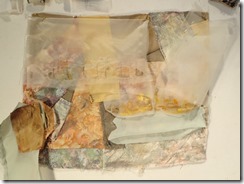
New Hand Work   Becausehand work I always want to have some hand work to do I laid out and pinned up this new start for my next hand challenge.  The white base has a bit of screen printing in pink on it.  I added some organza, yarn, silk paper and some of the felt slices  I made as a part of a play day with Cheri  had last fall.     I will be using mostly the same colors of yarn and floss as I did  for “ Encounters”. 


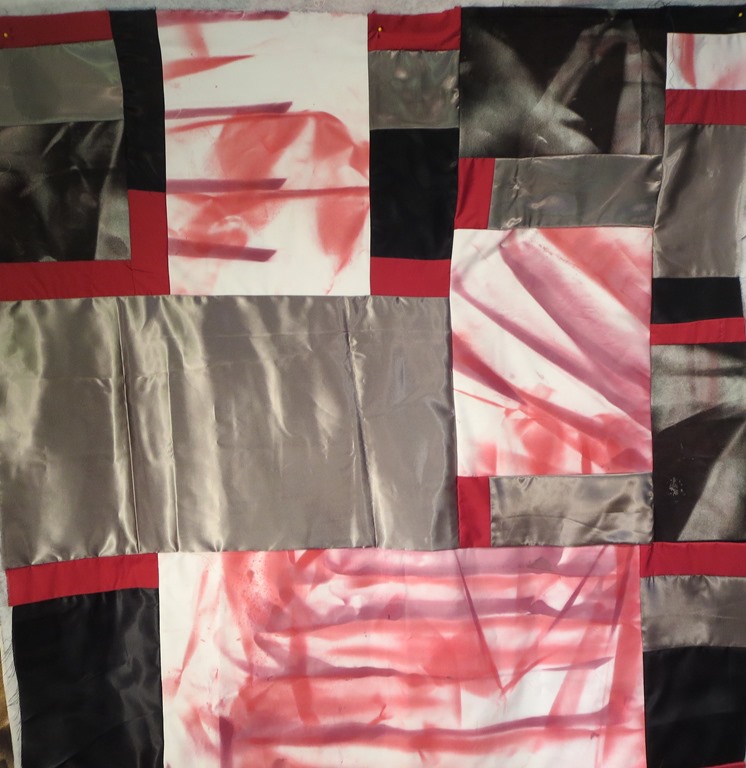
Spray paintedSpray Painted    I plunged in and started the quilting on this one this week.     I am outlining the reds and purples and then inventing the areas on the solid units on this top.   I am enjoying the process, but I am not sure about what I am doing.


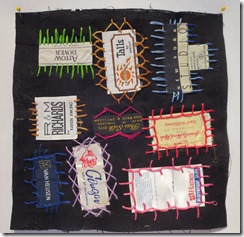
092Label Block   I just keep working away on these little fellows.

I will be away next week so there will be no post again until July 2.

Keep Creating

Carol

Natural Beauty


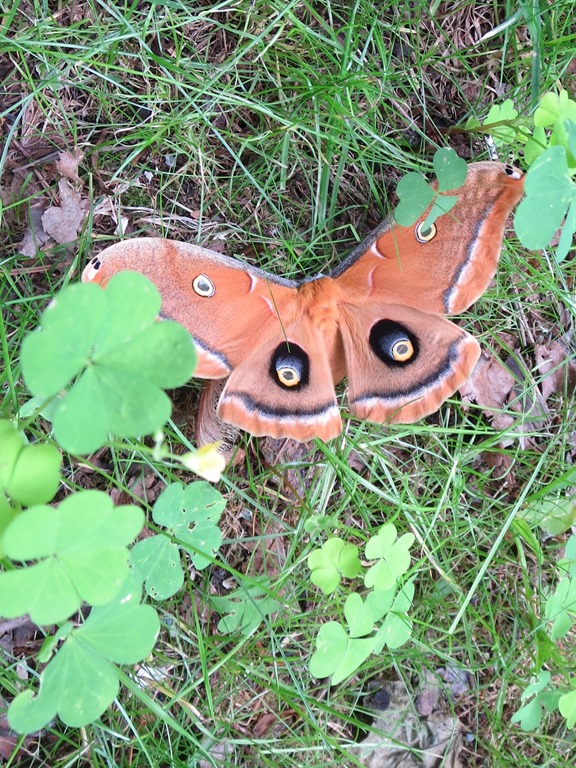
Hello,Moth

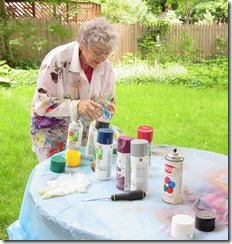
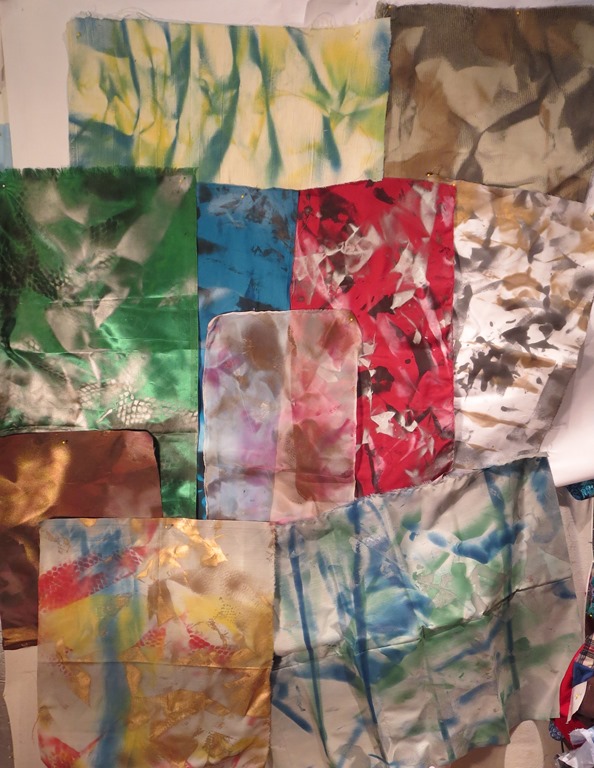
This moth was in my yard this week.   I have never seen a live one before and it is beautiful .  Marty and I IMG_3846came across it when we were out side painting on Friday.  We were so taken by Elizabeth’s  spray technique when we were in Maine that we had to try it our selves. It was a lotSpray Painted fabric of fun and we both have a new respect for what Elizabeth is doing.   It takes a lot of  skill to control the application and just folding the fabric is not all that is involved.   We altered lots of different types of surfaces with the paint.  From cotton,  satin to corduroy  and organza.    This play sent me off in a bit of a new direction.

Painted workProgress Report:  Painted Work I got all excited by the painted cloth and so I started and assembled a new top.  It is big simple blocks because I want to feature the painted surfaces.    Adding in IMG_3863sharp quilted lines will really extend and enhance the painted areas I hope.  I am really taken by the sometime crisp edges and sometime soft ones.

By the Shore By the Shore  Now I am to the fun stage with this work as I am building up the surface with colors and textures.  It is so much fun to add all the different types of fabric, paper and yarn to the surface.

IMG_3855Encounters     I am still doing hand work on this project.  The base  is a mix of fabric that I did deconstructed silk screen printing   work on and some of Judy Roberts wonderful  hand dyed material.    It seems to become lost for periods of time and when I come across it again I see it with new eyes.  I think I am nearing the end as I add different types of stitches to the surface.  They have helped me solidify the vision for the work.

New work I am still building this piece.New work  At the moment I am not real delighted with it and feel it is only a background for something more.  It needs a focus I think.


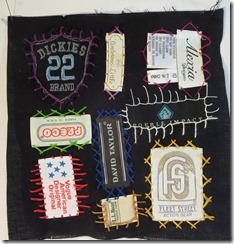
IMG_3856Label Block  These nightly practices are moving along.  I am finding it very hard to keep the labels square sense I can not stretch the fabric.  I will not do a  hand project  like this again.

Keep Creating

Carol

Warming up

IMG_2696.jpg  Hello,

We are starting to see the melting of the snow  around here.  It is beautiful in its own way.  But it can become very dirty and discolored before its gone.    With the longer days I find myself spending more time cleaning and sorting.  I seem to have the  clutter rule  of  “ One   thing in one thing out” well under control in my closet and dresser drawers.   But that is not the case in my studio.     I have piles of stuff all around and I need to do some serious culling.   I know that a clean and clear space helps one get going on the creative work and I do love to walk into that sort of setting.  But I have been traveling and working with IMG_2701_thumb.jpgothers so much of late, that I have let the materials pile as I rush from one play date to another.    I have done a good job a voiding going out and spending money on new supplies and materials however.   I have kept my spending sense January at less then $35.   Not bad for two and a half month I think.  But   it is the gifting of stuff from those friends that is getting me into trouble.      I did spent yesterday with my friend Ethel doing screen dye printing.   It was great to play with the rich colors.  Now I have all the rinsing andIMG_2699_thumb.jpg washing to do today.  She also gave me a couple of yards of white duck…… I am hopeless!

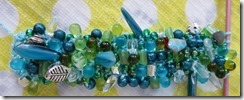
I did work a little on the  Challenge Project Susan and I started in   Florida.  I added a blue wash to this piece and think I have decided on the text that I want to add.  I can  already see that the word part of this challenge will be the most difficult for me.    I plan to add some beads tomorrow when I go to see my friends at Turquoise Street studio.

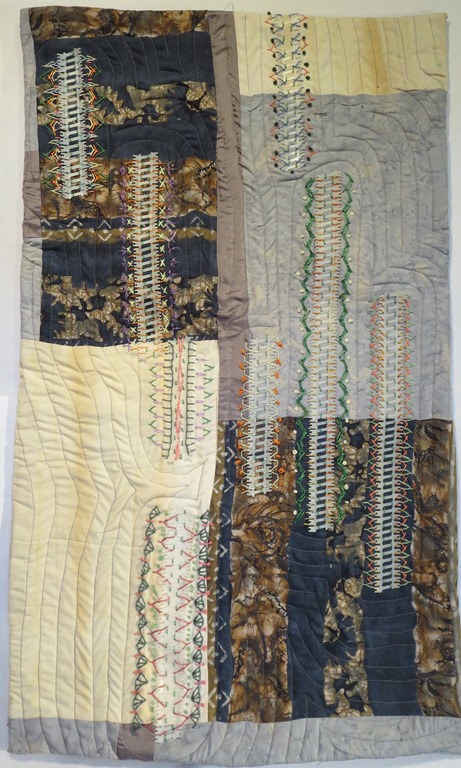
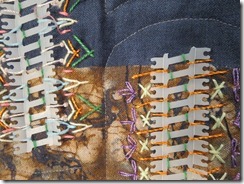
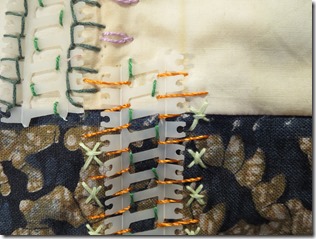
IMG_2706.jpgProgress Report:  Nail Castings   This project started as a  result of  finding the white  plastic units that hold nails in electronic nail guns.  I was fascinated by the shapesIMG_2710_thumb.jpg of the things.  I have enjoyed working away  with thread out of Grandmother Ruth’s needle  basket  and exploring differentIMG_2711types of stitches.

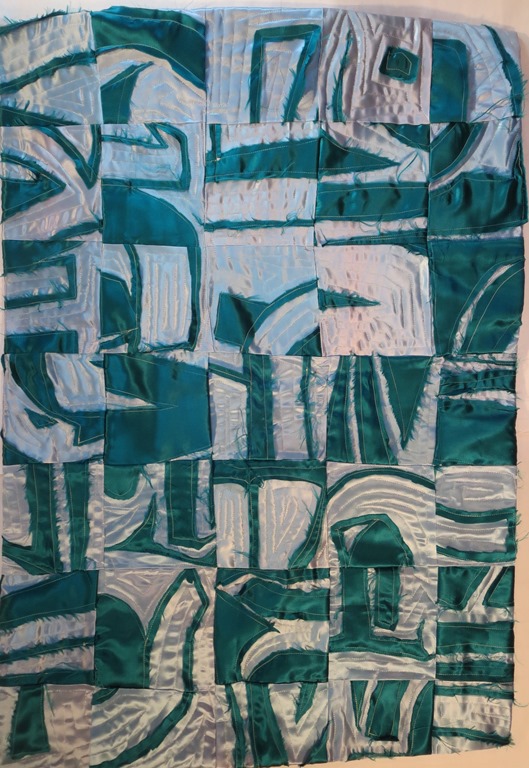
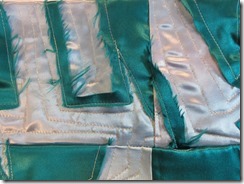
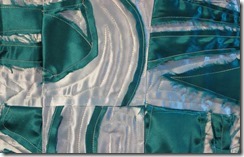
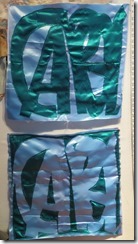
Name Game 1-Carol IMG_2713.jpg Now I know I say that words are not my strong suit- but I do love the shapes of letters and the spaces around them.    To build this top I first printedClose up of Name game out my name in very large letters.  22″ tall  and 22” wide in fact.  Then I stitched around the letters and cut away the negative space.  I stitched the negative spaces shapes to a second pieces of light blue that was also 22” X  22”.    I found that the letters them selves  created  units of the turquoise  that were too big. So I cut just inside the stitch lines close up 2and  then added those new shapes to the negative space piece on the second fabric.  Next I cut both pieces of fabric into 5.5”  squares and began playing with the blocks.  Some I turned side ways or even upside down, always paying attention to the relationships of one square to the ones next to it.   This play part took me a long time and several days.   When I was happy with it I sewed the blocks together.  This is such a fun and challenging design project I started a second as soon as I had the top  all assembled.

IMG_2698.jpg

Name Game II – Lexi    This  second   top went a lot faster as I knew were I thought I was going.  I made this one more complex by using a plaid taffeta for the background fabric.     I also made more blocks and will not use all of them in this project.    I think this will create a stronger piece in the end.   In this shot some of the blocks are sewn to one  another.  

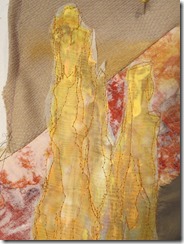
Memory Map- Canyon de Chilly  cose up of  spider woman I added the Spider Women’s Towers to this project.  I really enjoy working on these Memory Map projects, but they as all very slow in there development.    The ruins are  also attached now too.IMG_2705I am still trying to decide what other elements I want to add to the work.

Whip Shock Hill II      I wantclose up of Wip shock hill  to enter a show where one needs two quilts that relate to one another.    I have been thinking about how much I enjoyed the work on Whip Shock Hill.  The first project shows less then half of the hill so I though I would use this challenge to do the second half.    This is just the roughed out

Whipshock Hill Foundations XXI 44" X 35"
Whipshock Hill Foundations XXI
44″ X 35″

stage.   But I do not think I have shown this step before when it comes to these type of  collage projects that I do.   The base  fabric is only pinned to the buckrum at this point and no stitching has been applied.   This second shot is of the first piece.

I am keeping myself busy as the Spring season gets going.

Keep Creating,

Carol

Florida Holiday

the shoreHello,

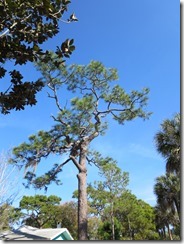
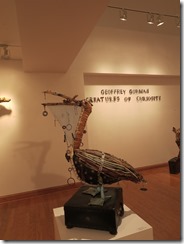
I am home from a week in Gulfport Florida.  I really enjoyed the new sceanry .    There was so much to lookSplit pine at my eyes could hardly take it all in! From the shore with lots of bird forms to the sky and the plant life- I was a shooting fool when it came to taking pictures.    I just love how this split pine looks and I am  sure it will turn up in some work at some time. gorman  Then  there was all the art.   We went to a show of work by  Geoffrey Gorman.  He builds  wonderful found object sculptures of animals and birds that include wire and canvas that he has aged with rust.   His work was wonderful.

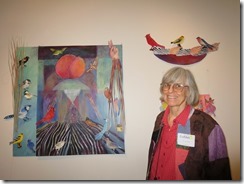
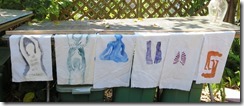
Susan took me to an opening at the Florida CraftArt IMG_2621Gallery, where both  Oiseau Sisters had pieces.  This shot shows Susan with her birds.  She and I played in the studio every day.    I did Gelli prints with Lora on Tuesday.  I used one as a base  when we went to drawing on Wed eve.    Susan and I designed and then startedmy stencils a flag project.    We each made six stencils and printed two of each.  These are my images. At the end of the week we traded one of each of our images for one of each of the other person’s works. IMG_2656 Now we will both work on the flags as we see fit and when we meet again at the June Diva meeting we will compare how each of us has altered all the images.   We designedOwl it to be an open exploration project- trying new materials and techniques.   It will be fun I think.

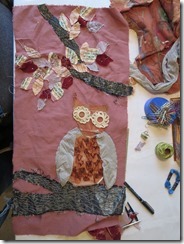
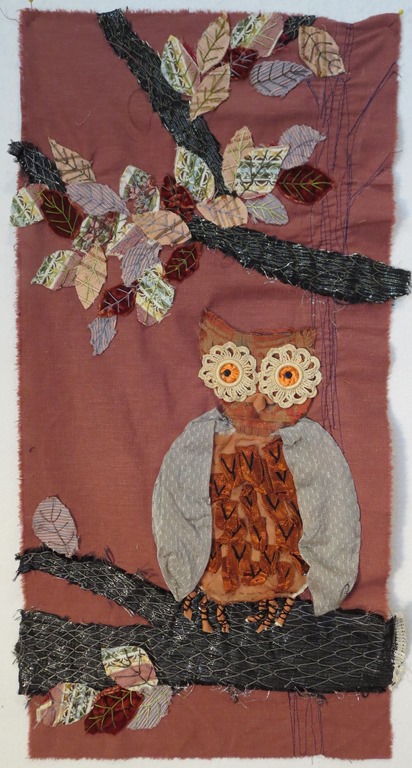
I worked away all week on this owl stitchery project.   It is nearly complete now.  I had intended to work on a piece that I brought form home, but I did not do a stitch on it.  The first day  Susan pulled out one of her bins  of fabric and I got inspired.  Something about some one else’s materials I suppose. Nancy and her project

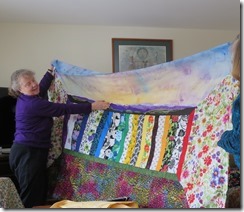
Tuesday was a FAB meeting and after a month of not seeing folks we had a lot to talk about.  Nancy is making great progress on her bed quilt( this shot shows the center section folded up  as it is all the stripes. ) Now she will build  more images on top.

 Progress Report:  Boiling Point

Boiling Point 16" X 20"   $225.00
Boiling Point
16″ X 20″
$225.00

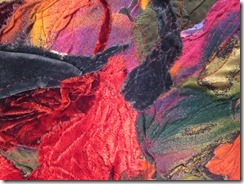
This project went together quickly just before I left.  I am still using the fabric collage technique thatClose up 1- Boiling point I used with the Foundations Series, but it not based on any stone this time.    I also did all the work on canvas this time and then stretched it around to the back of the stretcher bars before tacking.  This first close up is near the center of the work.    I used  red, rust, gray and dark green velvet in this work as well as satin and silk fabrics.    The more I play with the layering and folding of the various fabrics the close up 2 of Boiling pointmore I enjoy the process. This second shot is near the middle on the right.   Boiling Point cl 3 A little copper paint adds fun.


Raw edges here add another texture to the mix,


Name Game close upName Game 1- Carol     I cut  the work  into 6″ square and then reassembled it.  I am only going to show this close up this week  because the only step that remains for completion is the facings and I will complete them for next week.

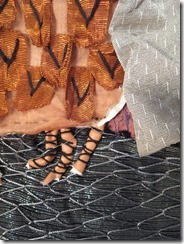
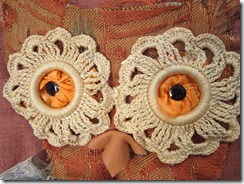
 Owl   I amIMG_2688.jpg showing the completed owl that I did in Florida as I am going to send it off to the framers this week and OWL close up 1shooting through glass is as strong as a strait shot.  I really enjoyed working on this.  I tried lots of varieations on the fly stitch on this work.    The vanes in the leaves are fly stitches all connected to one another. Owl close up 2  The tree bark is that same stitch on its side and interlocked with its neighbor.  The wing tip is shown here and it is made from a pair of textured panty hose.  The pin feathers on the chest are woven copper ribbon that has been tacked down with open fly stitches.   The claws are made from fake leather that was frapped.     The found Owl close up 3objects that started this whole work are the chroched  rings that are the whites of the eyes.  The orange is a bit of bias tape and the black is a sequin held in place with a french knot.  The beak is created from the same fake leather as the claws.


Memory Map- Canyon de Chelly Canyon de Chelly     I am still strugling with with were this project is going.   But I feel closer then before.  Adding Spider Women’s towers ( on the left) will help anchor the work I think.

Nail Casting cl 1Nail Castings

I am still fasinated  by the shapes of these plastic parts.  I enjoyed tacking them down with lots of different types of stitches.    the shapes just tickled me.

Keep Creating

Carol

Sports Lines

IMG_2355.jpgHello,

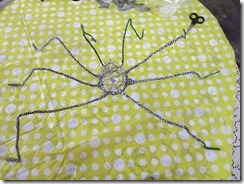
I am still thinking about lines and although this is a shot of tire lines  I think it shows one way we see them and do not really realize they are a part of our lives.   When I made my list of line types I was surprised by how many were  related to sports.     Almost all sporting events have a starting line  or beginning line and finish line.   In Basketball there are center lines,  free throw lines,  foul lines, boarder lines, side lines.  Foot ball has some of these lines and adds yard lines, front lines, boundry lines  and line men.  In auto racing you add fuel lines, break lines and checkered lines.  Other lines in sports include kite lines, trap lines, bow lines  and in horse racing you blood lines.  I am sure there are lots of othersIMG_2501_thumb.jpg I have not though of too and perhaps I am getting to the point were the lines have different meanings- but line is a very useful tool in art and sport. I went and spent a day playing with Cheri last week.  She had some wonderful felted work to share with us.         Colleen worked on this IMG_2504_thumb.jpgbarclet for the day.  It is more than half done now and I like the colors.  Cheri worked on this wonderful spider. IMG_2505_thumb.jpg Look at the scissors near the top of the photo to get the scale of how large this project is . I spent my day working on my entries for 6X6 for the Rochester Contemporary Art Center fund raiser.       Check out the web sight and see the work for sale at  $20  for each one IMG_2506_thumb.jpgor even better send them one of your own little 6″ X ^” creations and join the fun. 


Progress Report: RusticIMG_2520_thumb.jpg Rambles IIMG_2518.jpg and Rustic Rambles II   This is the first of the works  new stretch series that I am doing.   I wanted to try my collage technique on a stretch surface so I an enter it in a art show that IMG_2527_thumb.jpgis specifically asking for stretched works.  I like the effect. There is no batting but I have not been using  batting in most of my foundations works for over a year.   This work also includes paper that I have done wax resits on.     I used the same machine drawing  work I have been developing for the last year. IMG_2522IMG_2523IMG_2524IMG_2525  These two works are a set and flow into one another when they are hung with that in mind. IMG_2526  

Circuits    This project is completed now and is 20″ X 30″IMG_2513.jpg


 This was a fun project to work on in the evenings while I did machine work onIMG_2515_thumb.jpg Scrap Happy’s during the day time.

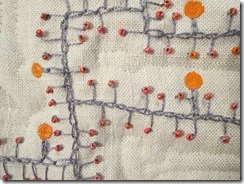
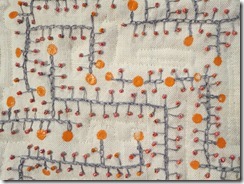
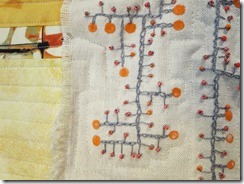
I started this with the orange stamped shapes.  I used the errasor  end of a pencil for the stamp.   When the paint was dry I stated to connect the  rowsIMG_2517_thumb.jpg of dots together like the welds on a circuit board.     I added the orange beads as I tough they were needed to make the idea feel complete.  The stitching and beading became more and more complex  as I went along.   I am very happy with the final results.IMG_2516_thumb.jpg


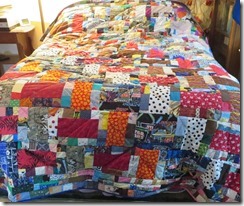
Scrap Happy # 4   I am still working away on these scrap quilts and finishing them as time allows. IMG_2547 IMG_2546  Scrap Happy #5   I gave one away yesterday to the Prevention  Net Work.  It is an organizations that helps direct high school kids away from drugs.  I have starts for two more and then I will set this work aside for a while.

New works    I am still strugglingIMG_2550_thumb.jpg with how I want to finish this piece.  But yesterday I looked at it and though of my trip to Canyon De Chilly again and think I will try to push it in that direction. This is another experiment I am trying.  It really falls into my Graffiti  play stuff so I am  IMG_2548_thumb.jpgnot sure at all were it is going.  But when I give my self the Okay to play some good stuff can come out of that.

I will be away next week so there will be no post   March 5.

Keep Creating

Carol

Happy Chinese New Year of the Goat/ Ram

IMG_2475_thumb.jpg Hello,

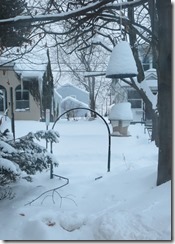
Here in upstate New York we are deep in snow.   The gate is 24″ off the ground and you can hardly see the top of it in this shot.

Today is the first day of the new year of the Goat/Ram if you  celebrate the Chinese system.  Lots of fire crackers, dragon dancing and paper money will be part of the goings on in many places today.   The Goat is the fifth in the symbol system.  Folks who are 12, 24, 36, 48, 60 and 72 this year are also part of the goat clan.   Goat people are said to be calm, gentle, creative , honest, thoughtful, persevering and frank.    This sounds like a good group to me.

IMG_2481   I spent one day this week visiting with my friend Cheri.  We took a little time to visit the Art Center where her piece had won a first place in the art show that is up  there now.   She also did someIMG_2479_thumb.jpgwork with stenciled pieces she did last summer.   I spent my morning doing IMG_2480_thumb.jpgcollage work and came out with about four pieces that I think I am finished with.

I spent a lot of time in the studio this week too.  It has been so snowy and cold it is hard to feel like moving around too much.

Progress Report:IMG_2492.jpgSpring Song    I started this work last week.   I feel like the free motion work adds more definition to the piece.  I like how the finished work looks.  I think I will not build my next piece onIMG_2494 - CopyIMG_2495 - CopyIMG_2496 - Copy wool felt as the felting process stretches the felt too much and I can not get this to be as flat as I want it to be.  I will work on woven wool or cotton next time.  I am sure I learn lots of stuff from my mistakes.

Pebble Pile    I was  finished with this work  from  last week too.  It is done now.

IMG_2498  IIMG_2499_thumb.jpg like how the three dimensional felted units work with the flat ones.  Both projects in felting were  a good growing experiences for me.  I will try it again sooner next time.

Nail CastingsIMG_2489  I am only showing a detail of this work this week. There are so very many hand stitches  I do not know !    But I sure like trying new ones.  How the stitches interact with one another is also  enjoyable.   Line  patters are a part of my self  challenge for this year and this project is filling that bill.

Circuits   I am nowIMG_2491_thumb.jpg now done with the machine quilting on this piece and I am adding the boarders.  I am sure I will complete it in a day or two as I only need to do the facings and the sleeve now.

IMG_2484_thumb.jpg Return   I think I know were want to go with this work  now.  I am going to build some ruins on top of the background that I started a few weeks ago.   It will come together this week I hope.

New work   I started a new piece yesterday in the collage style that the rocks wereIMG_2485_thumb.jpg constructed alone.  This time I stared with the  multi/red fabric  that is in the center.   It is only in the pin up stage now and will change a lot before I begin to sew.   I just wanted to try not basing a project on any special images this time.    It is a different kind of challenge for me.    I am trying our one more new thing.  This time I am building the project on canvas instead of buckram.   I will keep folks posted as to the success or failure of this.

Keep Creating

Carol

Valentines Day

/

IMG_2436 Hello,

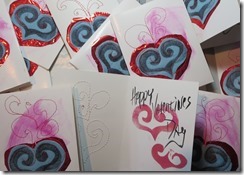
I have finished and sent my Valentines Day Cards.  The making is the best part of the whole event from my point of view.   It is always a fun excuse to get out the paper and play with it.   I do not care if I get any response from doing these- the joy of making is all I really want anyway.

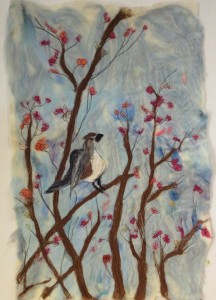
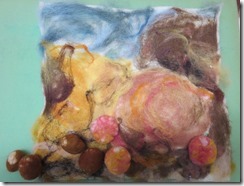
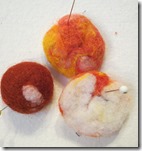
This week has been a full one for me as they all seem to be.IMG_2439I went to visit my friend Ethel and we spent a fine day playing with felting.  I do enjoy the process and do not take time to do that very often.  I started out making a background for the pebble like  felted units that I made  on the  play day at the Blue Moon in the fall. IMG_2471   Ethel suggested that I slice the units in half to add to the surface.  I really like that idea and would not have even thought of doing that without IMG_2465_thumb.jpgmy play time with her.    Another point of view is always a good thing.       After lunch I tried a whole new picture like image in felt.  What fun.  I ran out of energy and time before I completed it, but I am sure I will finish the bird and flowers later.

IMG_2441  Ethel created this wonderful felted bag.  I love the soft colors and the button she found is just perfect for its job here.   It was a fun and productive day.   We have set a date to do something similar next month.

IMG_2456.jpgProgress Report:   Rustic Rampaging I  & II  I wanted to enter a art completion were all the work had to be mounted and framed so I did a set of pieces that would fit into that format.  I thought why not try stretching my work on a frame like one does canvas for a painting.    The first piece show here is Rustic Rampaging II – and it is not stretched.    It is ready for that step as I did the two works at the same time, but I did not have a canvas so I could not do that step until I went out and got the materials.  IMG_2470 This is Rustic Rampaging I. The process is  is all experimenting  so I am learning things.   For example -the next time I will make the piece just  a bit bigger as I like how the side were I could rap the project all the way around to the back much better then  were I just had to attached it to the side.

IMG_2464Circuits   I am finally finished with the  hand stitching on this project.   It was enjoyable,, but a slow process.  Now I need to add it to the quilt top.  That portion  will be a piecing project for this week.

Paint Play   When Cris WinterIMG_2463_thumb.jpg came to visit a few weeks ago she gave me a little gift that was work on canvas and I really liked the look.  So I did a little playing in a similar style this week.  It too will get stretched around a frame when I am done with some hand work on the surface.

IMG_2461Old work Revisited   I finally looked again at this work I had started last spring.   This time I saw a way to go forward with it.  The red on the side is added and now I will work on the embellishment to pull the work together.   Sometimes one has to just set work aside for a while and look at it again later with fresh eyes.

Keep Creating

Carol

Line


IMG_2400Hello,

I mentioned at the last post that I had selected my word for this year and it was line.  I have been thinking about that on my walks this week and I have compiled a list of over ninety ideas that are connected with that word.    IMG_2401 Then I sub divided the line types into categories and I will write about the different types for a few weeks.   I will start with line in relationship to  art.
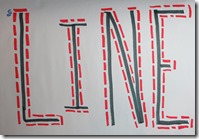
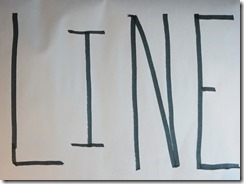
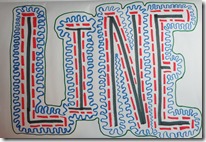
When I was teaching I would have my sixth graders do a line exercise where they would first draw one line from the left side to the right that changed direction somewhat but did not cross itself.  Then they were asked to change the color they were using and add a IMG_2402second line parallel to the first that was of a different type.  It could be  a wavy line , or a loopy line  or a thick line,  or a thin line,  or a dotted line, or a broken line, or a sharp line, or a zig-zag line, or a blurred line, or one that expanded and contracted.   I am sure I gave them lots of choices and they would keep building until the page was full.  The results  were always successful and beautiful.  IMG_2403    It was a good way to introduce the concept to them.    But there are more ways that line is apart of art then just types.    There are all the lines that are a special part of perspective  for example.    Like sight lines, ruled lines, horizon lines, vanishing lines, diverging lines,  and vertical lines.  There are also lines that are just part of the IMG_2404objects in the pictures like roof lines, and tree lines and power lines.      Lines are so powerful in art.  They are everywhere.   Lines can be found  in the art  and are created  with  the materials that we use : like drawn lines,  sketched lines,  paint lines, drip lines, scratched lines, texture lines , shading lines, connecting lines, out lines, shadow lines, crease lines  and edge lines.    This topic will require more study.
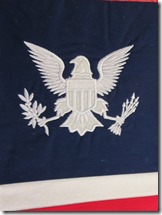
IMG_2413 This week QuEG’s meant and everyone had stuff to show.  Sally has been busy  with embroidery machine and she made these lovely place matts using a patriotic theme.  She also did a bit of Valentine work for her grand daughters.IMG_2414
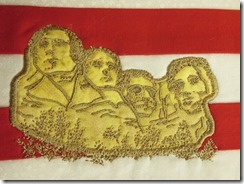
This card has a thread constructed heart that can be removed and worn as a necklace.  I think it is wonderful and so delicate.  I have learned to really appreciate  her great work – it is always so very lovely.IMG_2415

IMG_2420Barb is working away on her cut away project.  She is also doing free motion machine work for the quilting portion of this one.

Liz had two Valentine related projects for us to look at. The first is this wonderful “cookie” pin.  I may just have to keep this idea in mind for next year.   IMG_2418

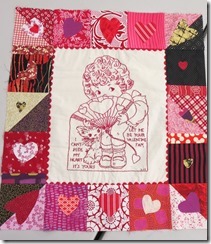
Her second work is a combination of red work embroidery and  piecing.IMG_2421   The embroidery was done by Jean Tracy and Liz did the boarders.  A great bit of team work.   It just makes me smile!
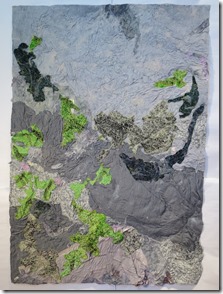
IMG_2429Progress Report:   Dry Falls Lichens     This quilt is based on a portion of a photo I took on a trip with Marty to see the Dry Falls National Monument in Washington State.         I just  loved the high contrast between the lichens and the rock. IMG_2432
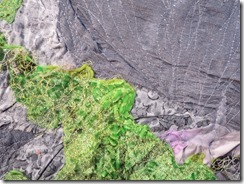
IMG_2433   Some of the lichens were dead and they had returned to a gray color,  but retained there textures.   There were bright orangeIMG_2435 lichens on this same rock- but they were too much for this piece.    There were some dark blue gray lichens too .  It was fascinating to me.
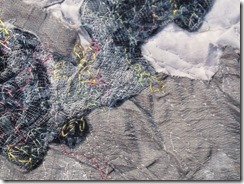
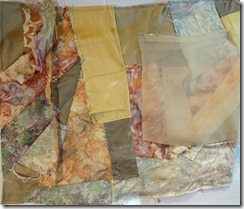
IMG_2427 No title for this work yet.  I thought I was creating a background for a stump that I created last week with Cris- but I do not think this works to support that idea any more.  It will just need to be studied  for a bit.

Nail Casings   I picked up the white plastic cast off holders from a nail gun while I was out on a walk earlier this fall.   They have been pinned to the bulletin IMG_2426board for a while and finally I started to embroider them down.     ( the very light areas on this image are from the sun shine coming into the studio  this morning)
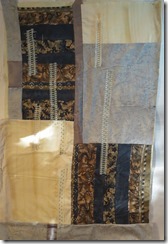
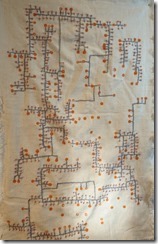
IMG_2425 Circuits  I have been adding chain stitches and  beads to this work for a while.   It is developing in a nice fashion.  I am enjoying the way  it is growing without having a real strong plan in mind.

New Work  I am reallyIMG_2423 playing with this piece.  I  started pulling fabric that I though worked together and just started laying in down and stitching it together.   It is fun and I may just cut it up when it is done, because I need some small works for the 6″x 6″ challenge.   Time will tell.
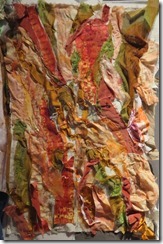
Keep Creating

Carol
Busy Two Weeks

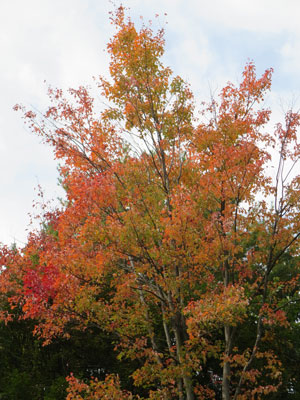
 Fall tree Hello,

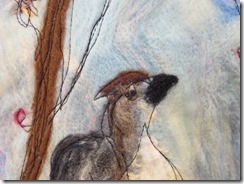
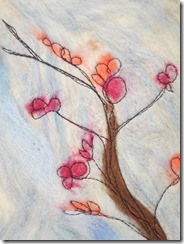
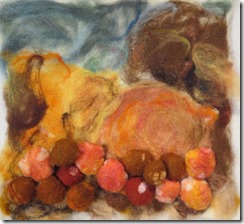
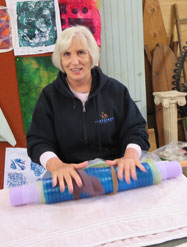
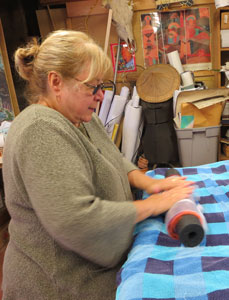
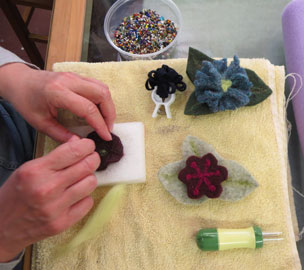
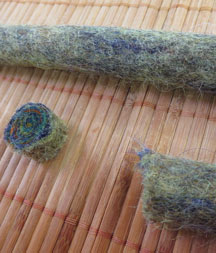
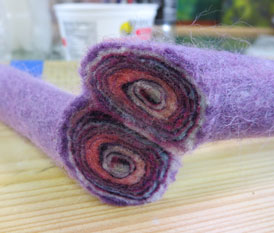
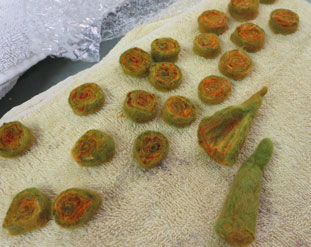
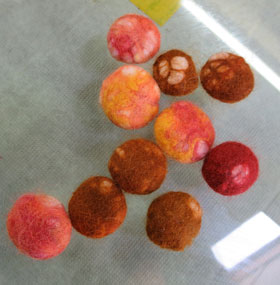
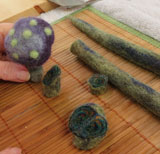
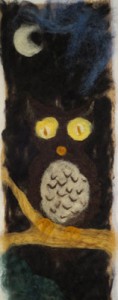
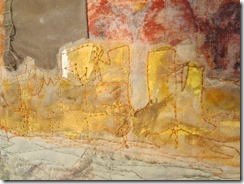
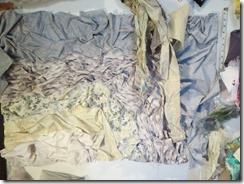
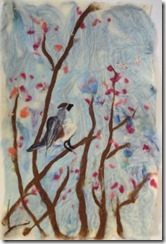
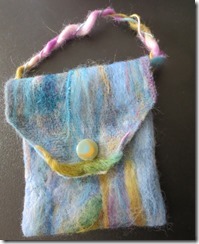
It has been a very busy two weeks for me.  I not only traveled to Ottawa for four days I took a felting workshop, spent a day with Ethel  making silk paper and a day painting sky with Nancy.     The world around here is starting to show its fall colors as well and the days have all been wonderfully comfortable.  Victoiria I spent the end of the first week doing a felting workshop.  We played at all the techniques we knew with each one of the participants demonstrating her expertise in different areas.    Victoria taught us about nano felting as she has been doing a bit of this with her niece.  All of us come with a different design approach,  so they all came out Cherri very unique.   Cherri really  liked this method of creating felt and she ended up doing at least three pieces in this style.  I was told she is making a vest for her granddaughter with some of it. One of the gals did not do wet felting but started with wool that had been felted in the washing machine and needle felted little pins with this technique.   By doing this method she had lots of control and created very fleting-with-pre-felted-detailed work.    She was making pins and added beads and manipulated the felt as she worked to create various textures in her pieces.   I really liked the way she manipulated little wisps of wool to add nice details like the soft line of green in the leaves of the red and gray green pin. BO2jelly-roll-2 BO2Jelly-roll3 BO2jelly-roll-felting1The second day we did wet felted Jelly Rolls.   Mostly we created flat disk like units – but Cherri also created some plant like forms with her green felted units.               felted-beadsAfter lunch I tried making felted beads and had a good time with that  too.    I have no goal for their use and they  may rattle around the studio for  a long time before they find a home-   But I sure enjoyed the process. One can also do three dementional felting using the dry method.     This mushroom is a greatfelted-sculpture example of that.     I did a little seasonal piece using a wool basefelted-owl and dry felted roving into the surface were I wanted the different colors to remain.   It was a fun time and I enjoyed it very much.      I can certainly add this technique to my work.
 

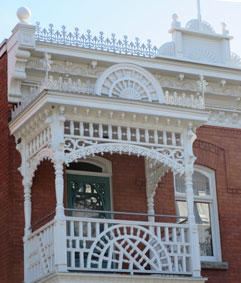
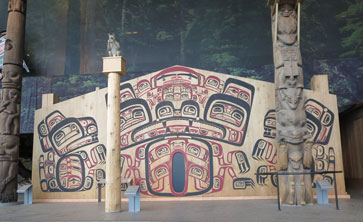
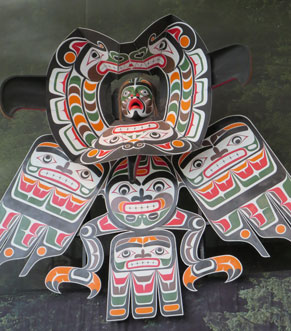
Then I went on my travels to Canada.   I love to travel and feel it is very invigorating.  Travel can open ones eyes to look at ordinary thing and pay attention to the every day.  I was especially taken by the wonderful    gingerbread work on this house.Canada house     I might have noticed it at home, but I probably would not have taken the time to look carefully at it or take a photo.  The fact that it would not appear in my life again if I did not act then helped to sharpen my vision. We  went to Ottawa with the intention  of visiting the museums and did that.  We  visited all three of the major ones there.  Our fiat stop was Noethwest-housethe museum of First Peoples.     It is a wonderful mix of history and the current lives of the Native Americans of  Canada.   By building these mock up of Traditional Northwest Tribal  buildings the museum presented the totem poles in their normal settings.  Inside the houses were displays of artwork again modern-workshowing historic works and contempary ones as well.     I found the whole day very exciting and I am sure I will soon create a work using this influence.


The next day we went to the National Art Gallery of Canada.  Again it was inspiring.  I have always liked the work of the Canadian seven and it was great to see the work live.

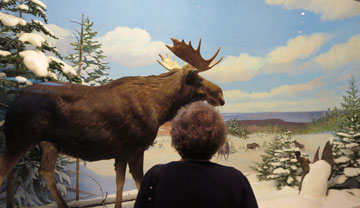
Marty and the moose. Then on Friday we visited the Museum of Natural History.  The building is beautiful although it looks like it was built in the early part of the last century with its stain glass and carved wood.     Some of the displays show this same old flavor but most are very current.  There are lots of interactive displays and each sections also had a play area for smaller children.

Nancypainting

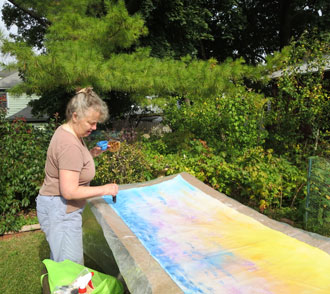
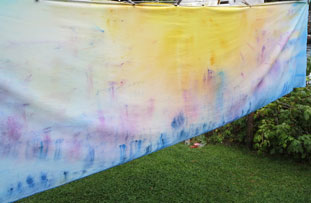
I spent yesterday working with Nancy painting a sky for her quilt. It was a beautiful day to paint out doors.

We had a good base to work on top of from the first attempt two Nancy's-skyweeks before.    We agreed it needs one more day to get the finial effect she wants for this portion of her quilt.


Progress Report:  Harmony  

Harmony  24" X 42.5" $370.00
Harmony
24″ X 42.5″
$370.00

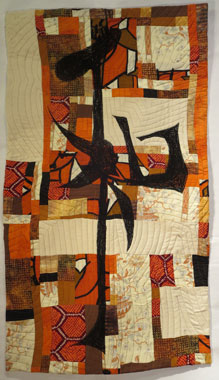
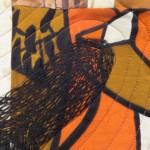
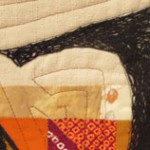
This work displays the Japanise Character that stands for Harmony.  That is where  I got the title.   The two orange  silks are from Japan and I felt that this was a good way to celebrate that fact.   I looked at many renditions of this character before I settled on this form.   The black of the shape is all chain stitched in embroidery thread.

 Harmony-cl-4


BO2Harmonycl1


Sand Stone Church

Sand Stone Church  16" X 21"  $125.00
Sand Stone Church
16″ X 21″
$125.00

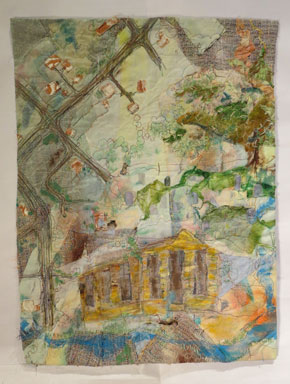
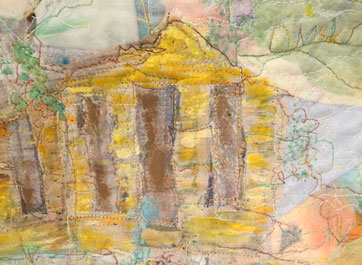
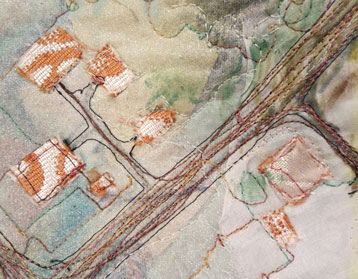
I purchased Valerie Goodwin’s book “Art Quilt Maps”  in the spring even before I took my second class with her this summer.   I thought I should try to follow her instructions on how to build this type of map quilt and this project is the result.     This work is based on childhood memories of a Sand Stone Church that was in the pasture next to the one my grandparents owned.   My brother and I often played in the church Church-cl2 BO2Clroads-of-stone-church BO2Clstone-church-3and in the cemetery that was just up the hill from the old building.     The church it’s self had no roof and the local natural stand stone was curmbeling away in some places so we felt safer in the cemetery- espiceally under the big old oak that stood in the corner.  The branches were low and we could easily climb quite high in that tree.    The second close up is an areal view of the gravel rural road that ran in front of  my grandparents  house and the farm yard around the house, plus the garage and barns.

Somky-TwilightSmoky Twilight     I am enjoying using  the many tints and shades of gray I have for this work.  It is in the very early stages of assembly, but I think it is starting work.


Chrysanthemum   I am to the free motion stitching/Free-motoin-work-on-Cquilting  part of this project.    This work got away from me as far as size is concerned and grew quite a bit from my original plan, but  that does happen from time to time.    Again I am using some of Ginny’s silk in this project( the red  show here)

Enjoy the colors of fall and keep your eyes open to the possibilities for ideas all around .

Hugs

Carol