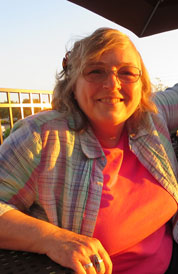
This week I seem to be very aware of light. It all started on Thur eve when I went to dinner with my fellow artists Barbara. We sat outdoors as the evening was perfect. With awe< Barbara said “We have reached the Golden Light time of day.” Then she took this photo of me to prove her point. I so agree – I look like I am painted in gold. I was reminded the next evening of the power of light when I sat and watched fireworks exploding above my head for the fourth of July. The following evening I watched Mother Nature’s own firework display as the lighting bugs put on a show for us. The quarter moon moved across the sky and presented us with reflective light that night too. If that was not enough of a study in dark/light contrast, I saw one more example of the power of light and dark when we experienced a powerful thunderstorm with many streaks of light crossing the dark sky, on Tuesday. We need light to
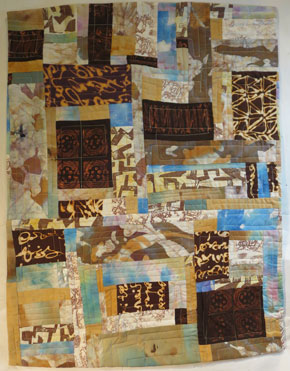
22″ X 29″
$225.00
 see color. I think I was taking it for granted and not really paying attention. But, this week I was reminded how many forms nature can present that wonderfully powerful tool to us.
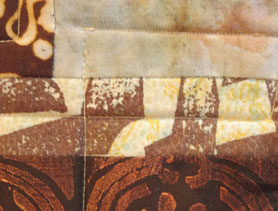
Progress Report: Dusty Trails I have enjoyed working on this project. While I was doing the quilting I realized that almost every technique that I do to alter the surface of my work was represented here. There is liquid dishwasher soap drawing in line work on the dark browns. There is hand carved stamp work in the copper colored paint on the dark brown shown here too. I have an example of silk screen printing 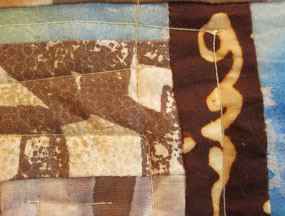 in the cream and brown section. The blue is hand painted inner facing and the skinny strip at the top of the first closeup and the thin strip at the bottom of the second one show, soy wax batik work. I do enjoy altering the surface of the fabric as well as embellishing the surface of my work.
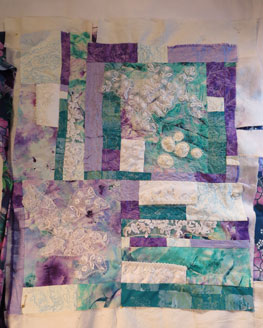
Regina’s Lace This is a “saved work” for me. I did all the piecing of the white, purple and turquoise over a year ago. I did not feel it worked as a top that I wanted to put any more time into, so I had set it aside and it became buried in a stack of other pieces. I had even moved it to the scarpe bag to be cut into strips and turned into a part of a Scrap Happy project. But while looking for a place to use 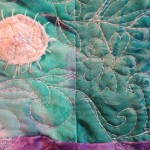 some wonderful lace pieces Regina had cut from old samples and then given to me. I came across the back ground piece and the two seemed to work together very well. I am now have a good time doing free motion flowers in the quilting part of this project.
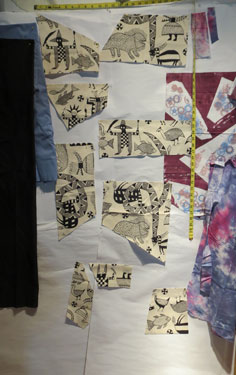 Rafter Room I have an opening into a rafter room just off my bedroom and it needs a new cover so I started this project. When I begin a project I select the fabrics first. Then I choose one to be the feature. In this case that is the bold black and white print. I cut as many images as I could out of that fabric and loosely pinned
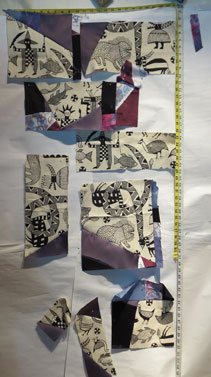 them where I thought they might go in the composition. The measuring tape is pinned along the top and side to help me keep the size in mind as I am working. In this case I added the purples to the starter pieces to square them off as my beginning step of assembly. Then I add strips of fabric to the blocks along one side or another building my blocks. I try to work across the entire surface so I am looking and checking the color balancing as I go along. I continue to add and build the sections getting bigger and bigger with each addition as I fill in the blank spaces. This process means getting up after each seam, walking to the ironing surface , pressing and then pinning the pieces back on the pin wall. I then step back and check how the top is coming together.
 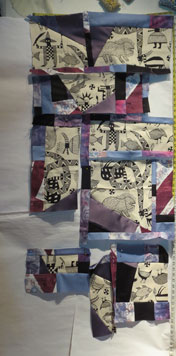 The pieces start to connect to one another and grow larger as the process continues . I just keep repeating the process until the top comes to completion.
 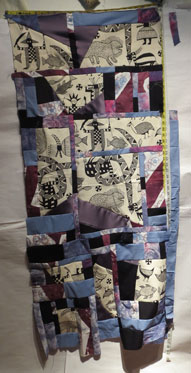 This process works for me and I enjoy doing it. It took me about three and a half hours to put this 24″X 60″ top together.
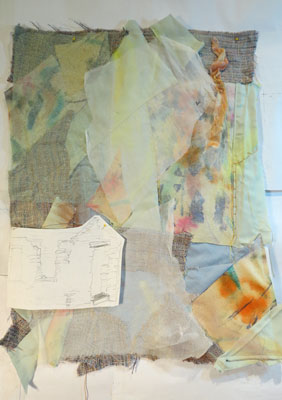 Old Sandstone Church I will be starting Quilting By The Lake ( QBL) on Sunday , and I am excited about that. I will have a class with Valerie Goodwin during week two. I enjoyed working with her before two years ago and think this class on Color will benefit me as well. I pulled out her new book “Art Quilt Maps” and worked through her recommended steps this week to start this piece. I only have two of the
 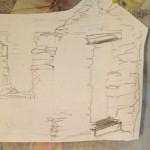 techniques she suggests here. I have a sketched out the building that will be the next step of the process. I will not get this completed until after QBL- but I am glad to have done a refresher before the class so I will get the most out of the experience.
Daily News 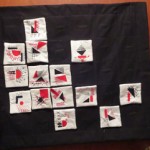
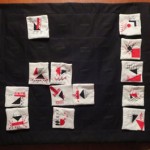
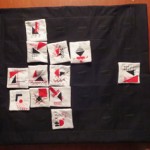
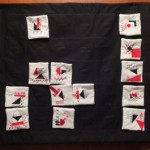 I am still working away on turning and stitching shut the Daily’s for this piece. It is fun to change the work every morning with the squares that I have completed the evening before.
Let me know what you think by adding a comment.
Keep Creating
Carol
It’s interesting seeing just how you go about selecting and making the quilt in the rafter quilt. Of course I don’t understand and will have to ask you when we meet! hugs, bv