Hello,
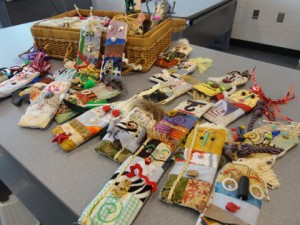
Every fall I try to add a tutorial to my blog. This year I am adding how I create my little Creative Assistants that I give away at the conferences I attend. The little pins make folks smile and create great a great way to connect with fellow creative souls. They are also a great way to use up all the bits and pieces that seem to find there way to the bottom of sewing baskets and drawers. Have fun.
Materials list: Scraps, card stock, thin batting or polar fleece scraps, pin backs . Materials for faces: buttons, beads, little plastic or metal found objects- like paper clips, safty pins, cap liners, plastic rings, old broken bits of jewelry. ect. For hair, yarn bits, old fur cut offs, ribbons, lace ends, scarps of leather- all of these can be used for arms too if they are a bit bigger.
Sewing kit( scissors, needles, thread ect) Sewing machine
1.
Base: To being this project you will need your scarps.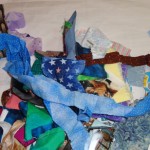
I try to cut them down to strips that are two and a half to three inches tall –and some that are two to one and a half tall, plus a third one that is one to a half inch units. I do not worry about being precise about this. Then I sew all the pieces in the same size range together. The result is three long strips of the three different sizes. I then sew the smalls strip to one of the others and trim off the excess as necessary. The next action is to sew the two unit strip to the last strip with the slender unit in the middle.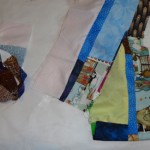
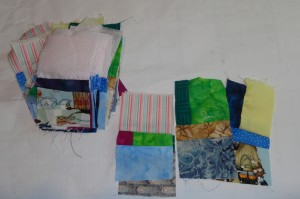 2.Sizing: The next job is to cut the long colored strip into base units. This is a vertical cut across the seams into three inch units.
3. Embellishment 1: I then go to my trim and short yarn box and attach a bit of color to each unit. 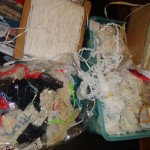 I usually do two units with each trim and then change the trim so there is lots of variety. I sew one bit of trim vertically on a base.
 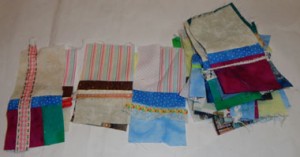 I look at the base unit and decide what will be the face area- I sew the trim below the narrow strip or across as horizontal embellishment. Sometimes I also sew a strip vertically for a different look.
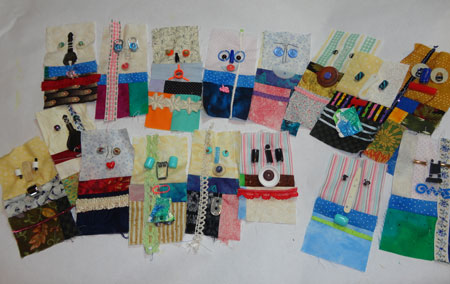 4. Faces: The next actions are done by hand:
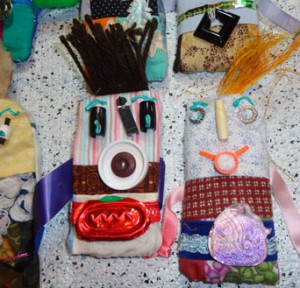
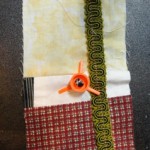 Mouth: The next step is to add the faces in the top or lightest area of the base strip. One Button, bead, heart shape, bit of straw, cap, small spring, or washer can become a mouth if it is added in the lower center of the face.
Nose: Any longish object placed on the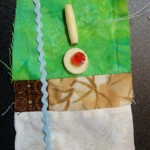 vertical can become the nose: hair pins, pen parts, bugle beads, pipe cleaner, paper clip, plastic strip, ect
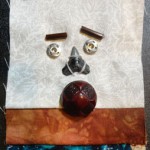 c. Eyes: Here you need two- one on each side of the nose. I like to put two items together to make it more fun sometimes, but that is not always the case.
Eyebrows are optional- they can add a lot of expression though.
5. Embellishment 2: I sometimes add old bits of jewelry or small toys to the bottom sections of some of the dolls. I let the work guide me on this step
6. Hair: Back to the machine.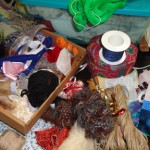 Bits of yarn, string, ribbon, thread tangles, fur, ect is added to the top of the head area. I loop the yarn about my fingers a few times before I sew it down.
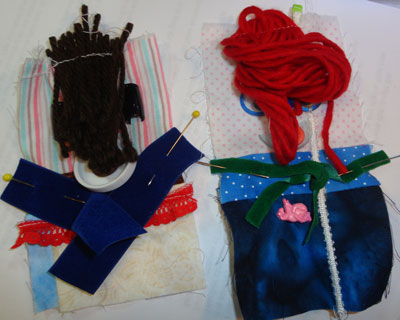
7. Arms: Leather scraps, cording, heavy yarns, pipe cleaners, holiday ribbon and other heavier materials become arms. I tie a knot in the end to give the feel of hands. I pin the arms in place and sew them just above or near the middle of the body.
8. Back: To create a back I cut six to eight inch long strips to serve as my backs. I place the finished body unit face down on the good side of the strip and cut it so that it is the same leanth. 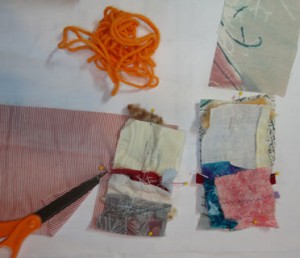 Then I fold up the bottom of both the back and front of the doll one fourth inch and pin. I pin the body together and them sew around to connect the two units leaving the bottom open.
9. Body: Clip and turn the body unit right side out.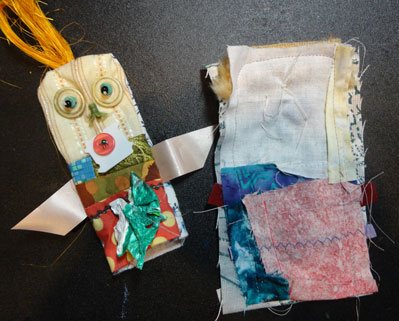
10
10. Stuffing: I cut long two inch strips of card stock. 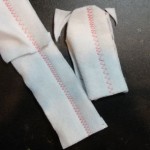 Then I cut batting, polar Fleece scraps or felt scraps two inches wide. I create a sandwitch with the card stock in the middle and the scarps on the out sides – I zig zag down the center of the strips.
11. I trim the padded strips to be just a bit shorter then the body and trim the corners that will be the top. Then I slide the padded strips into the body and stitch the bottom closed and add a pin back to the Creative Assistant.
12. I then look at the dolls. I add a bit of squeezie paint if some is needed. For eyebrows; a extra bit of color in the mouth area; or more decoration on the bottom. When they are dry they are done except for the signing. Pass out to your friends and enjoy the smiles they bring to their faces.
Hugs
